CD-Digipack 4-sided print data designed in Adobe Photoshop
Introduction
In this article, you will learn how to create the print data for the CD Digipack 4-sided according to our specifications in Adobe Photoshop.
1. Download Template
You can download the CD Digipack 4-sided template for Photoshop:
Download CD Digipack 4-sided Photoshop Template
2. Open Template in Adobe Photoshop
After downloading the template file, open it in Adobe Photoshop by double-clicking on the template file.
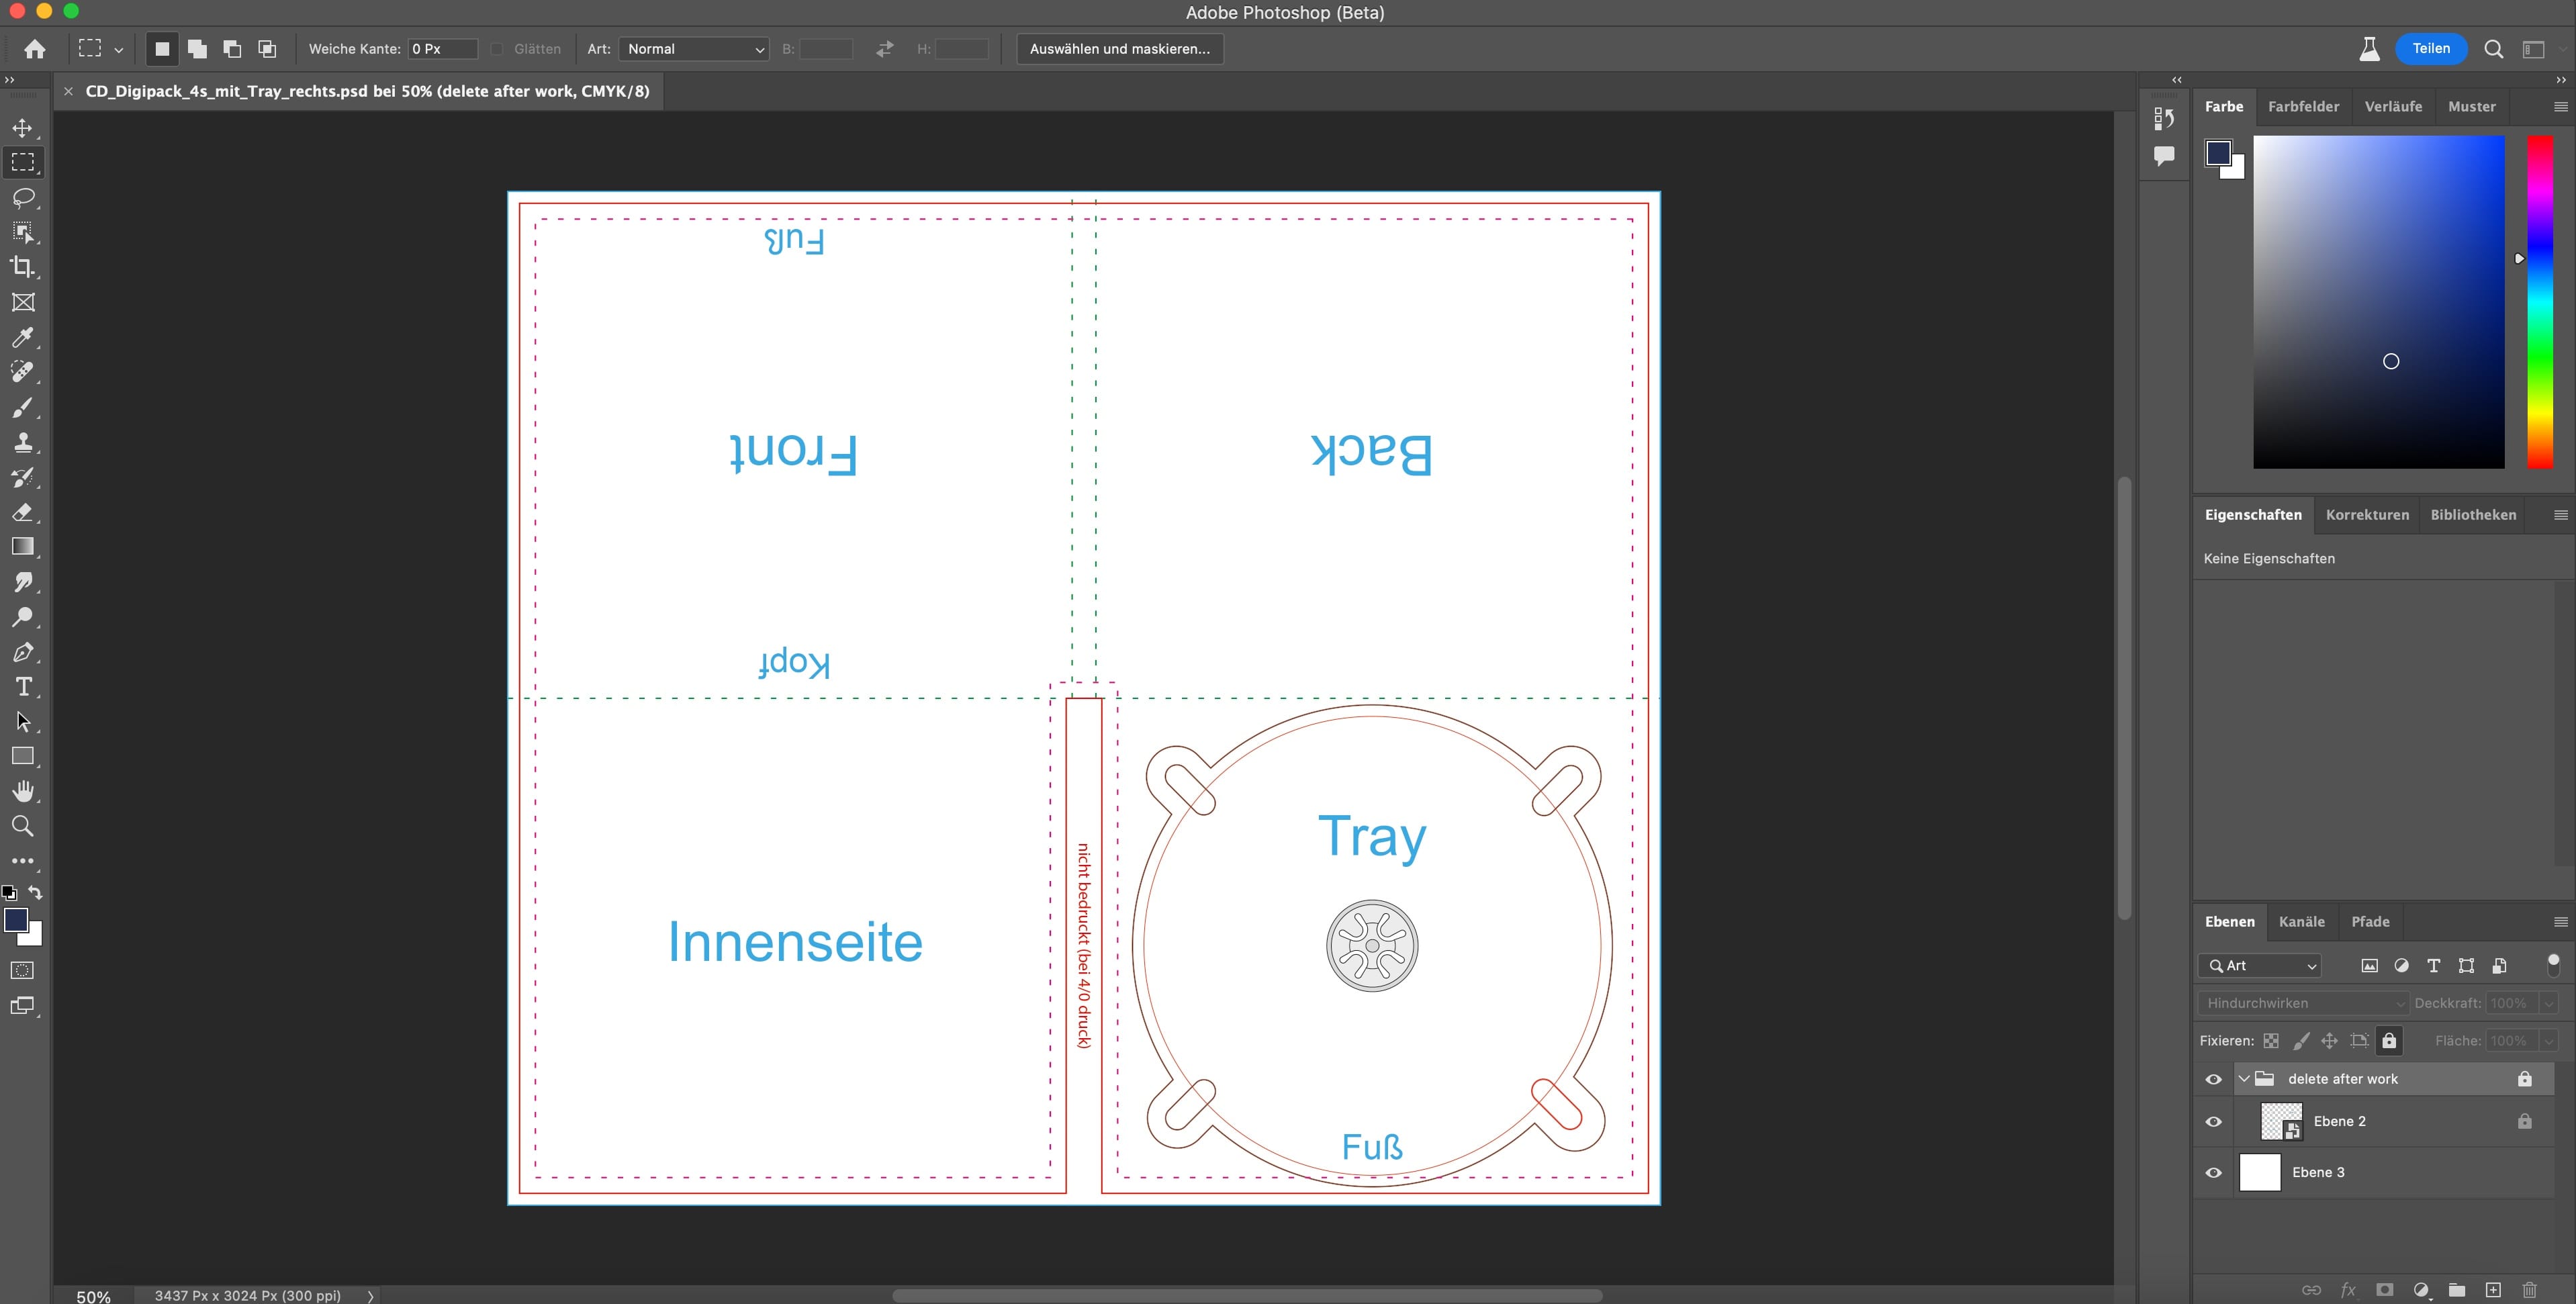 You will now see the opened Photoshop template.
3. Design Front Cover
3.1. Prepare Workspace
In the Layers panel (usually found at the bottom right), select "Layer 3" by clicking on the name once:
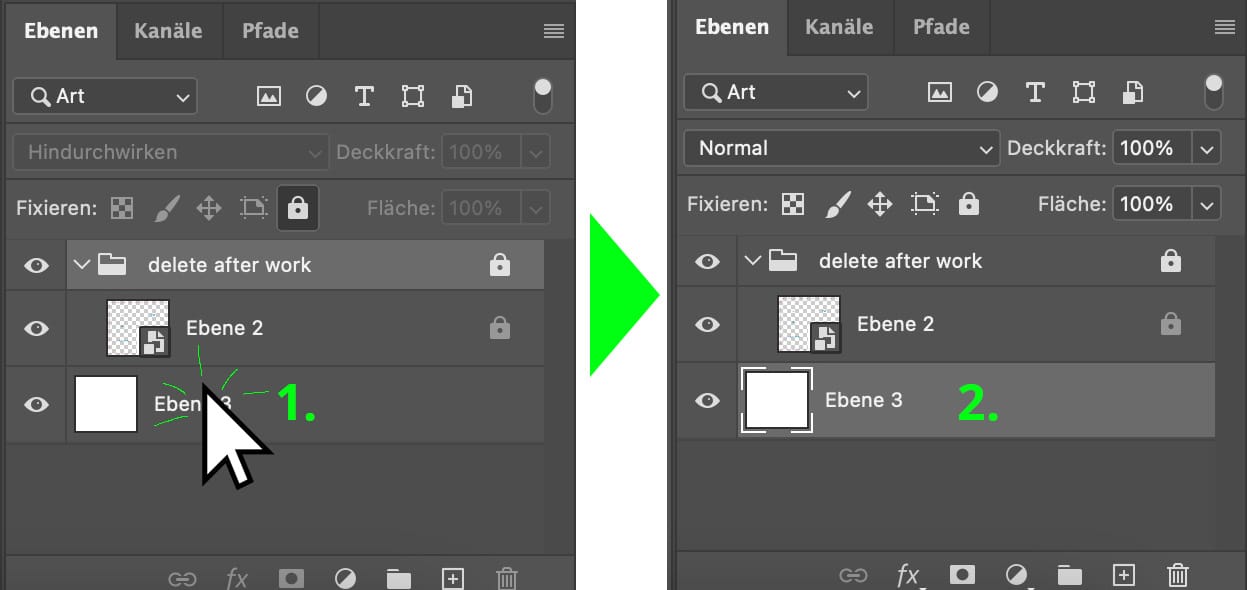
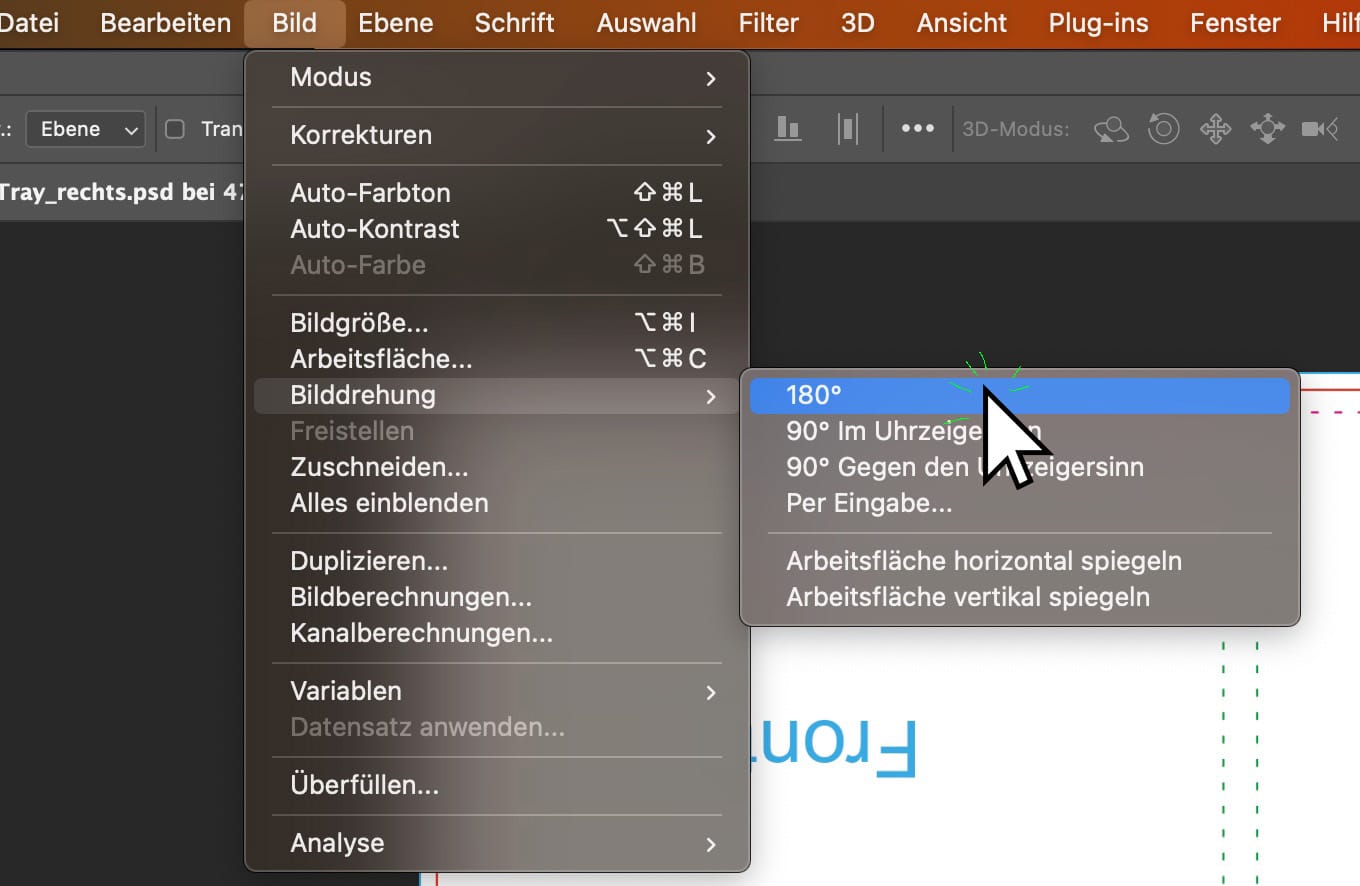
We rotate the workspace, and therefore the template, by 180 degrees to better visualize the front cover.
Click on "Image" -> "Image Rotation" -> "180°" in the menu.
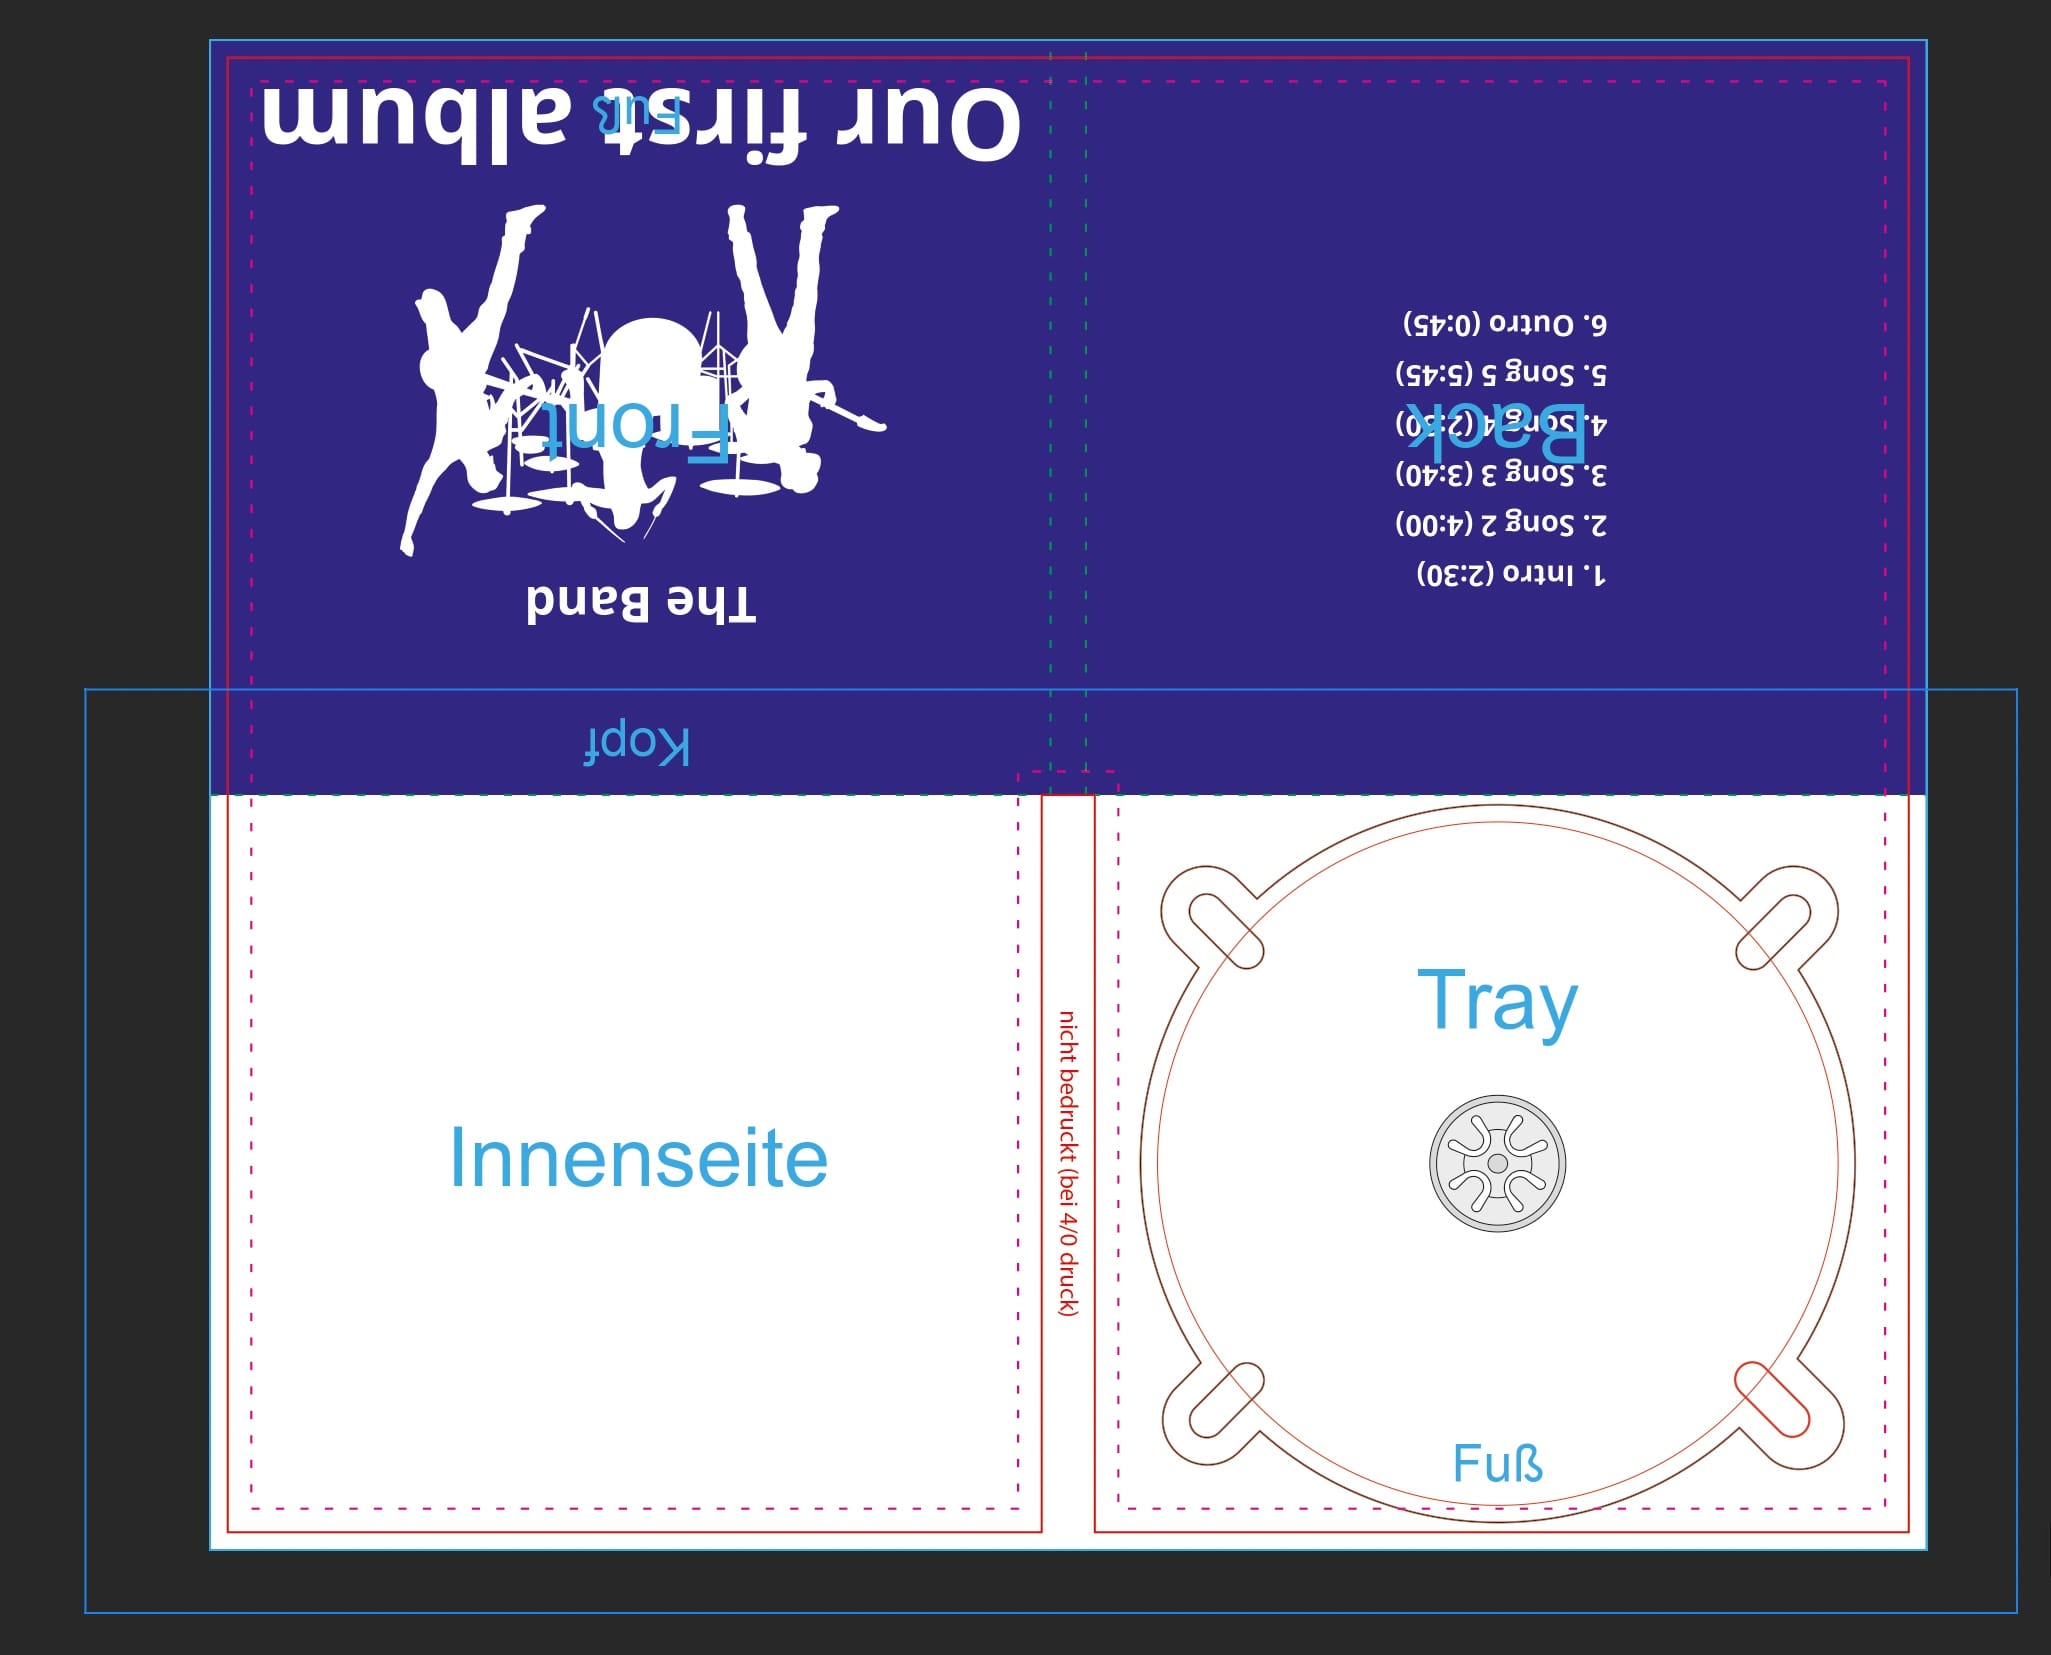
The workspace should now look like this:
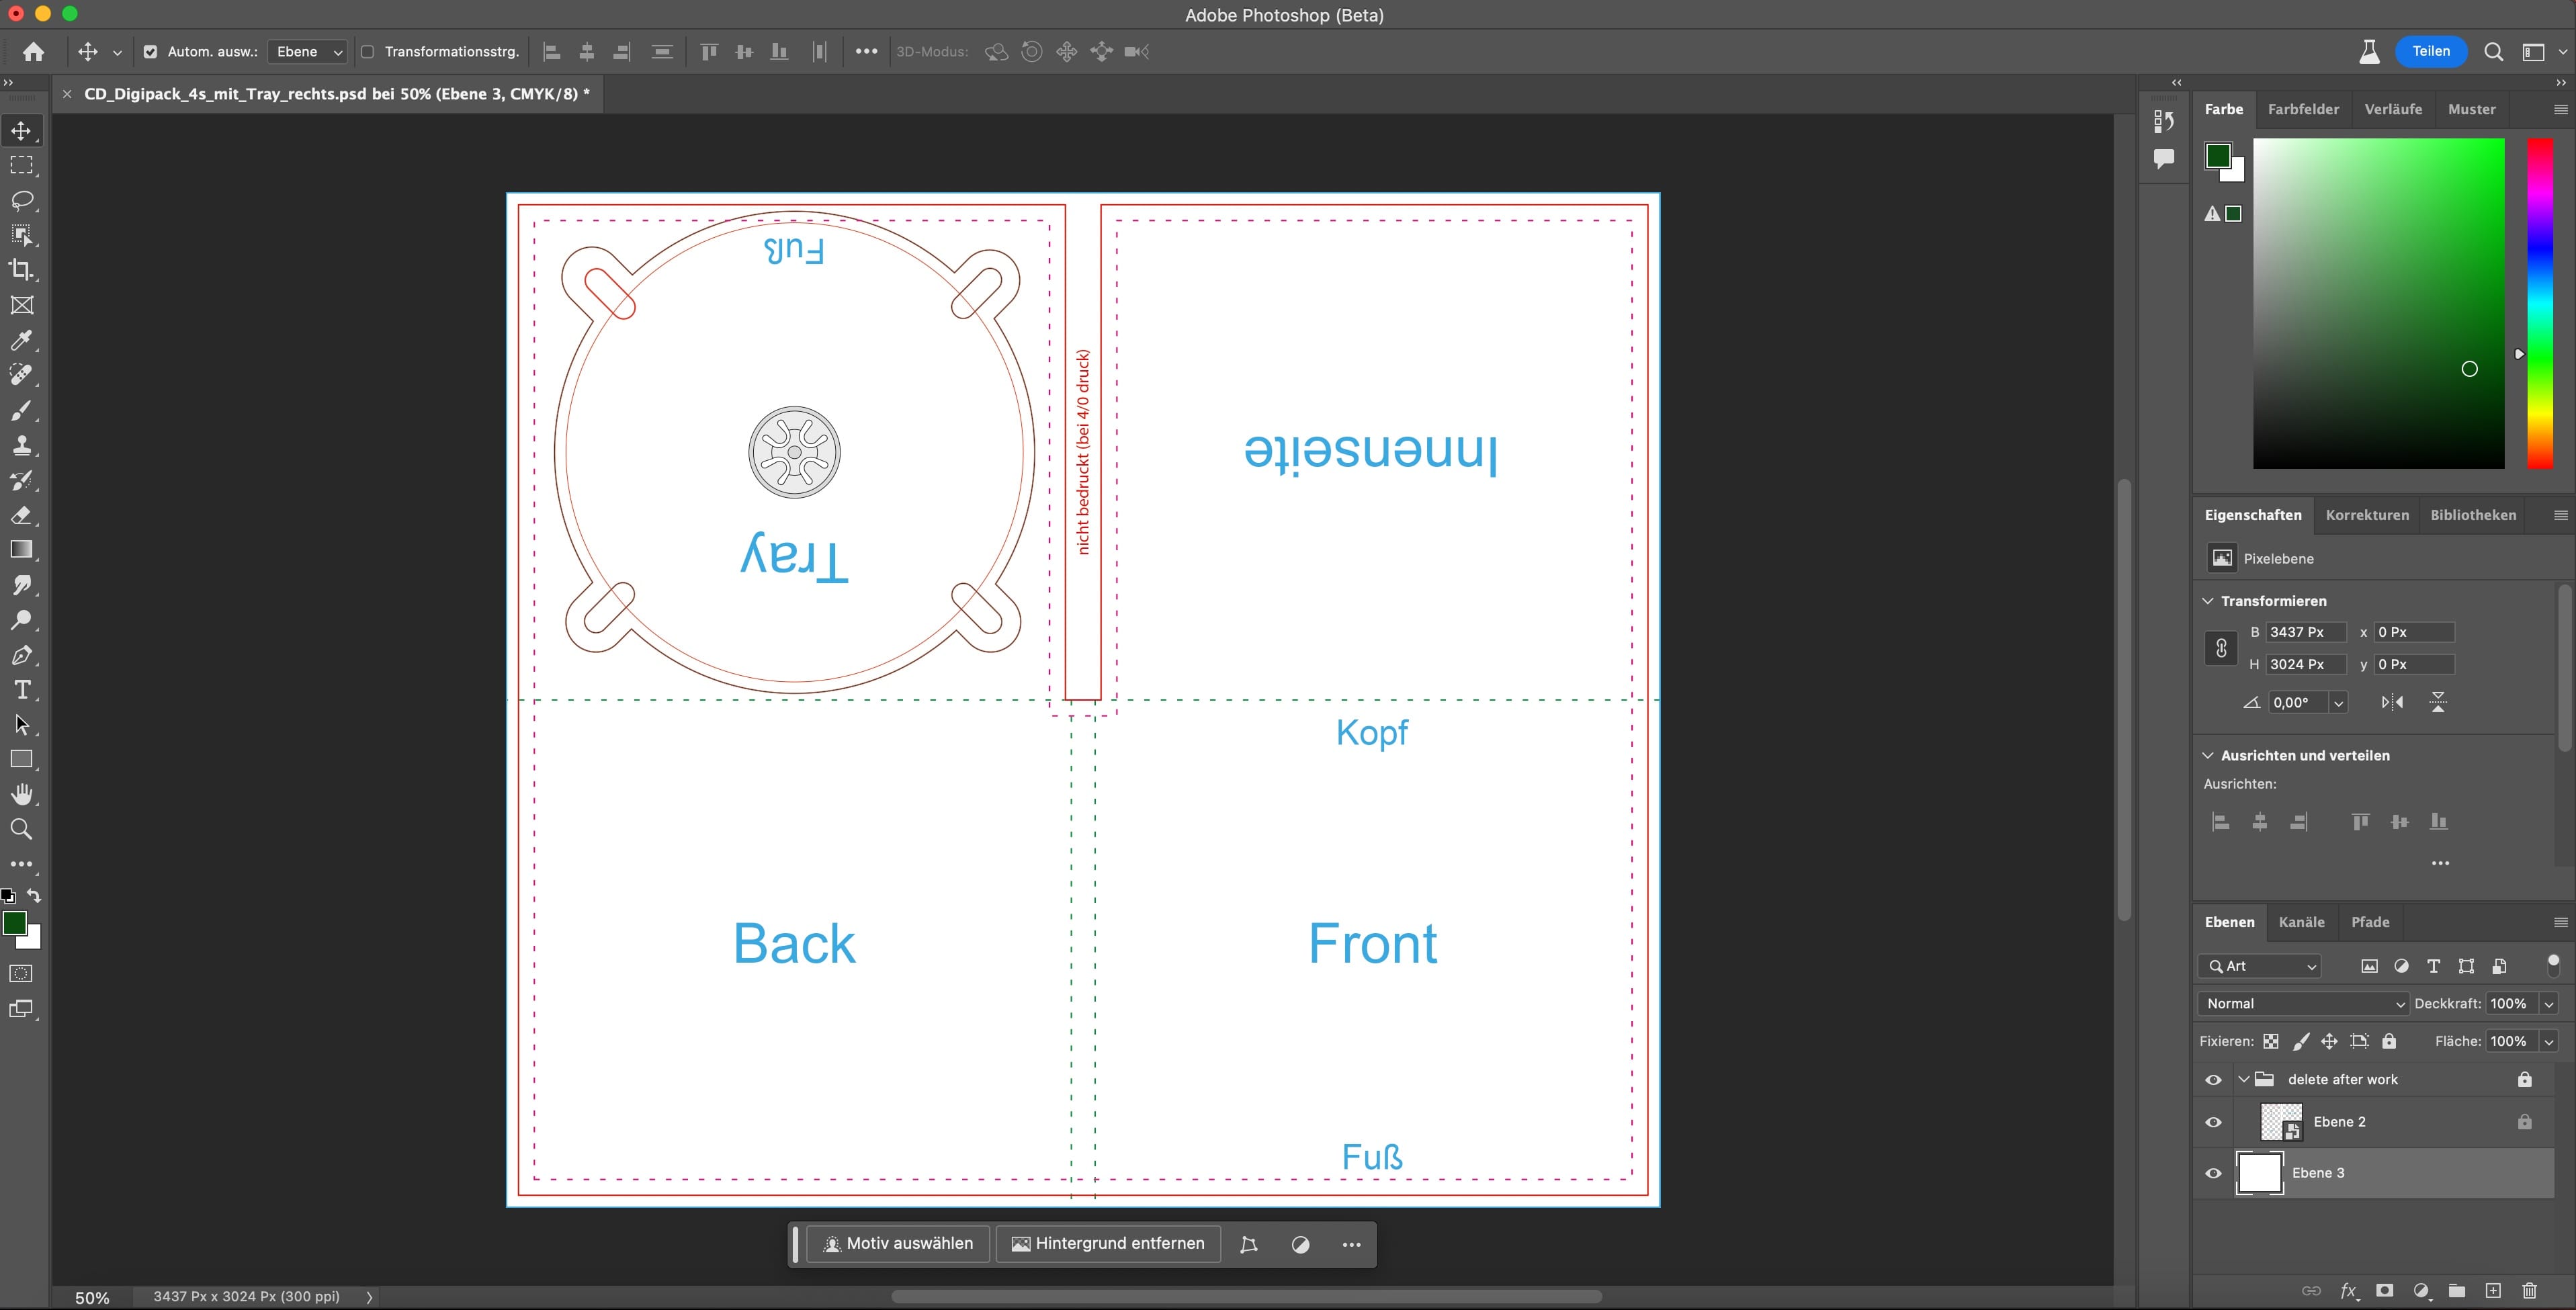 Now we can design the front cover more easily.
3.2. Design
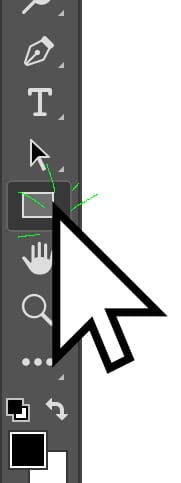
Click on the Rectangle Tool in the Tool Palette.
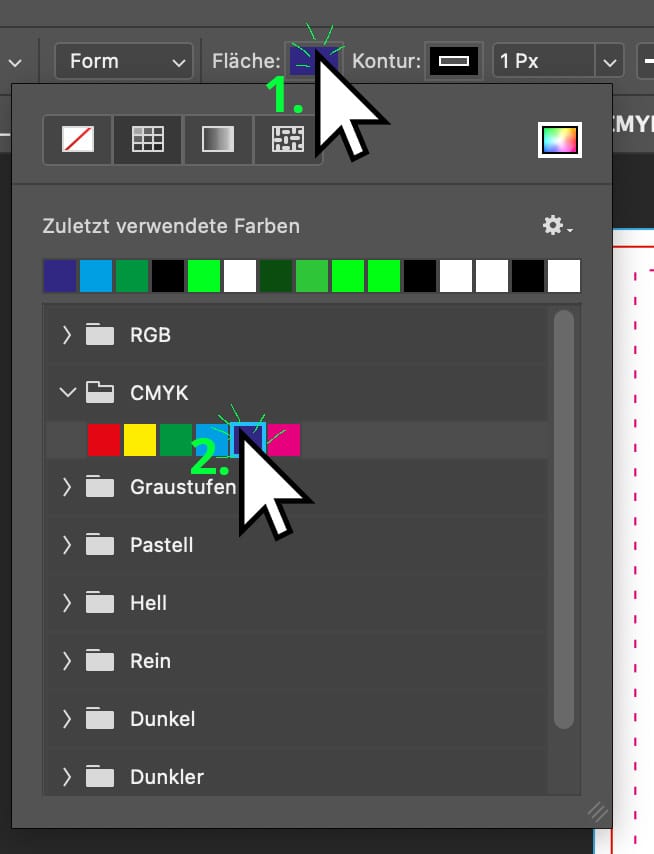
Now, set the background color for our front and back cover. In the tool menu, usually found near the top, click on Fill under (1.) Color and choose your (2.) desired color.
By default, shapes have a black outline. However, for our design, this would lead to black lines that we don't want. Remove the Stroke by entering the value "0".

Now, drag the background shape by holding the left mouse button from the top-left to the bottom-right. Release the mouse button once the shape is drawn.
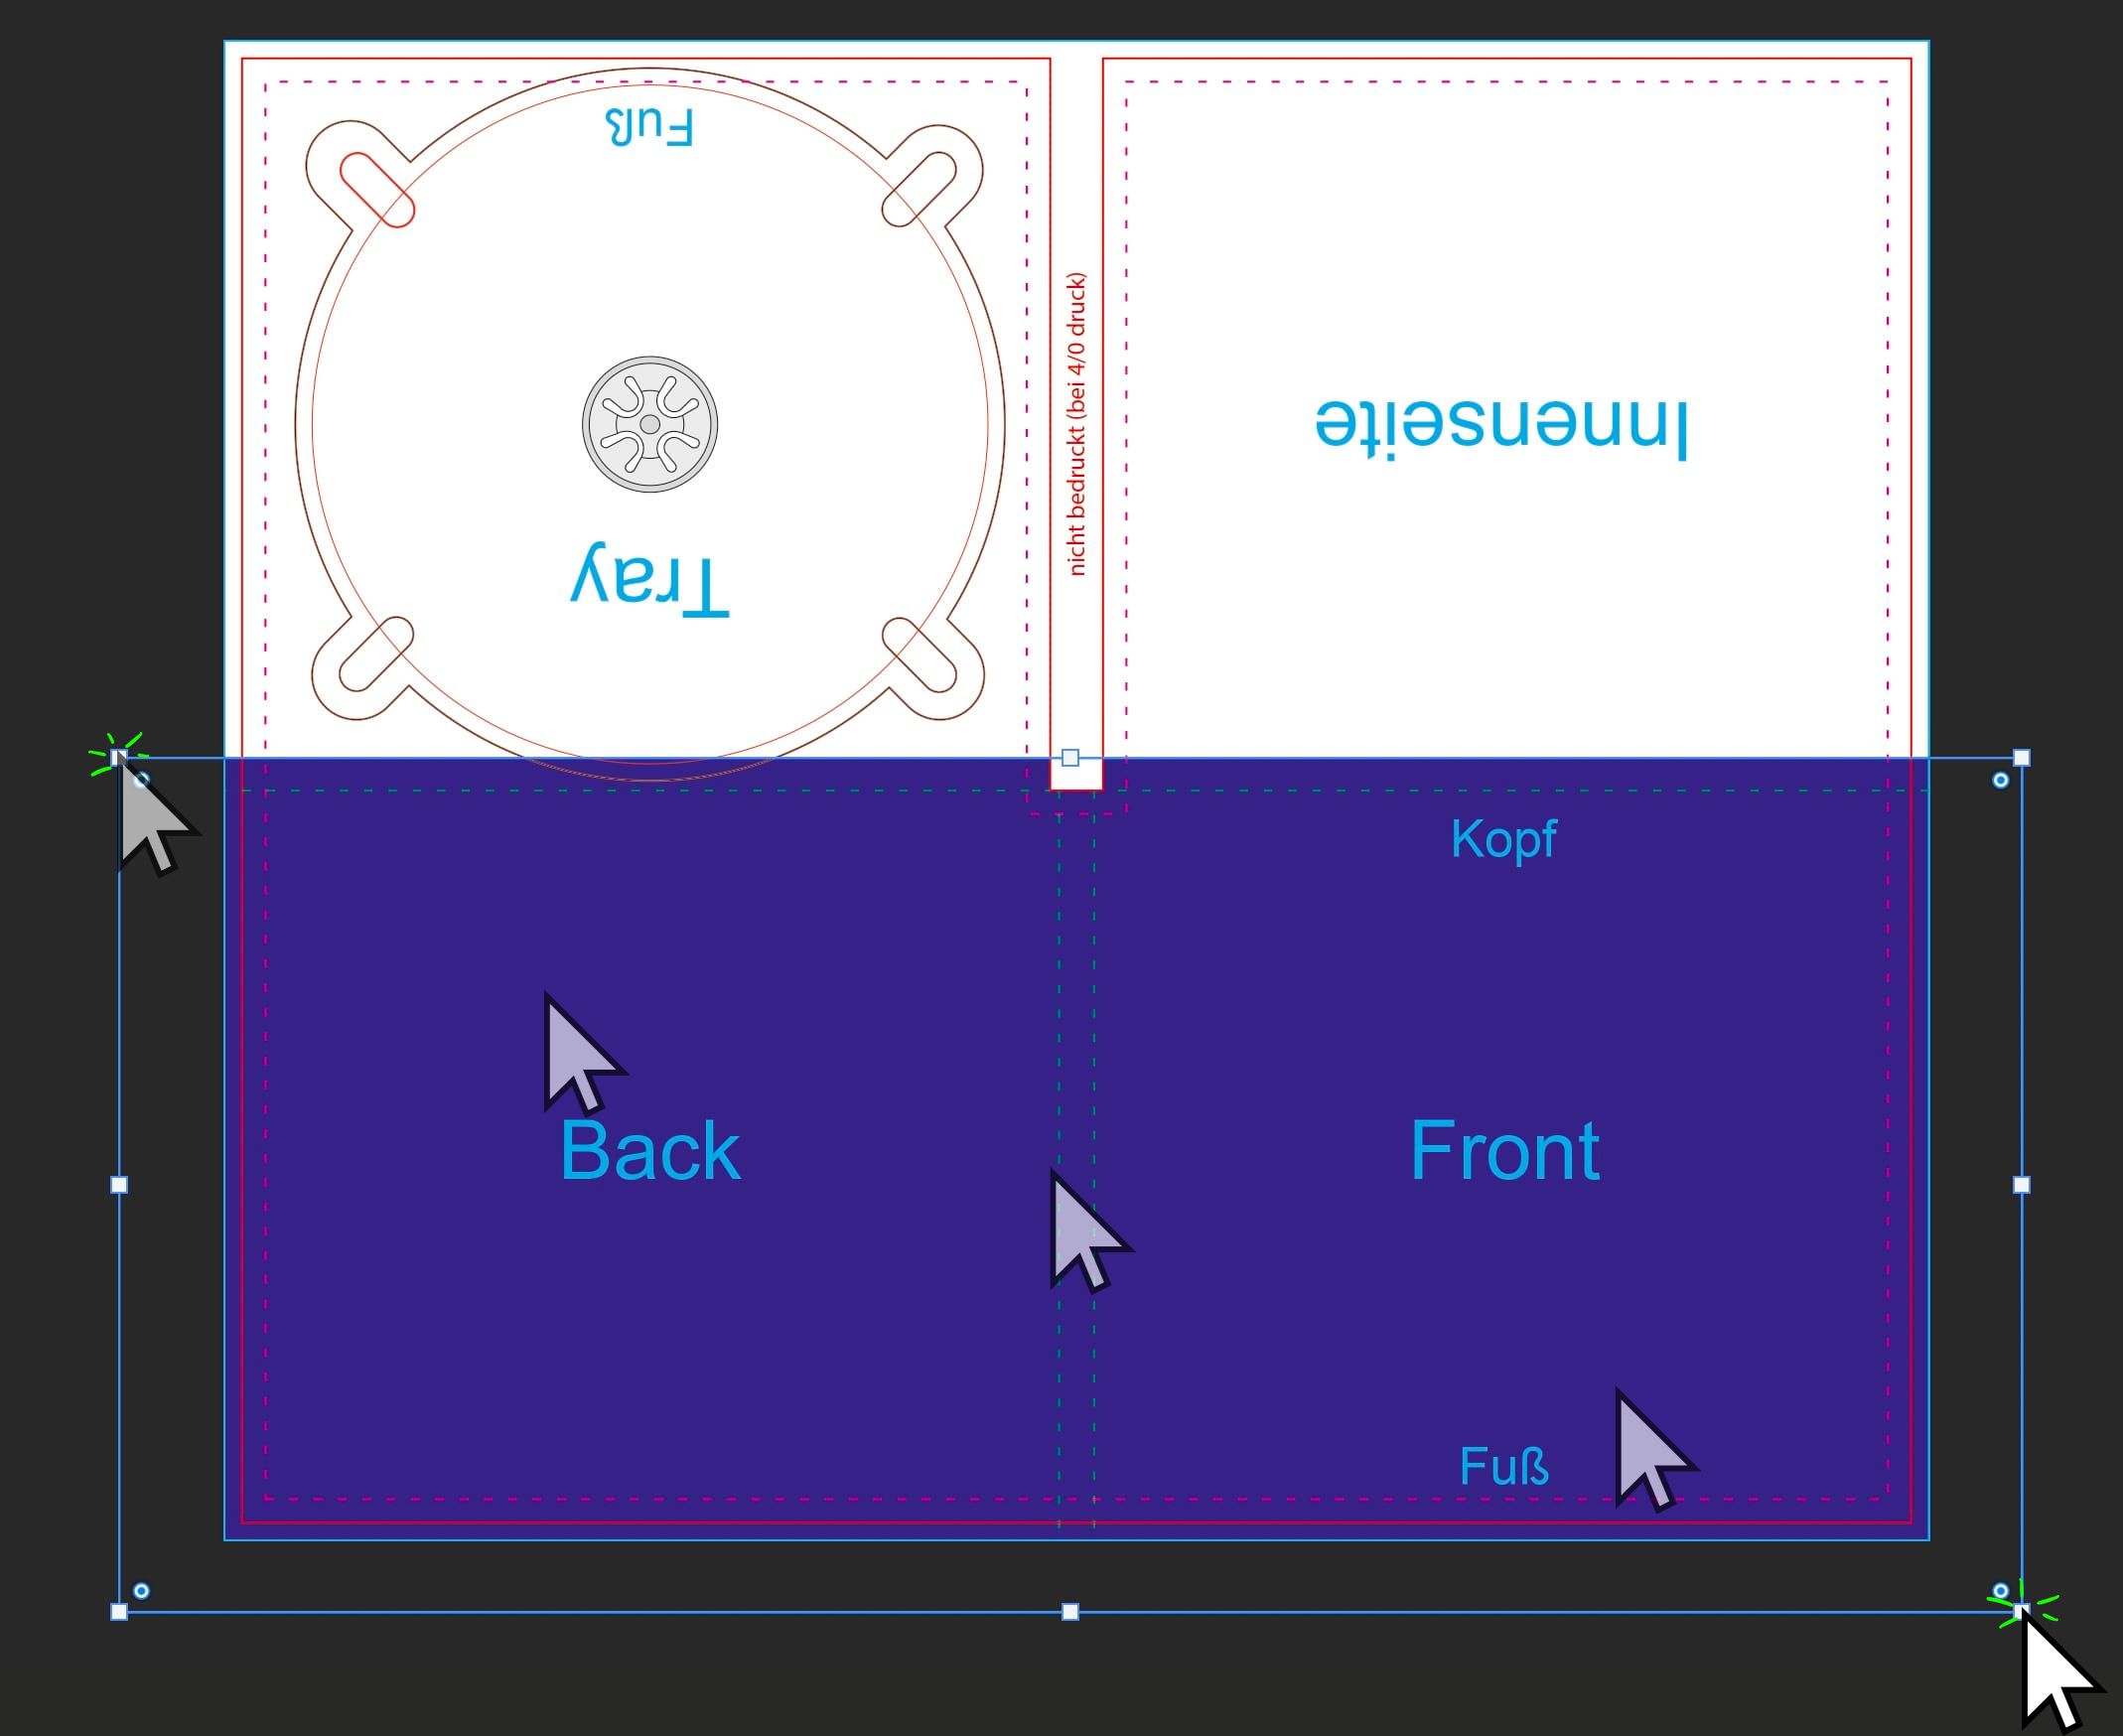
We need to center the background color vertically. Drag the color shape with the left mouse button slightly up or down until it snaps to the center. (A horizontal guide line will appear)
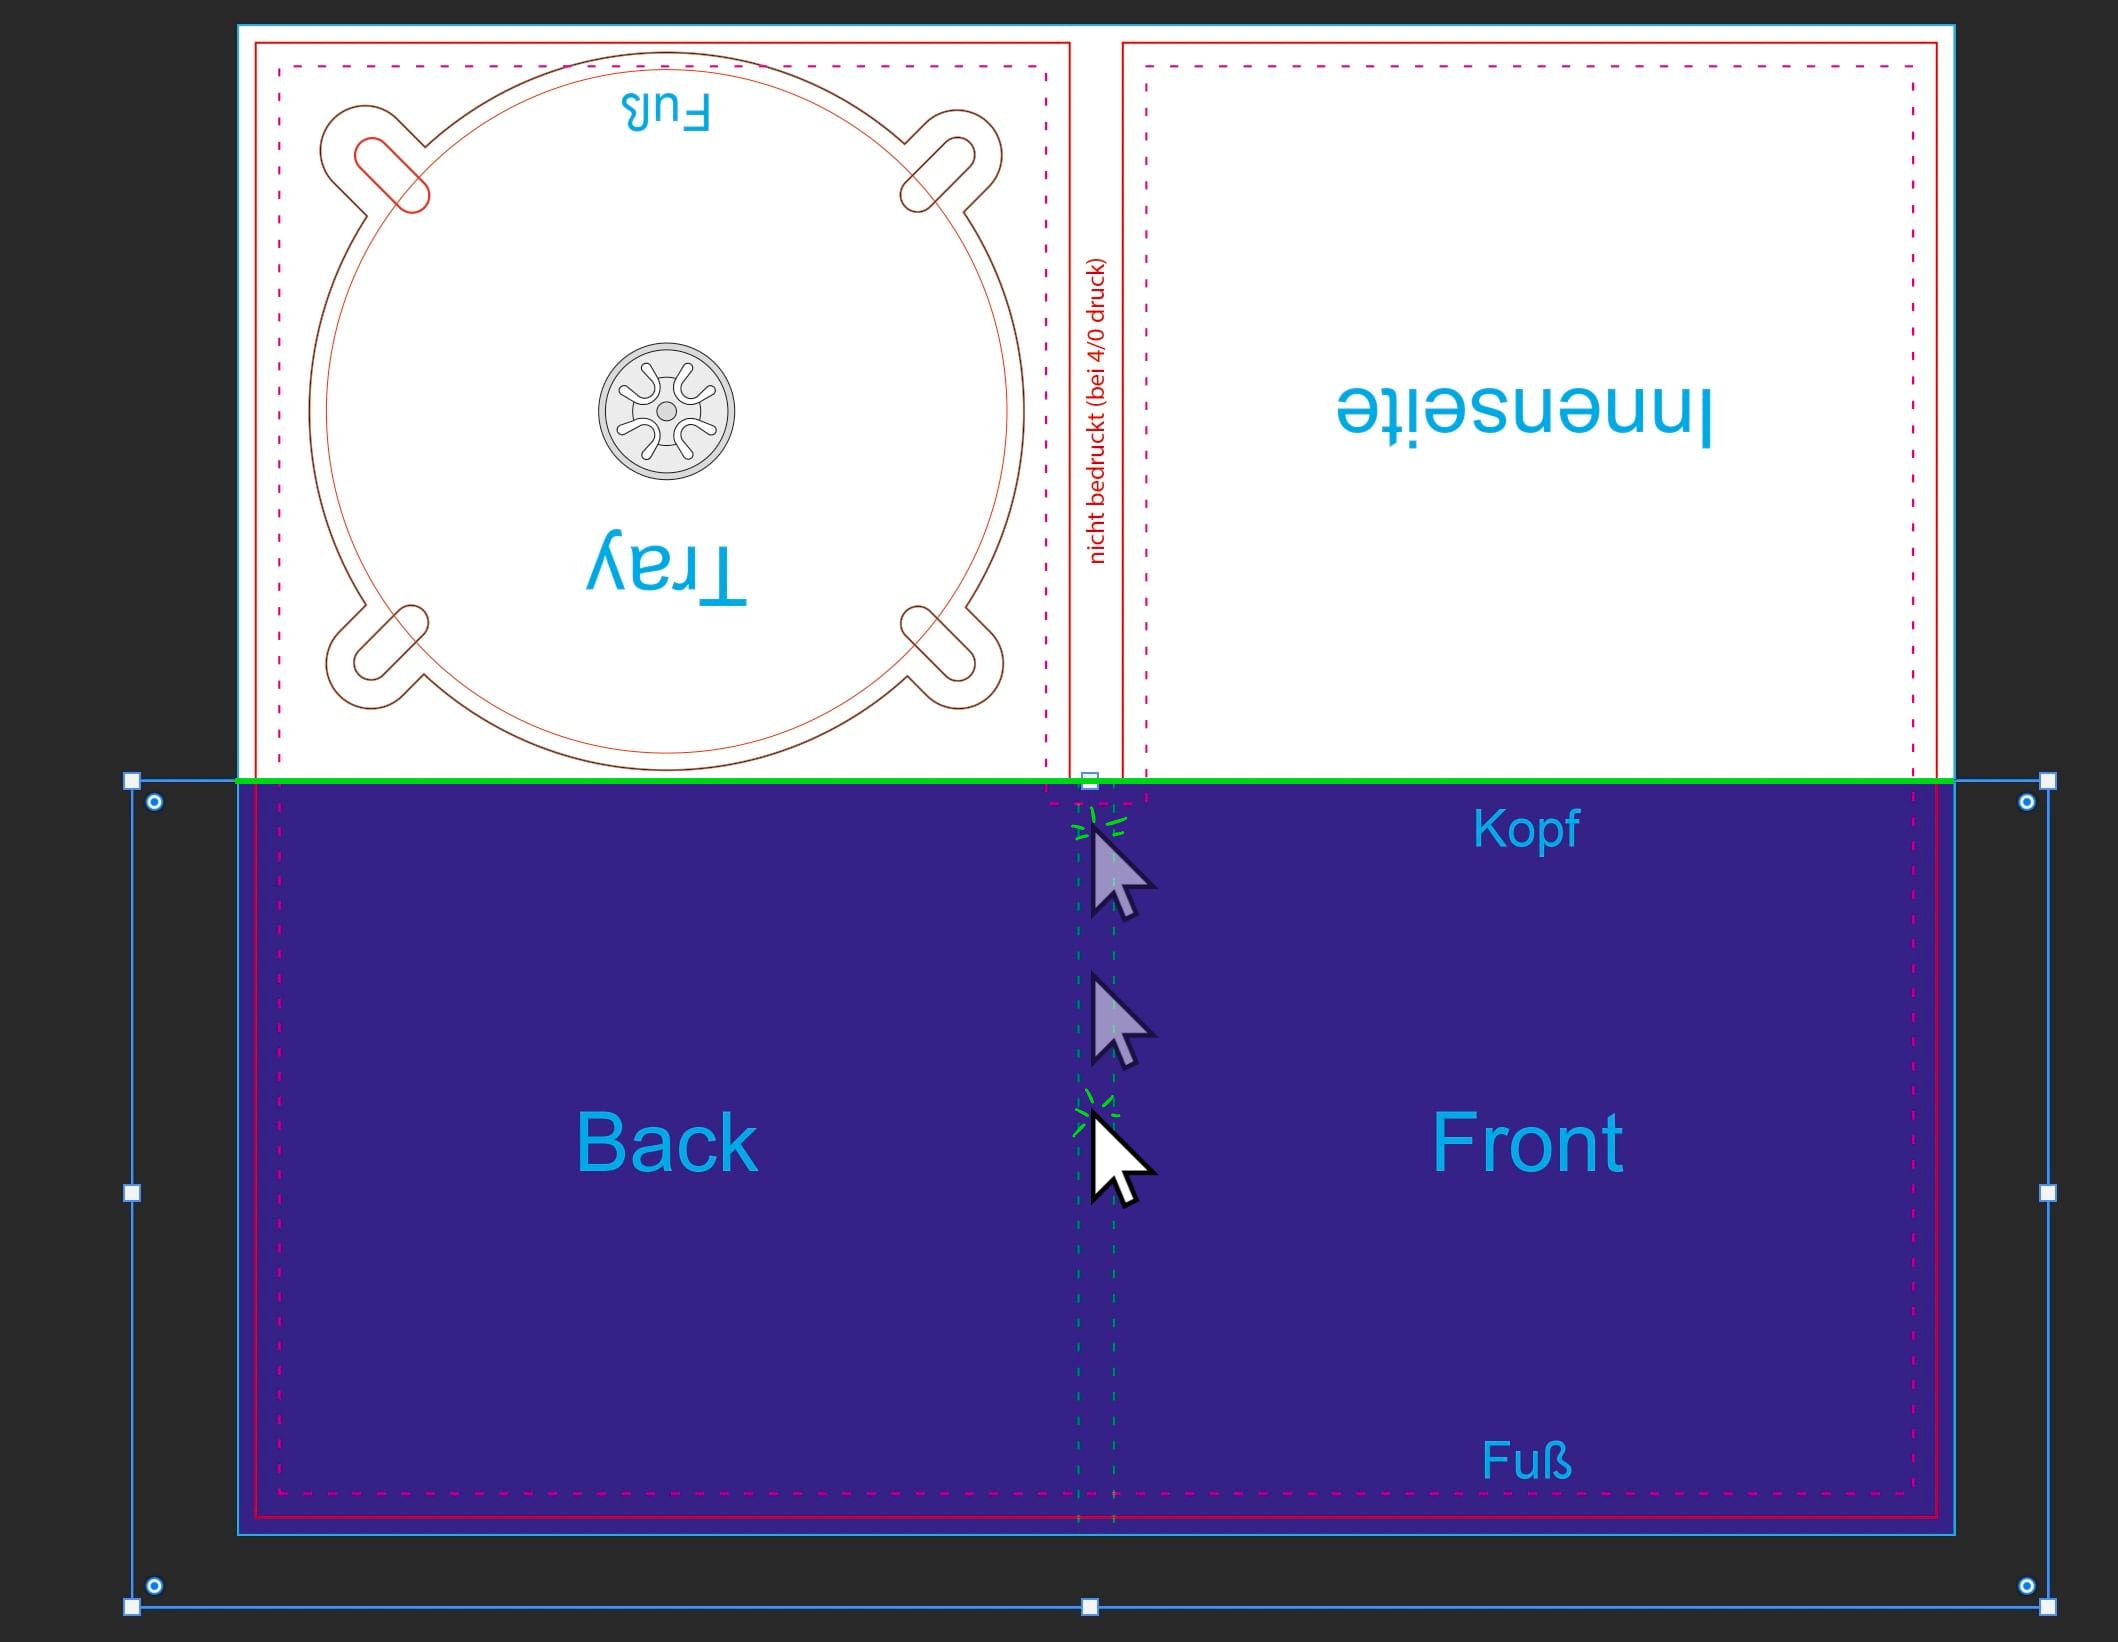 The background color is now on the front and back covers (Front and Back).
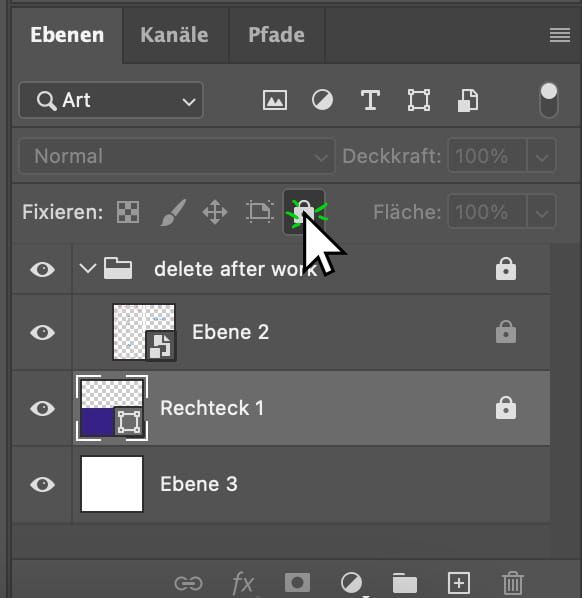
Your layers should now look like the next image. Make sure to lock your background layer to avoid accidentally selecting it when placing text and images.
Now, add the artist's name. Select the Text Tool in the Tool Palette.

In the tool menu, change the Text Color...

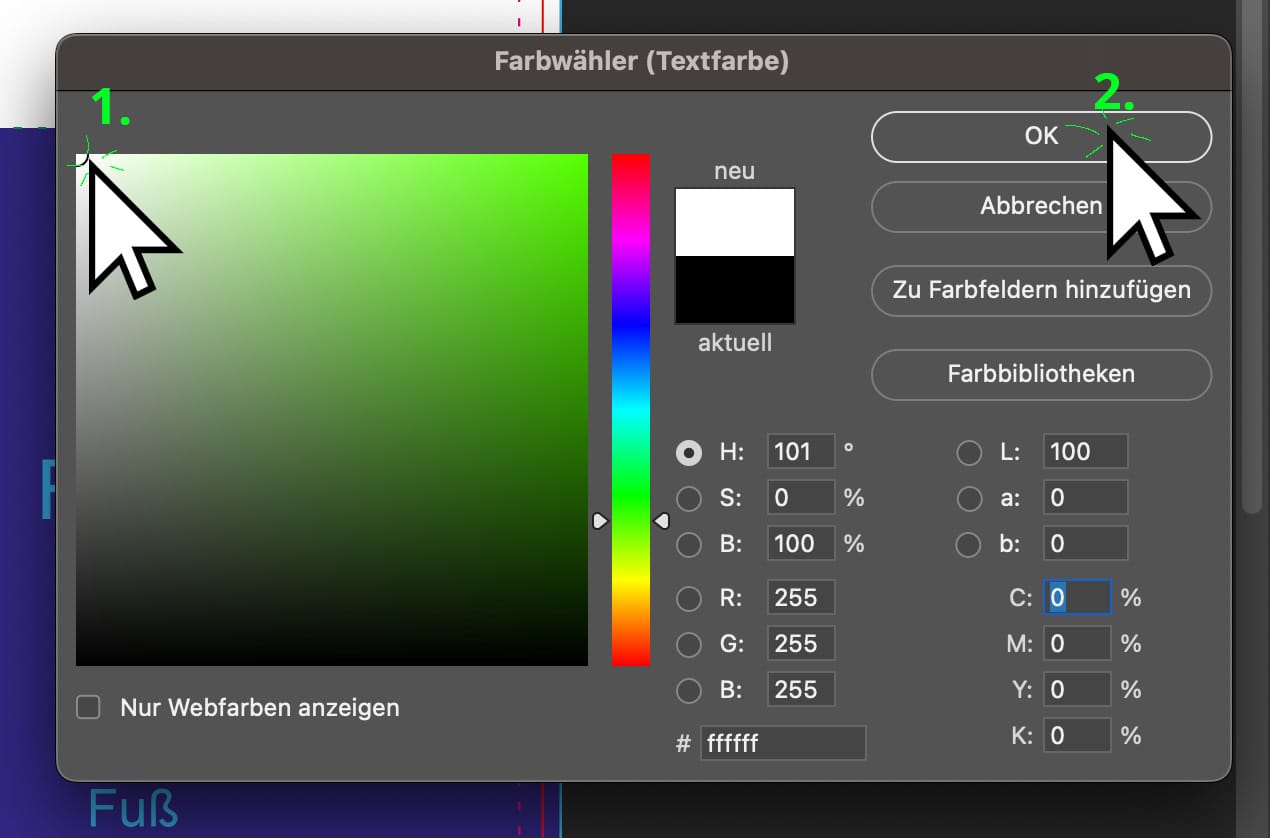
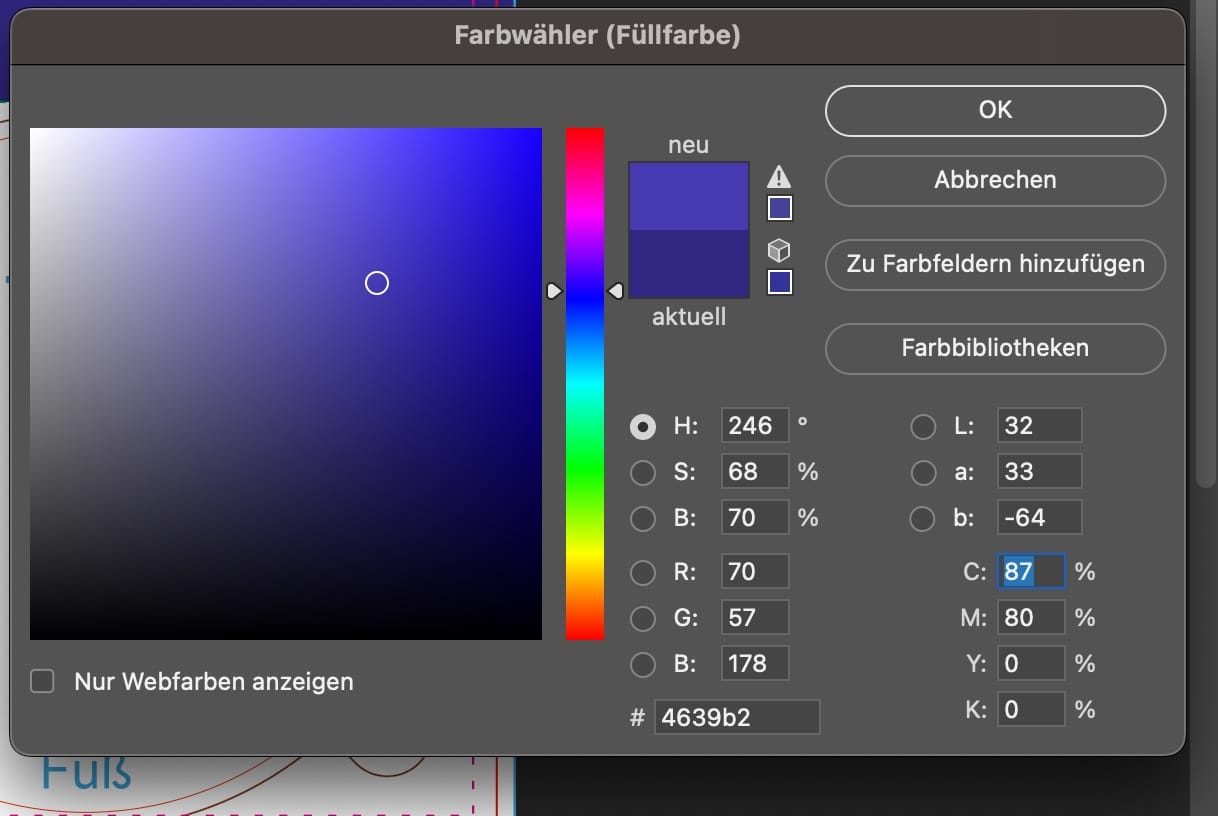
...You can use the (1.) Color Picker, in this example, we move the cursor to the top-left to select the white color. Then click "OK" (2).
Now, click once on the front cover. We will now write the name of our band, and you'll get...
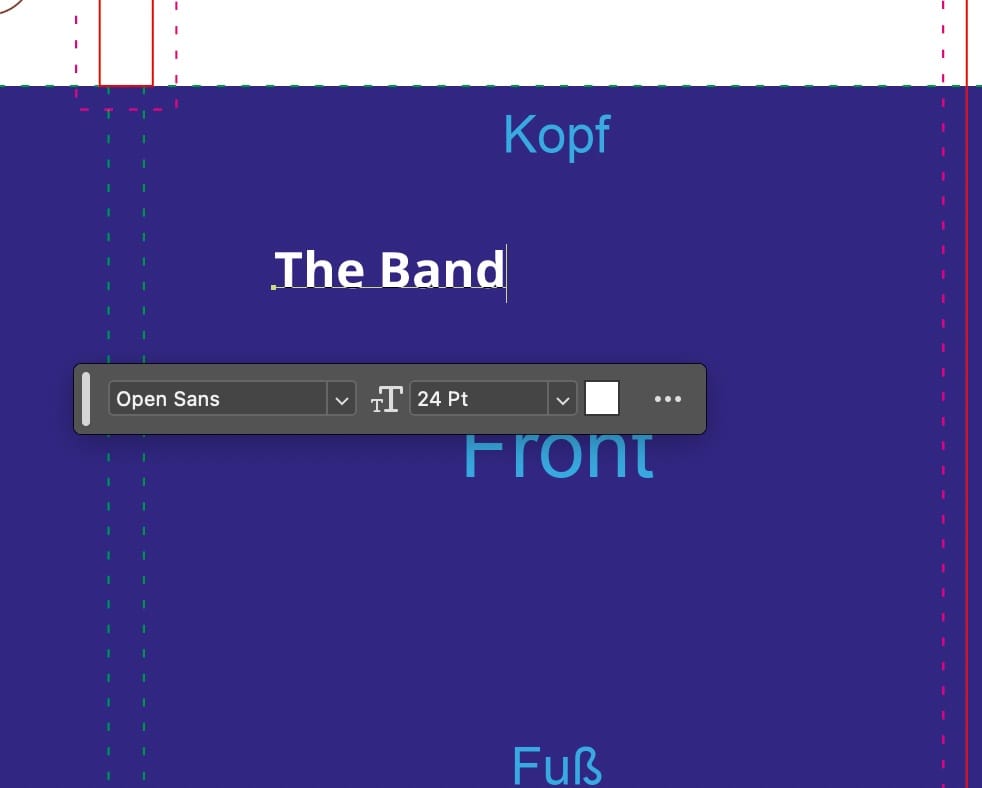 It now looks something like this. Feel free to choose the font, color, and text as you wish.
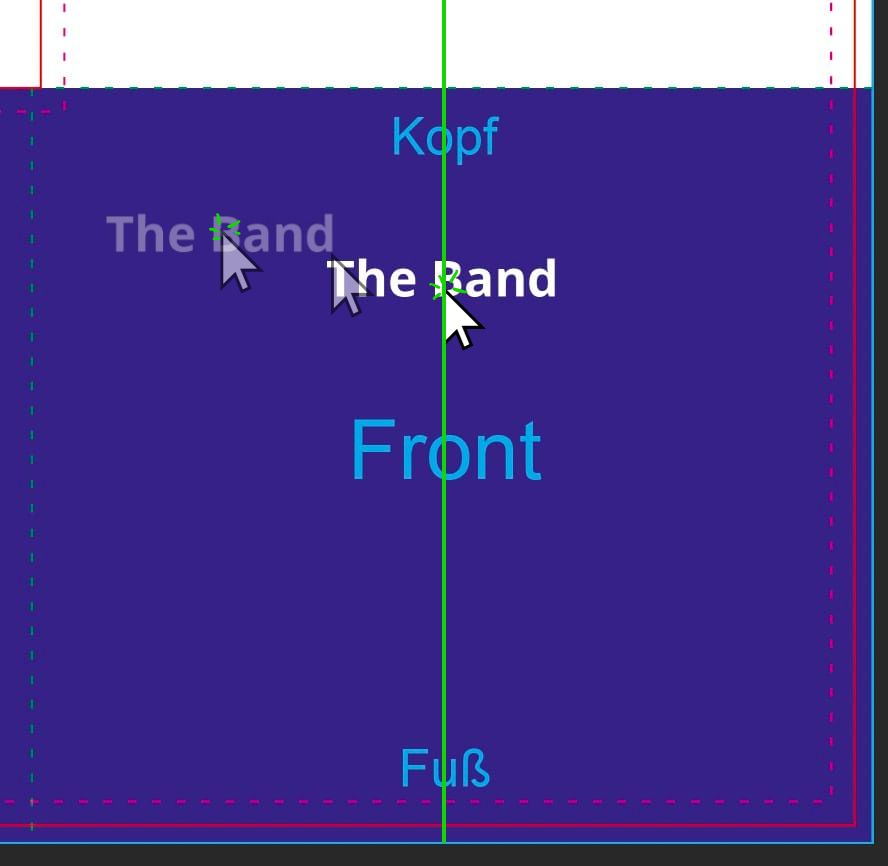
Now, move the text with the "Move Tool" found in the Tool Palette.

While holding the left mouse button, you can move the text to the center.
We also need to write the name of the album. Again, use the Text Tool to click on the cover and enter the album title.
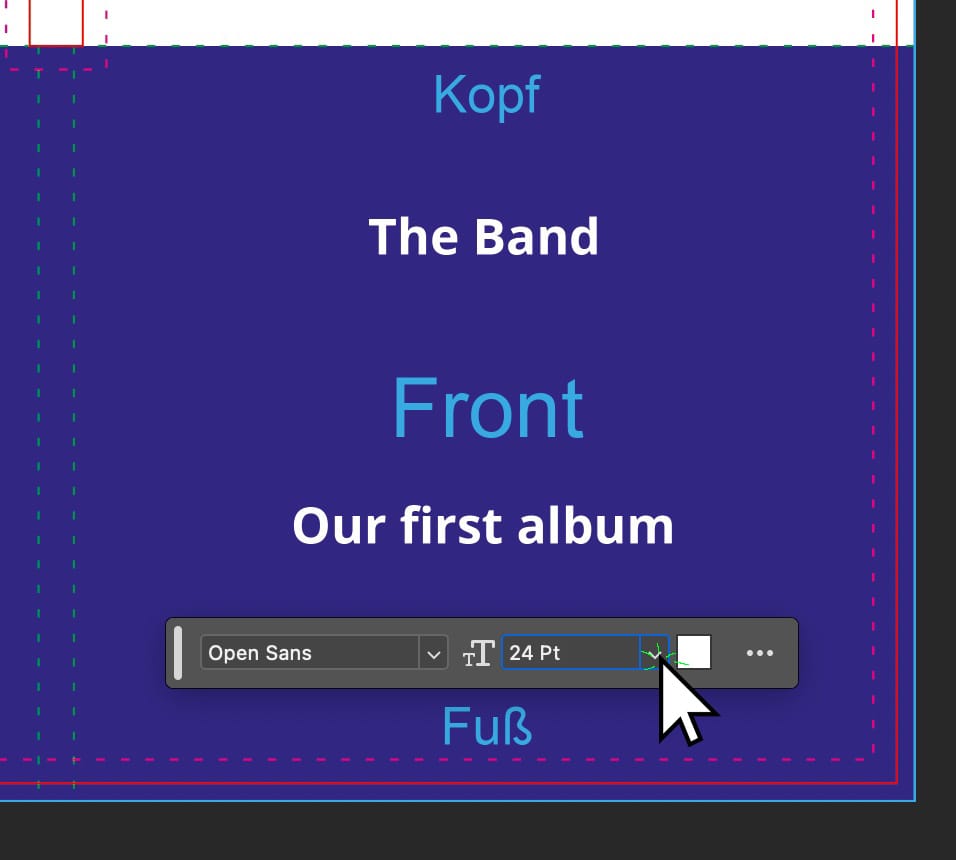
Your workspace should now look similar to this image.
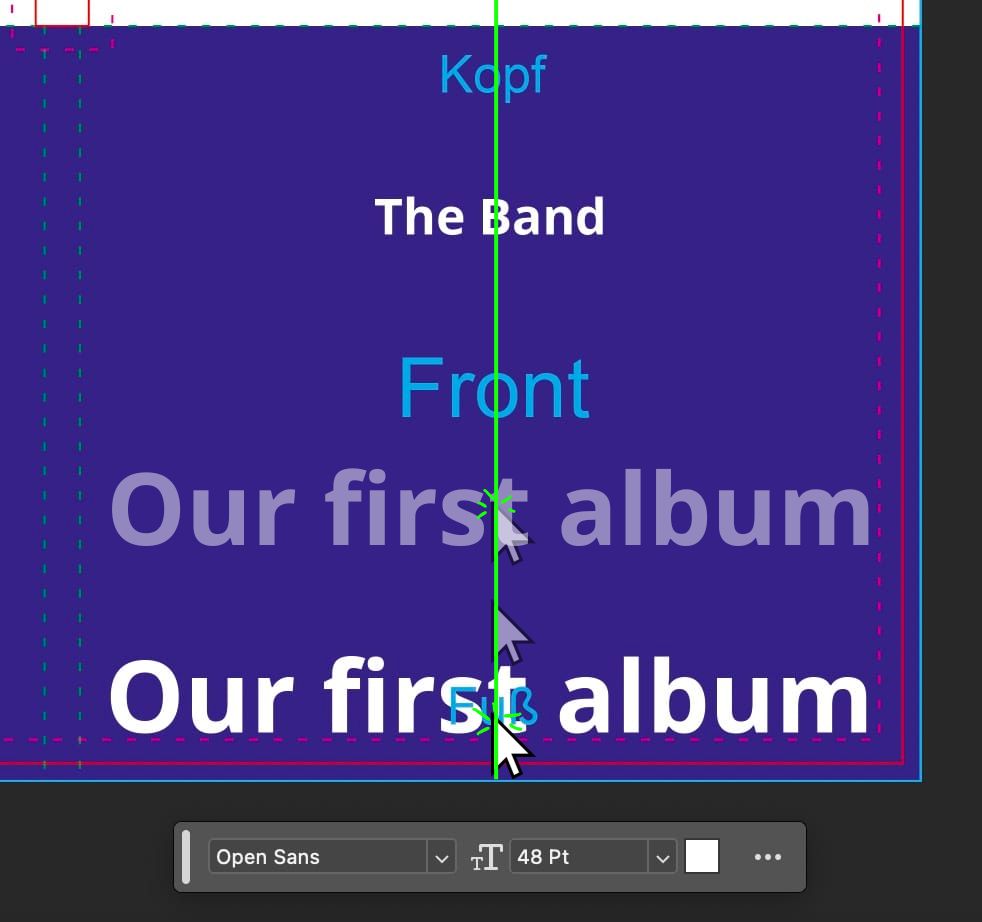
Now, let's insert our band photo. Click on "File" -> "Place Embedded..." in the Menu.
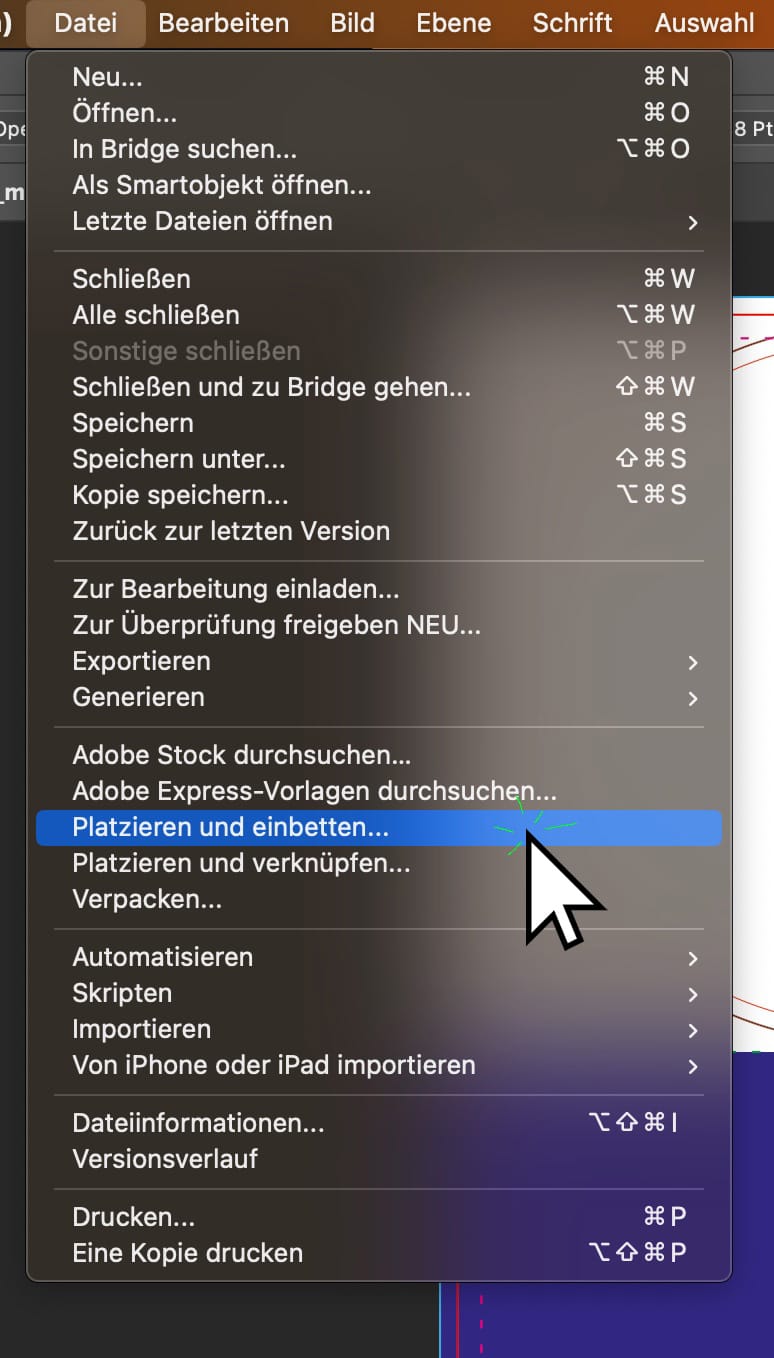
In the file selection dialog, choose the (1.) image file and press (2.) "Place".
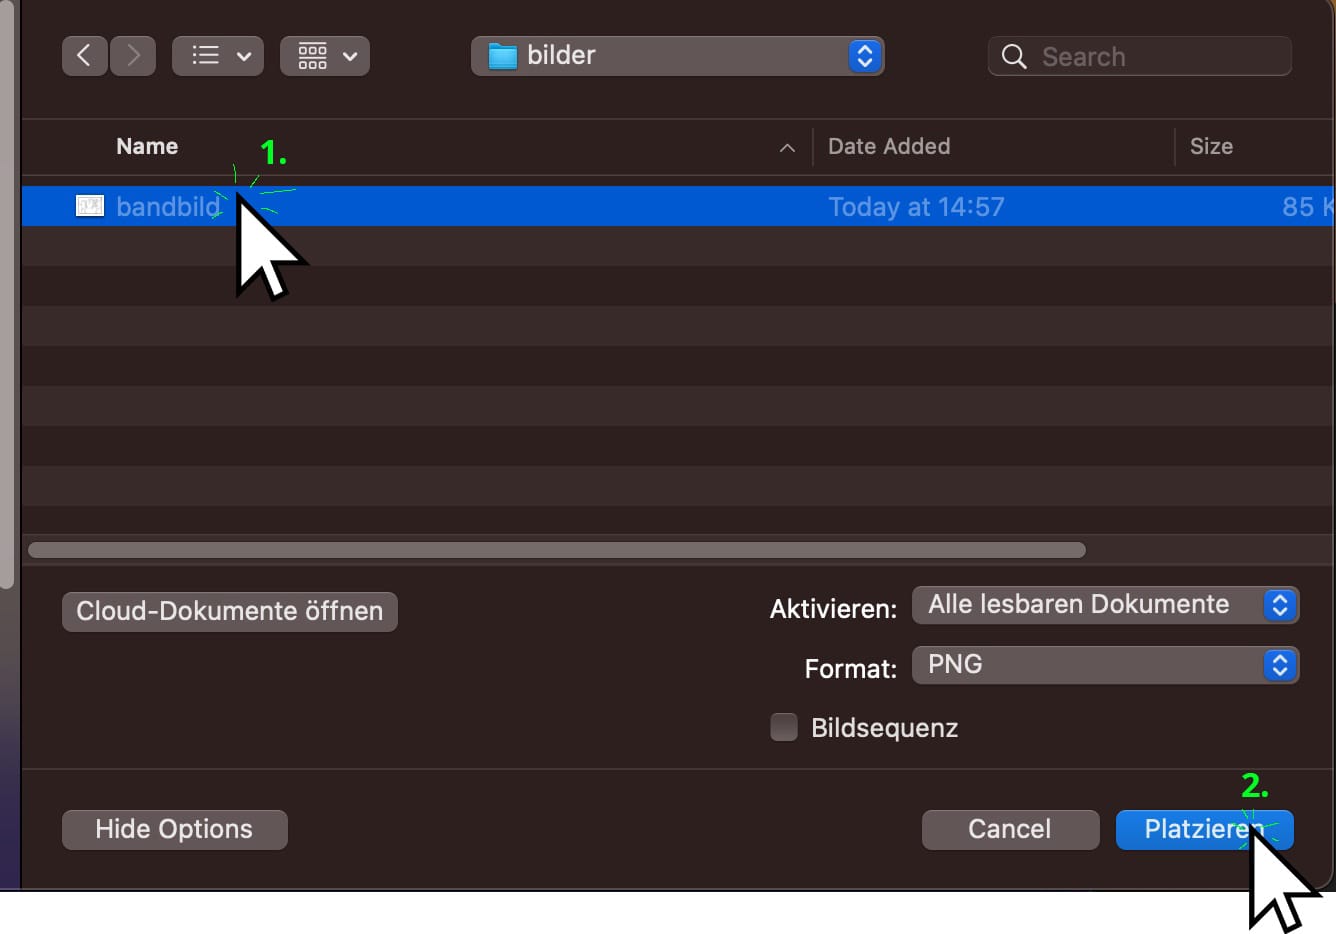
As our image is large, it needs to be resized: Click on the white point in the top-left corner, drag it, with the mouse button held down, halfway down to the bottom-right, and release the mouse button.
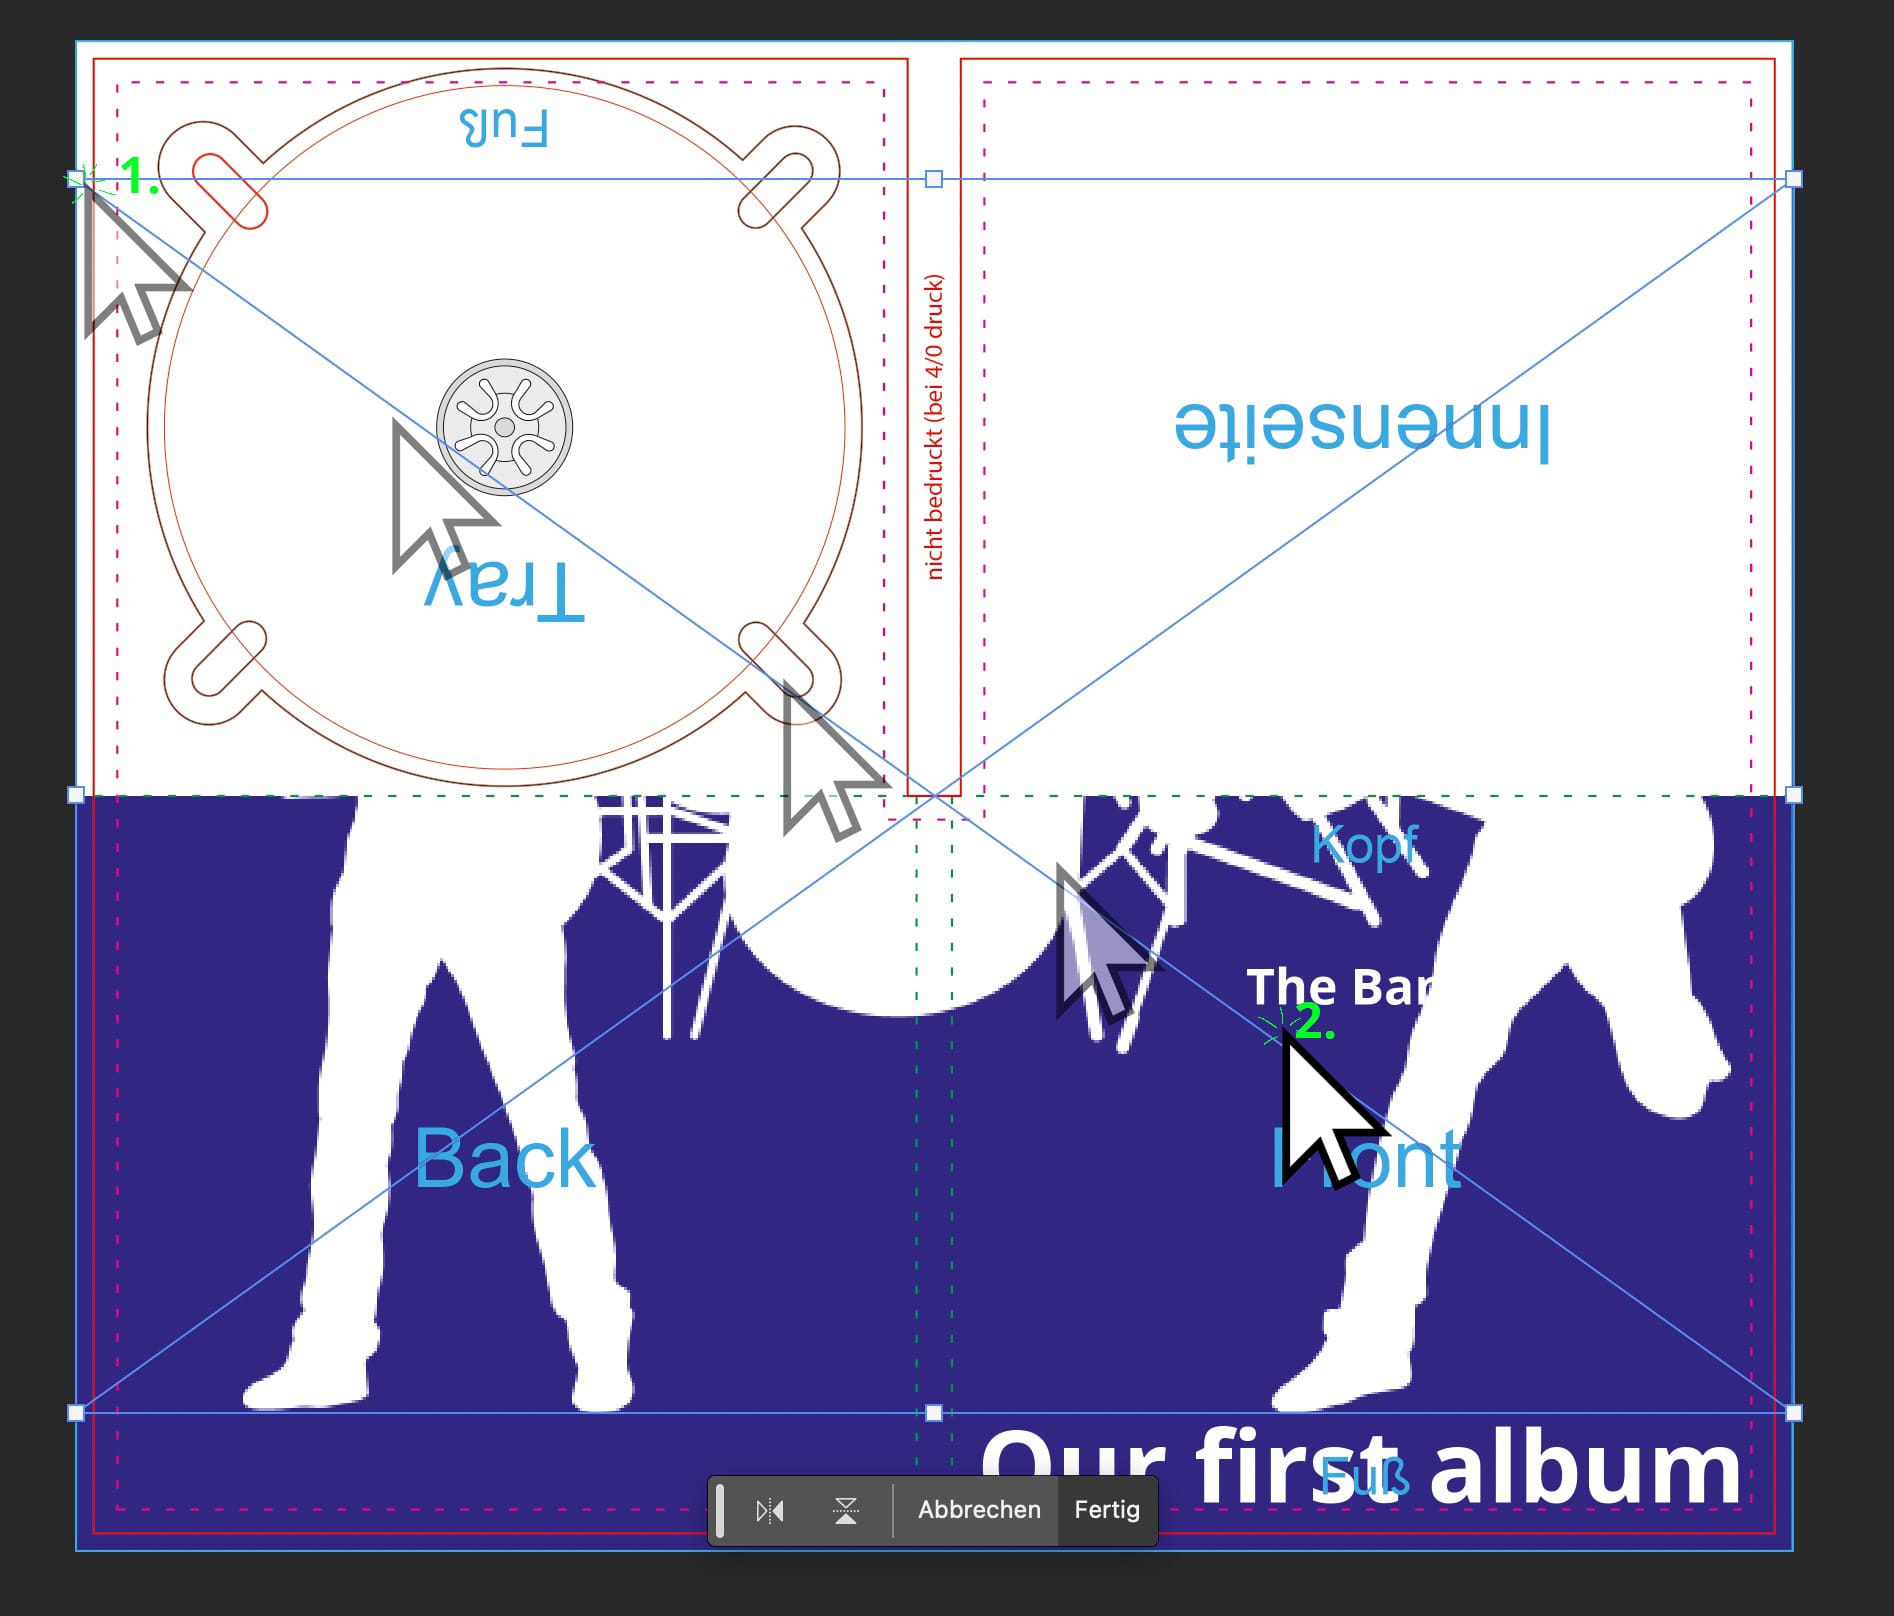
The image is now smaller and just needs to be moved. Click in the center of the image and drag it to the middle.
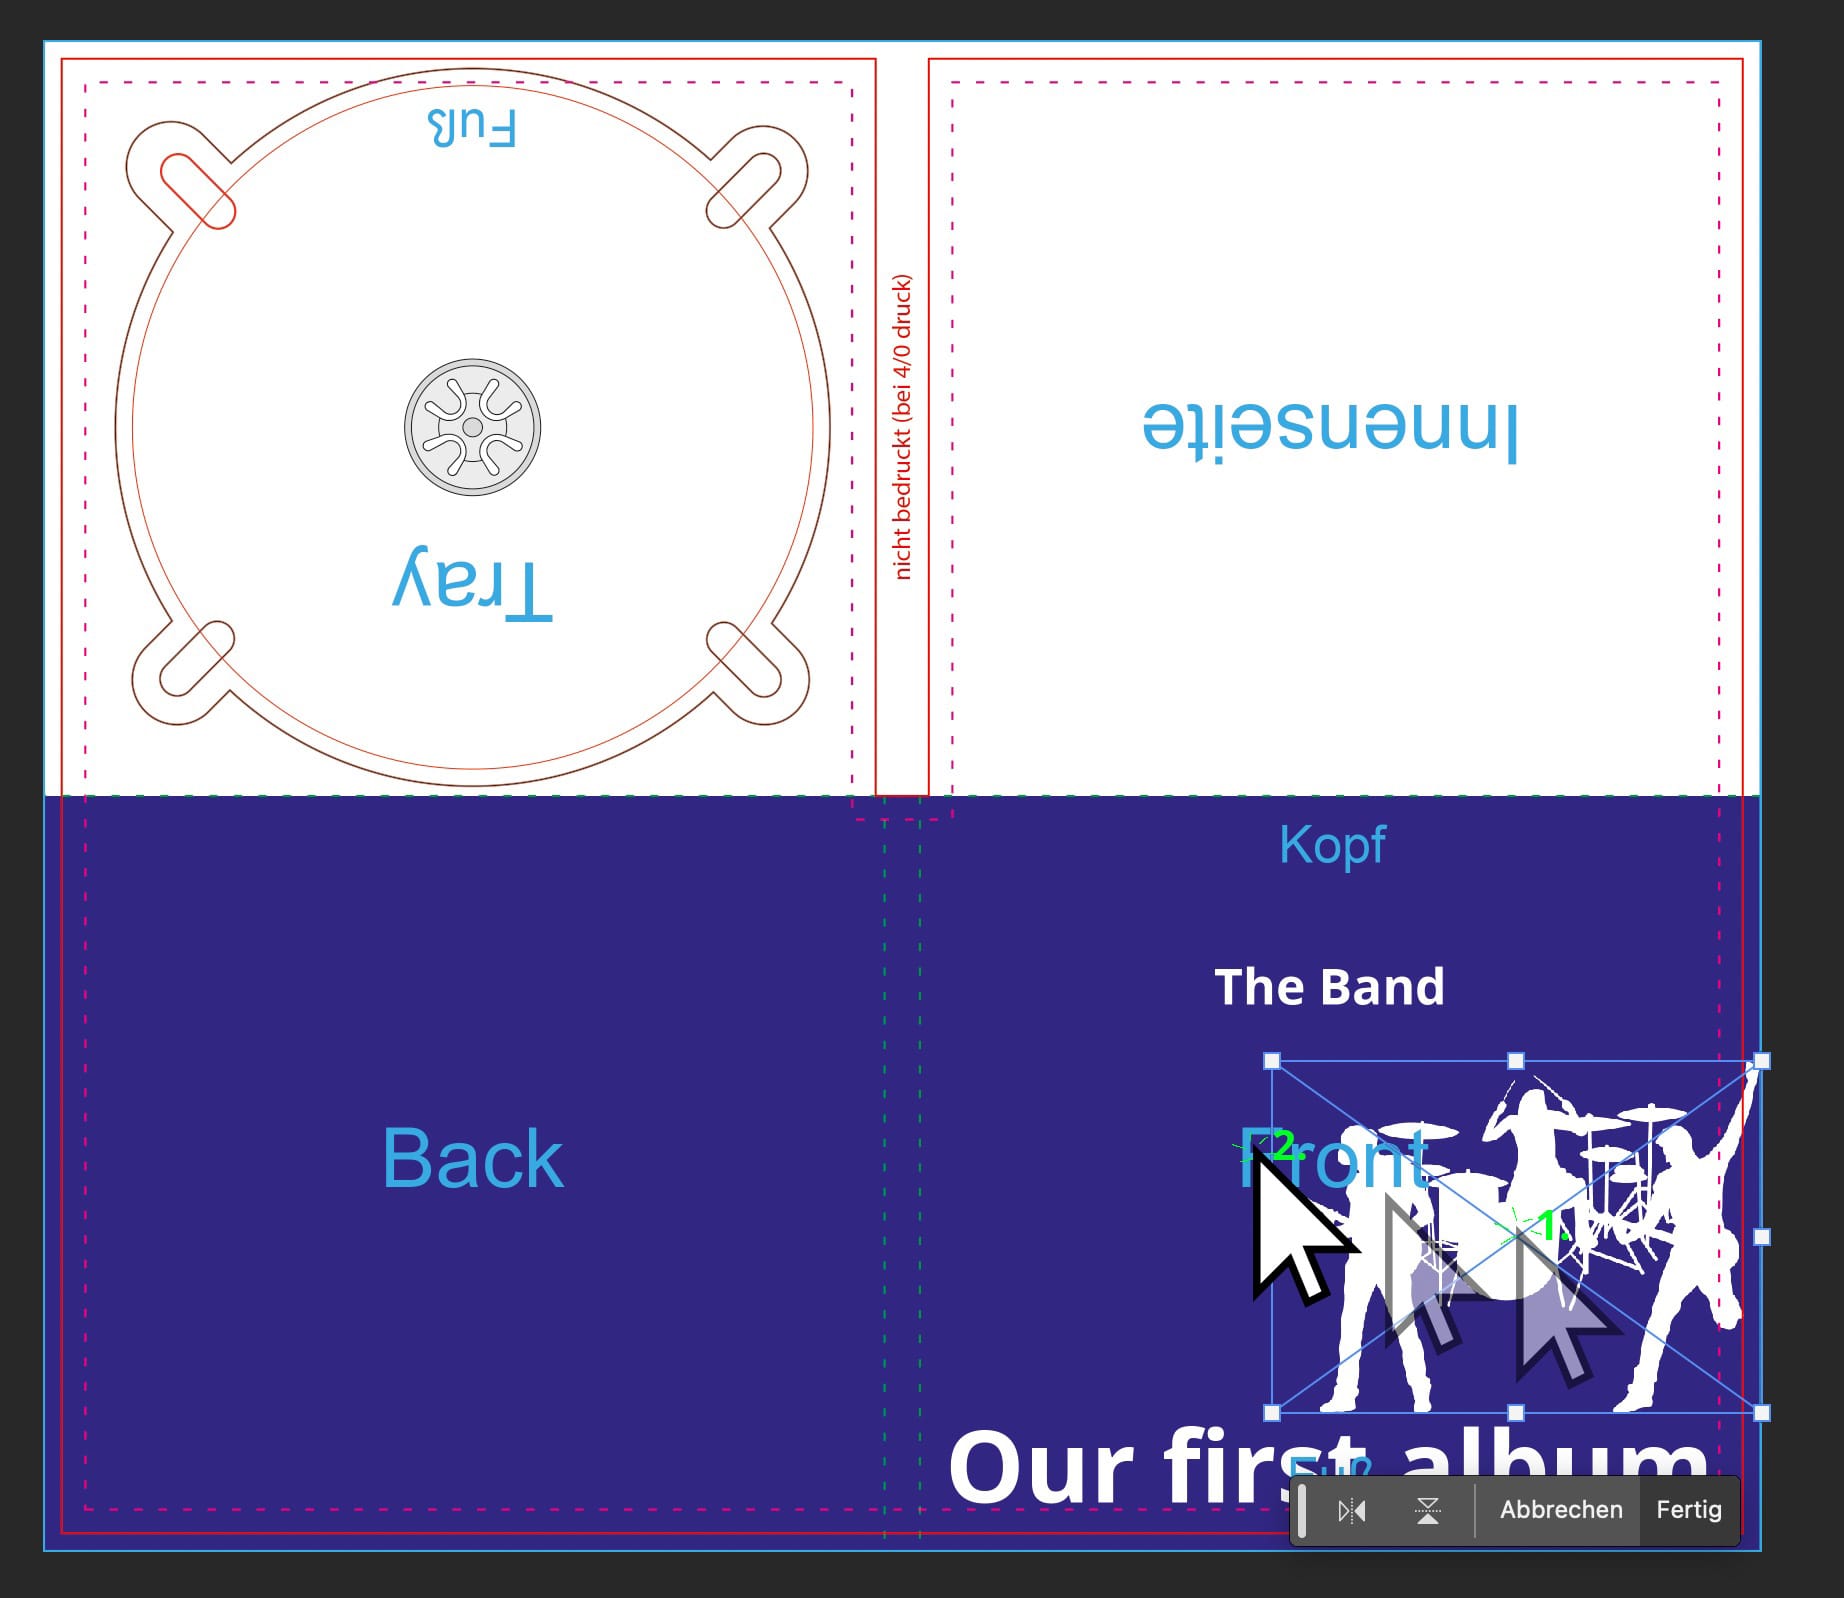
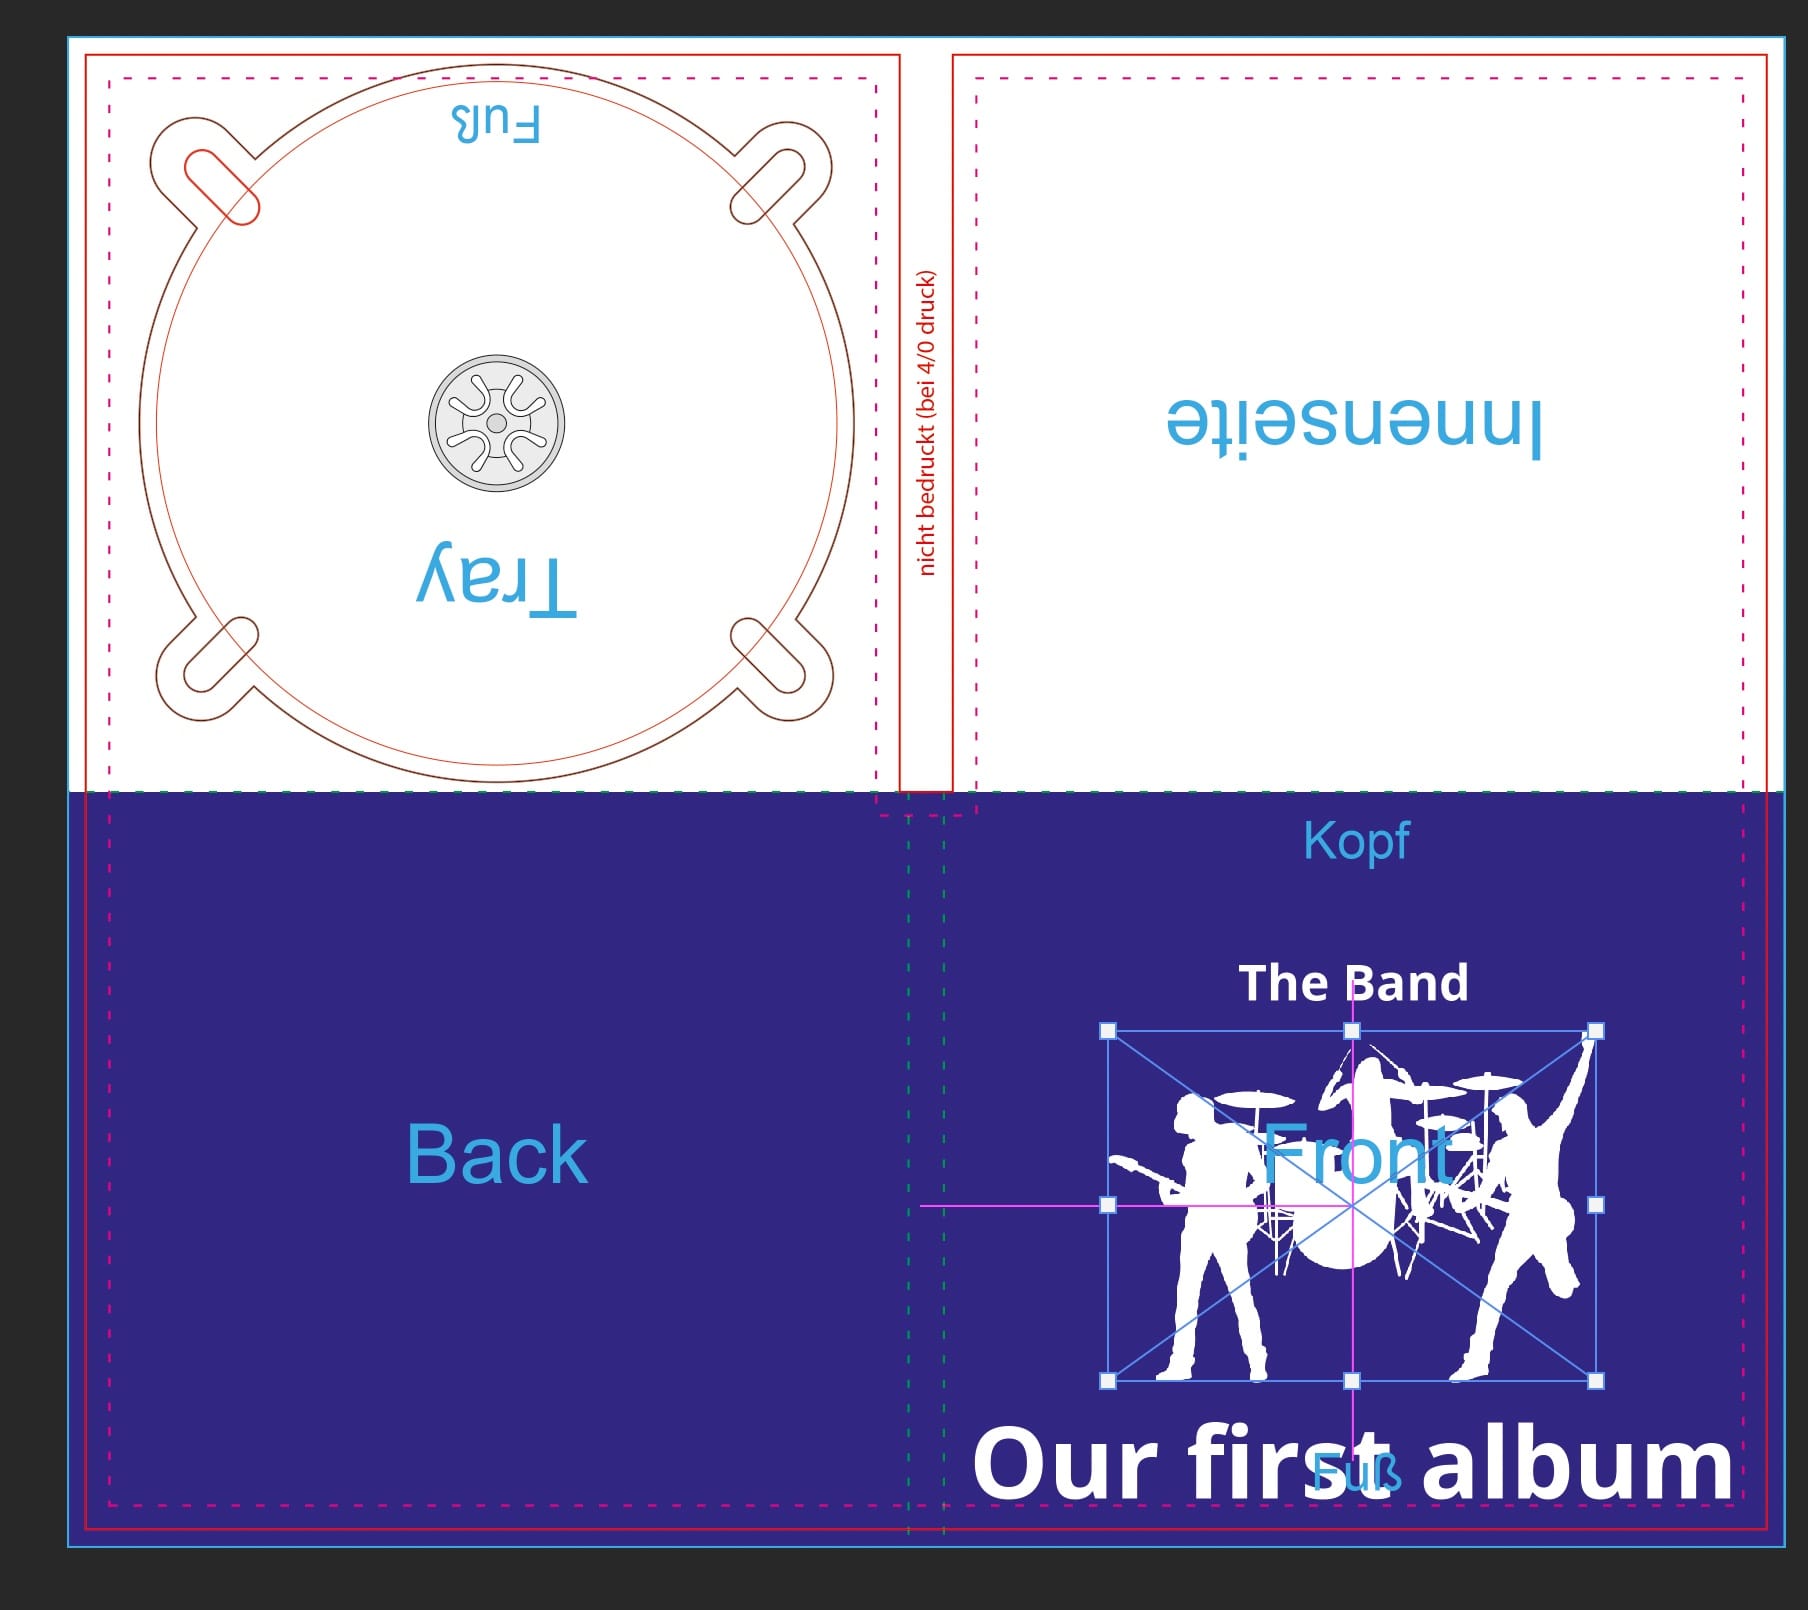
The image should now be centered with the text. (Guidelines may appear)
4. Design the Back Cover
Let's now design the back cover of the CD Digipack.
With the Text Tool selected, drag a Text Box while holding the left mouse button.
A Text Box can contain multiple lines of text, perfect for our song list with 6 titles.
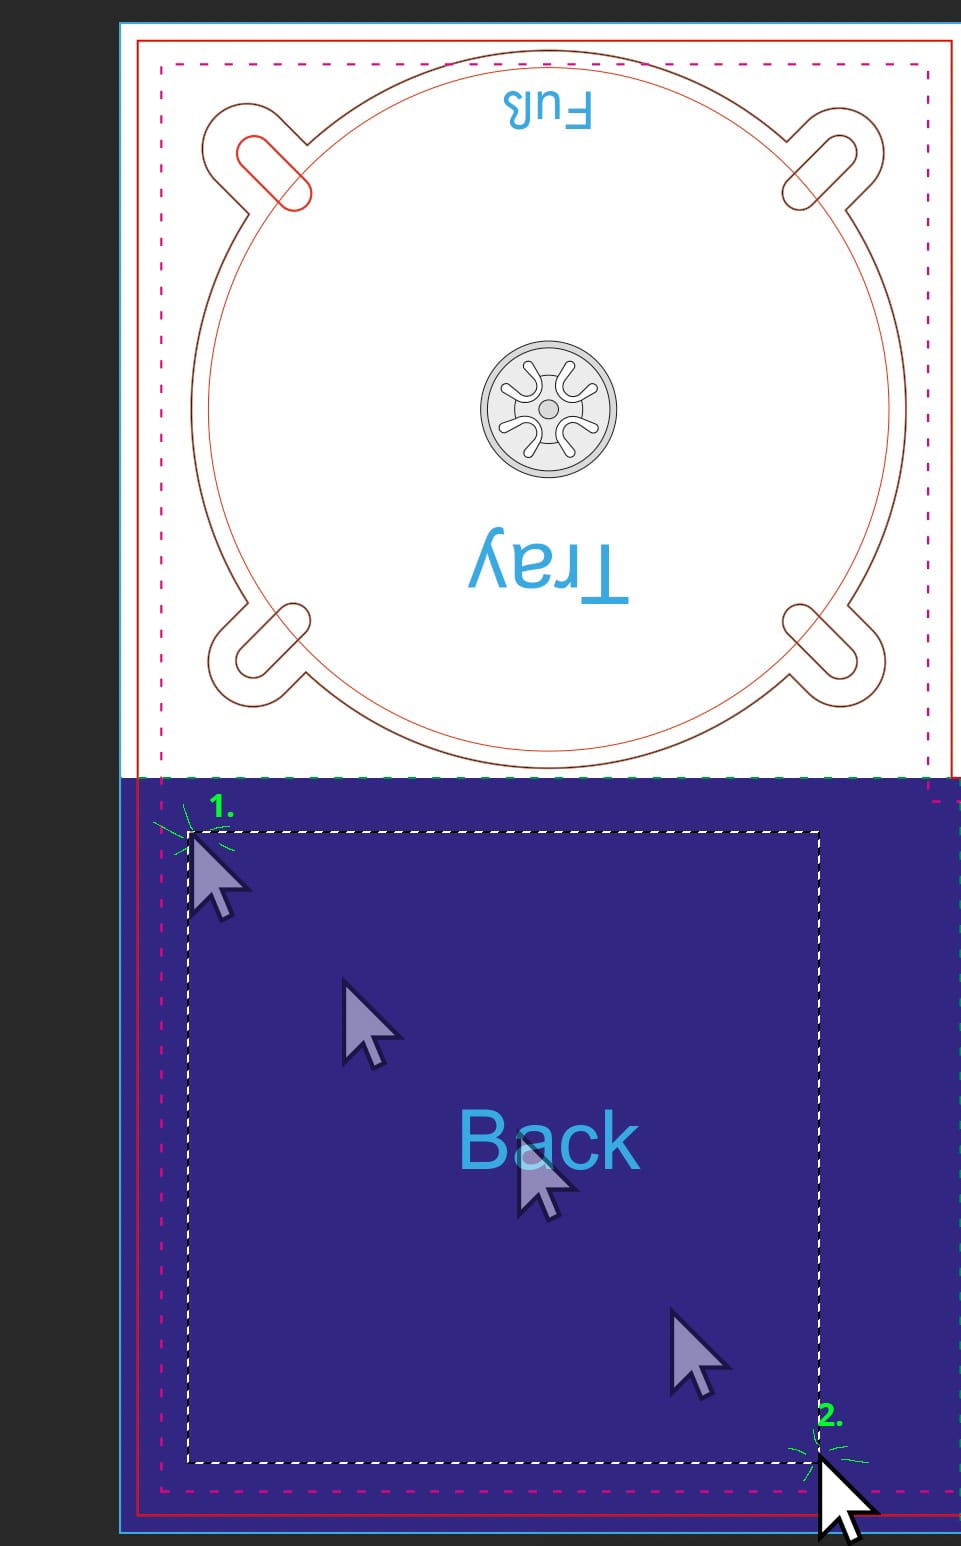 As our song list will have more than 1 line of text, we have created a Text Box.
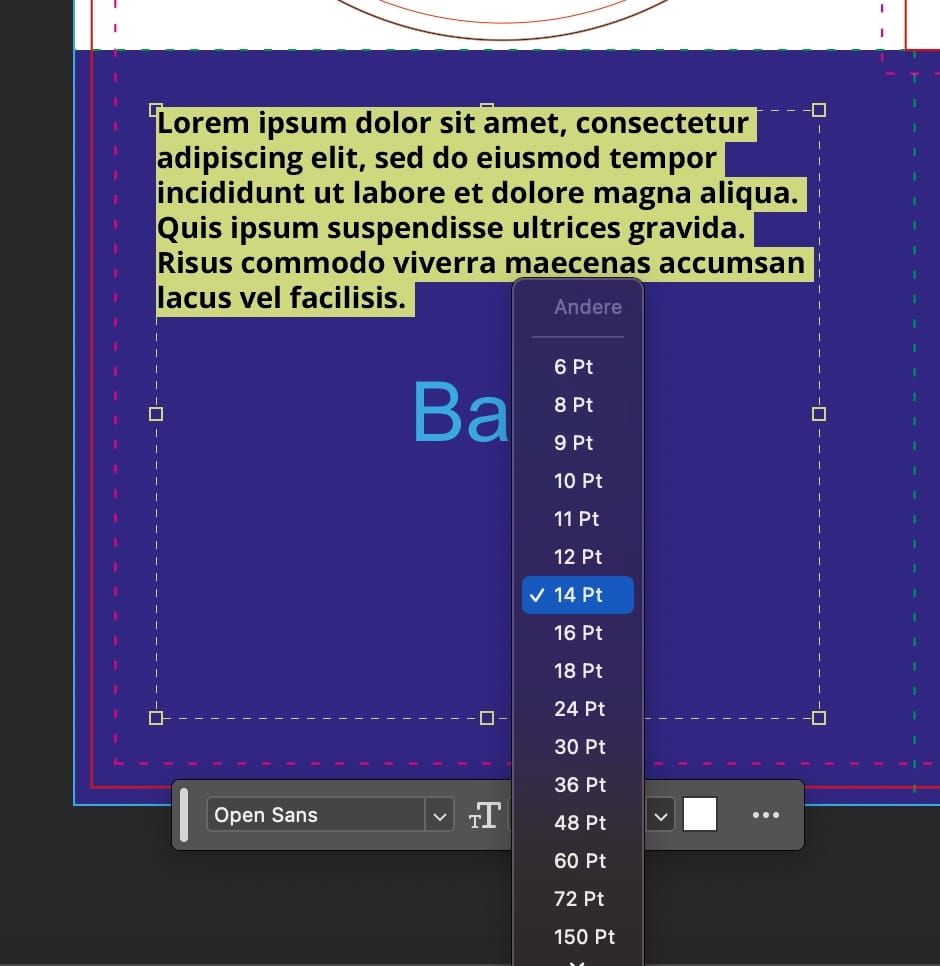
Now, let's adjust the font size. Press Ctrl + A (Apple Mac: Cmd + A) to select all the text. (The text is now reversed) Now, choose a font size of 14 points.
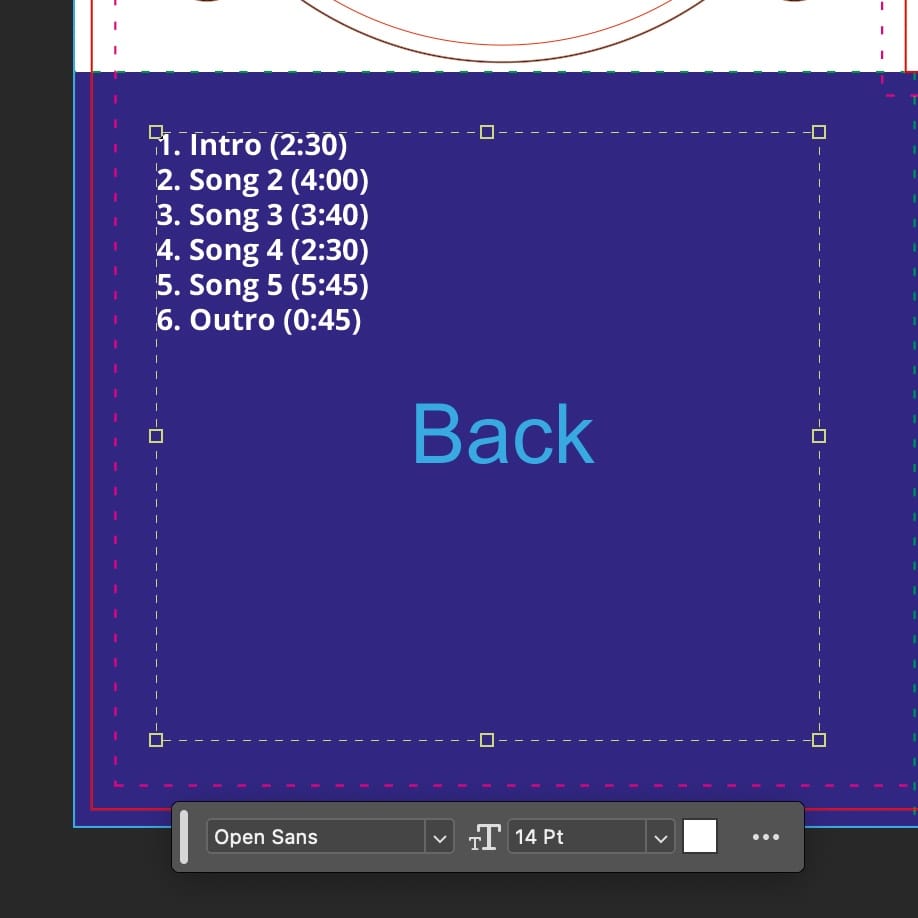
We write our song list and get this result:
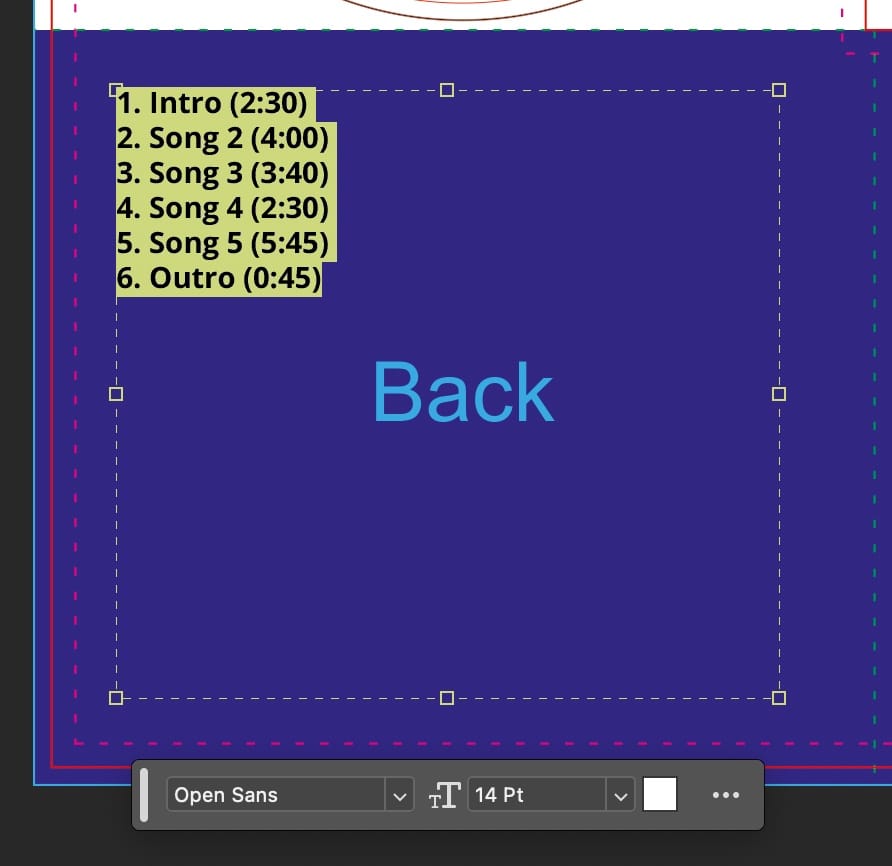
We select the entire text in the text box again with Ctrl + A (Apple Mac: Cmd + A)
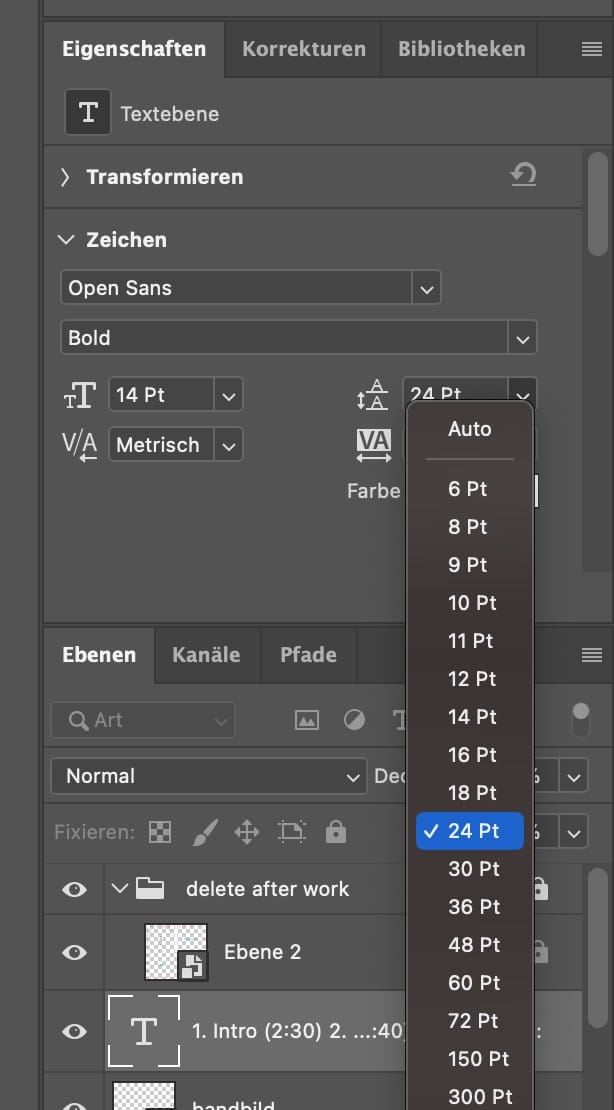
Since the line spacing seems too tight, I want to increase it. In the Properties panel, usually found in the middle right, you can change the spacing under the "Character" section.
With increased line spacing and center alignment using the Move Tool, we now have approximately the following result:
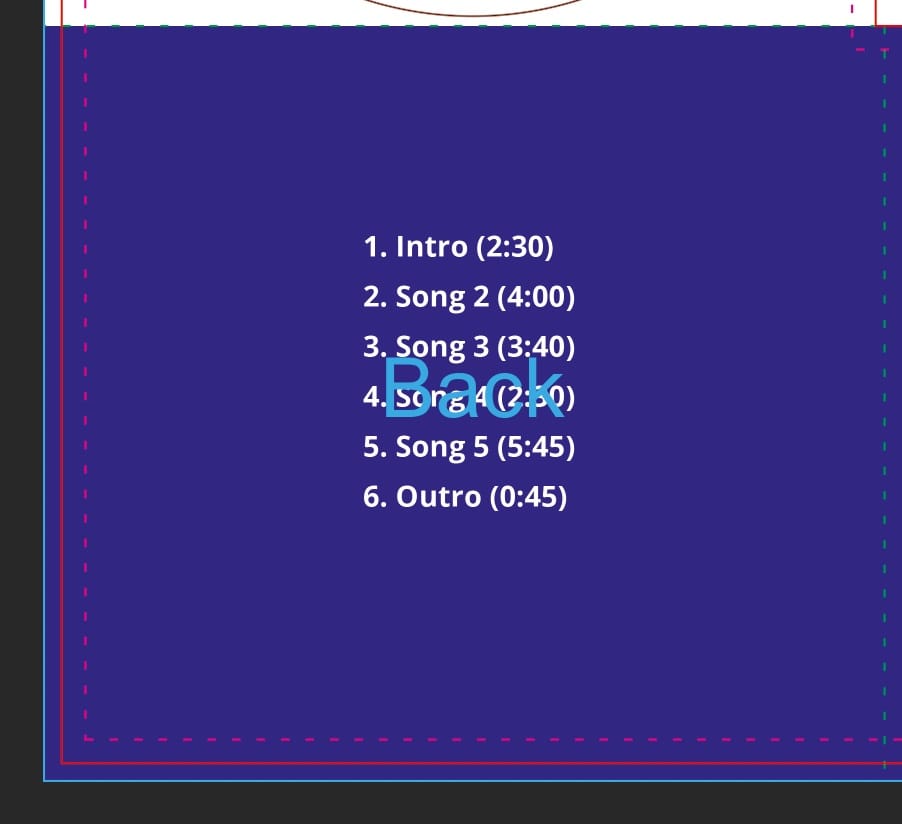
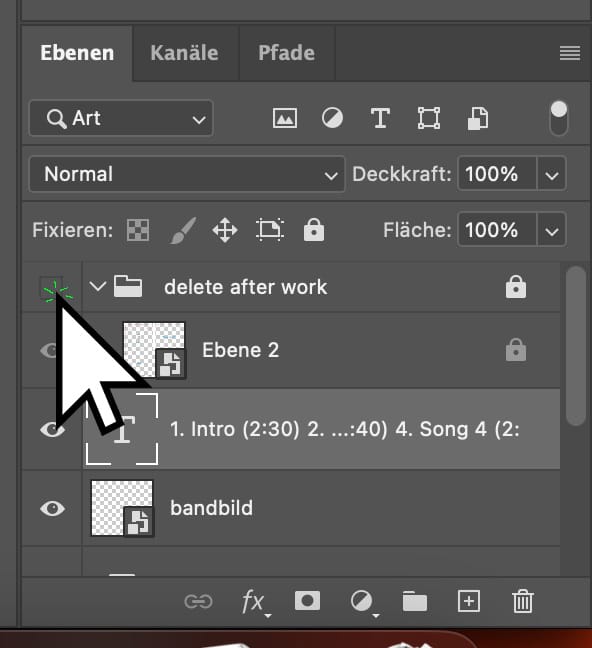
To better view our design, we can hide the "delete after work" or guide lines. In the Layers overview, click on the Eye icon to toggle visibility.
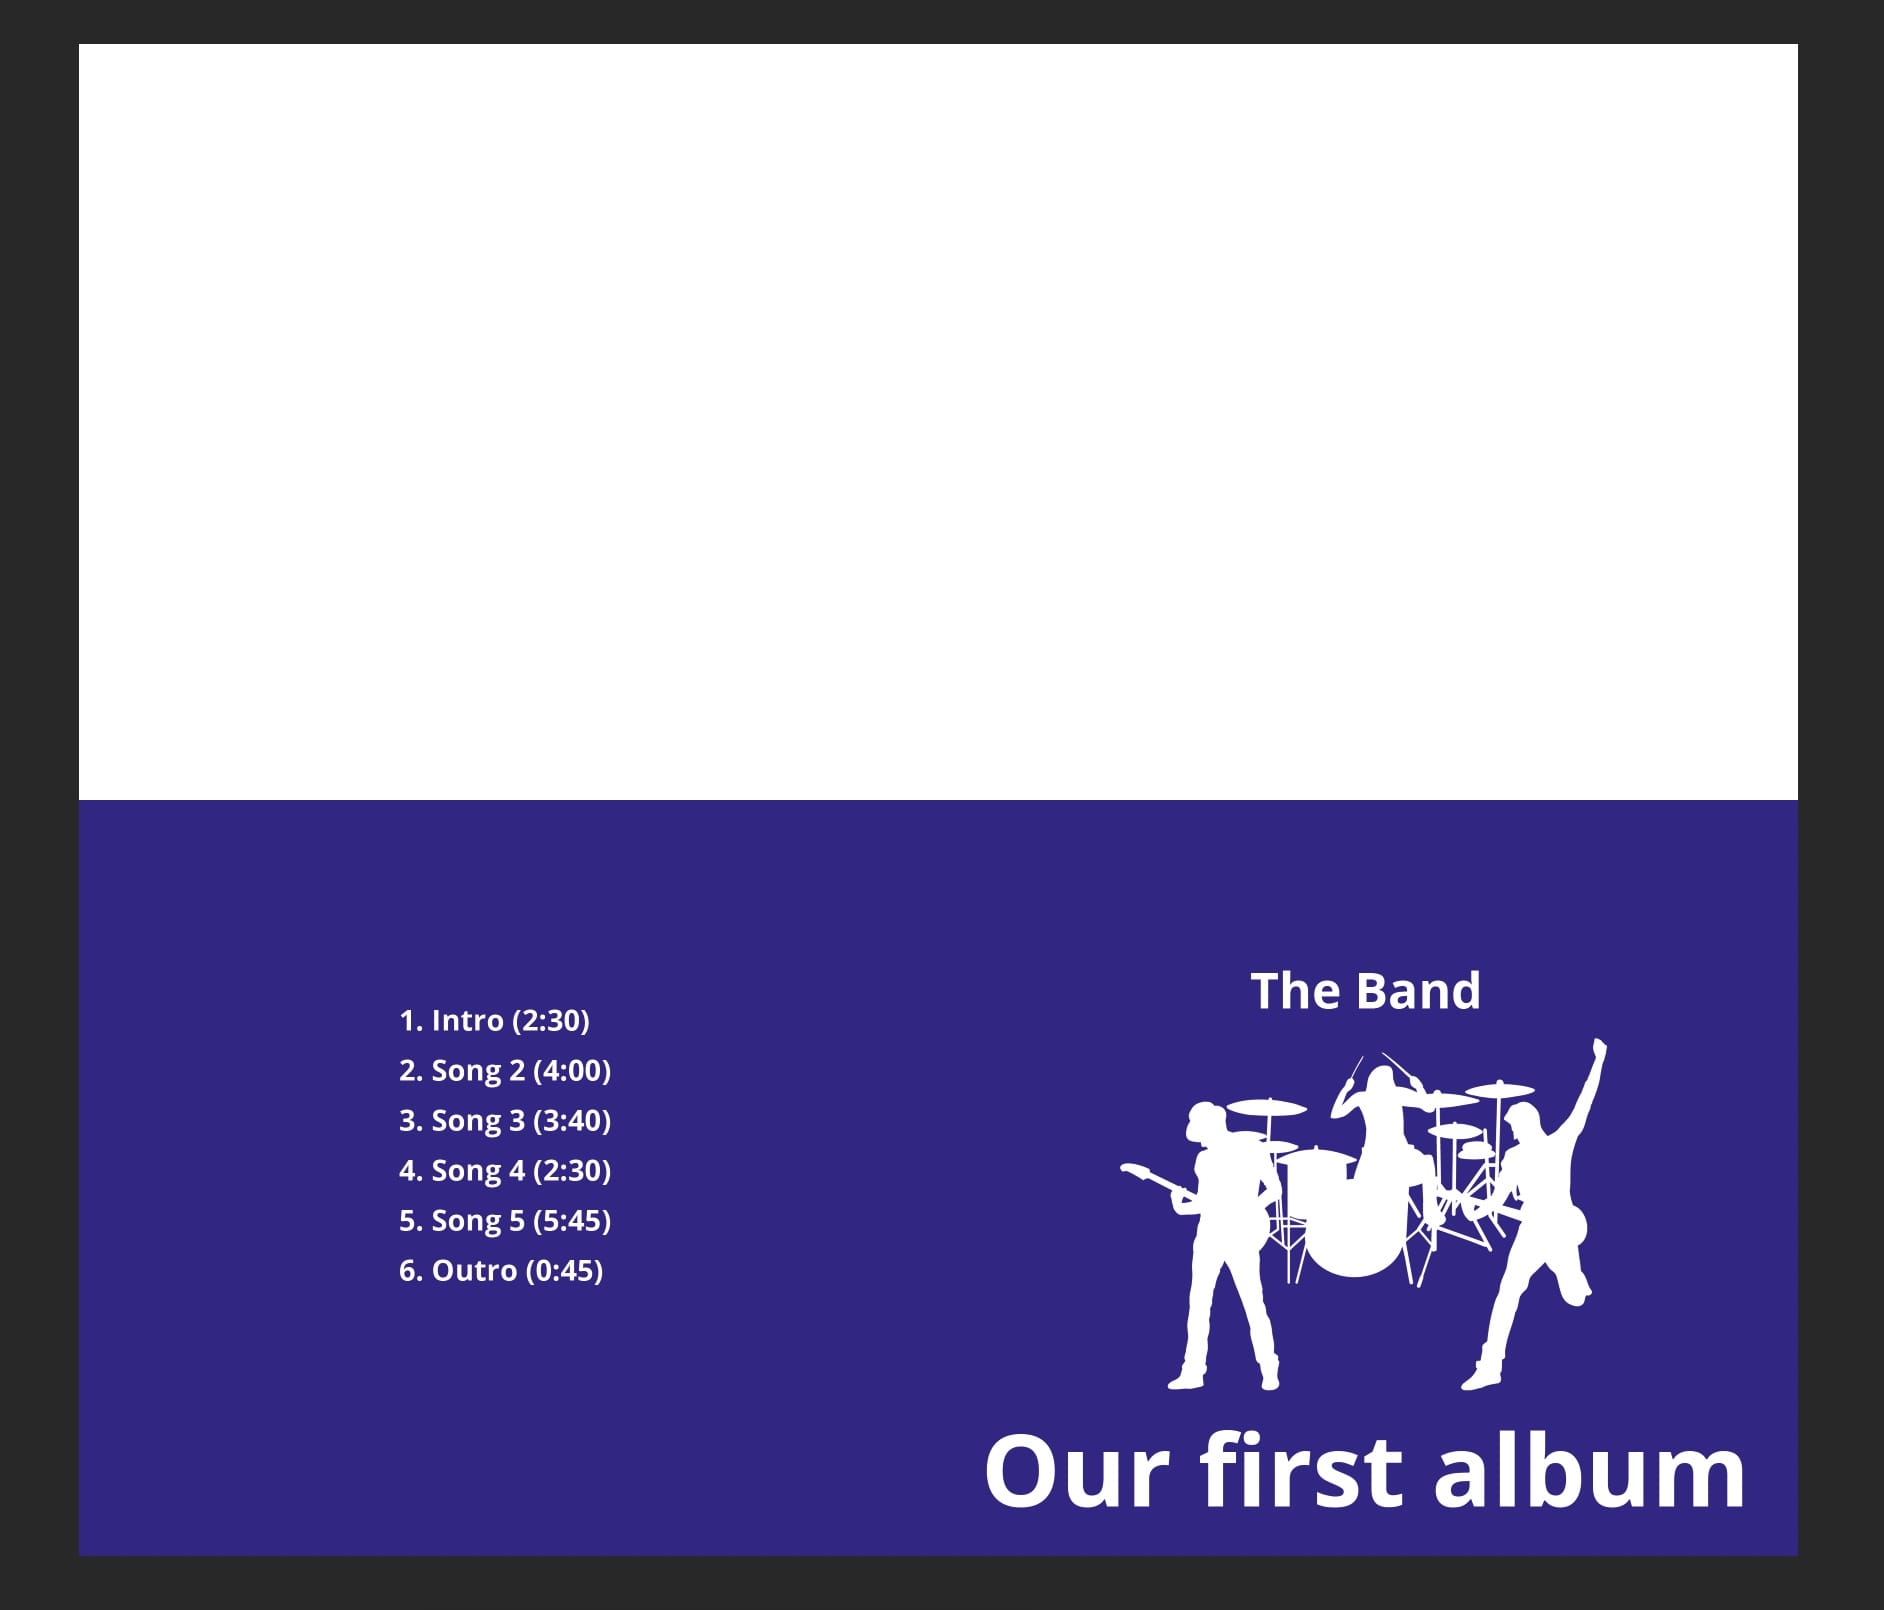
The front and back covers are now designed and look like this:
5. Design the Inside Pages
Now, let's also design the inside pages. We have rotated the workspace by 180 degrees for easier orientation while designing.
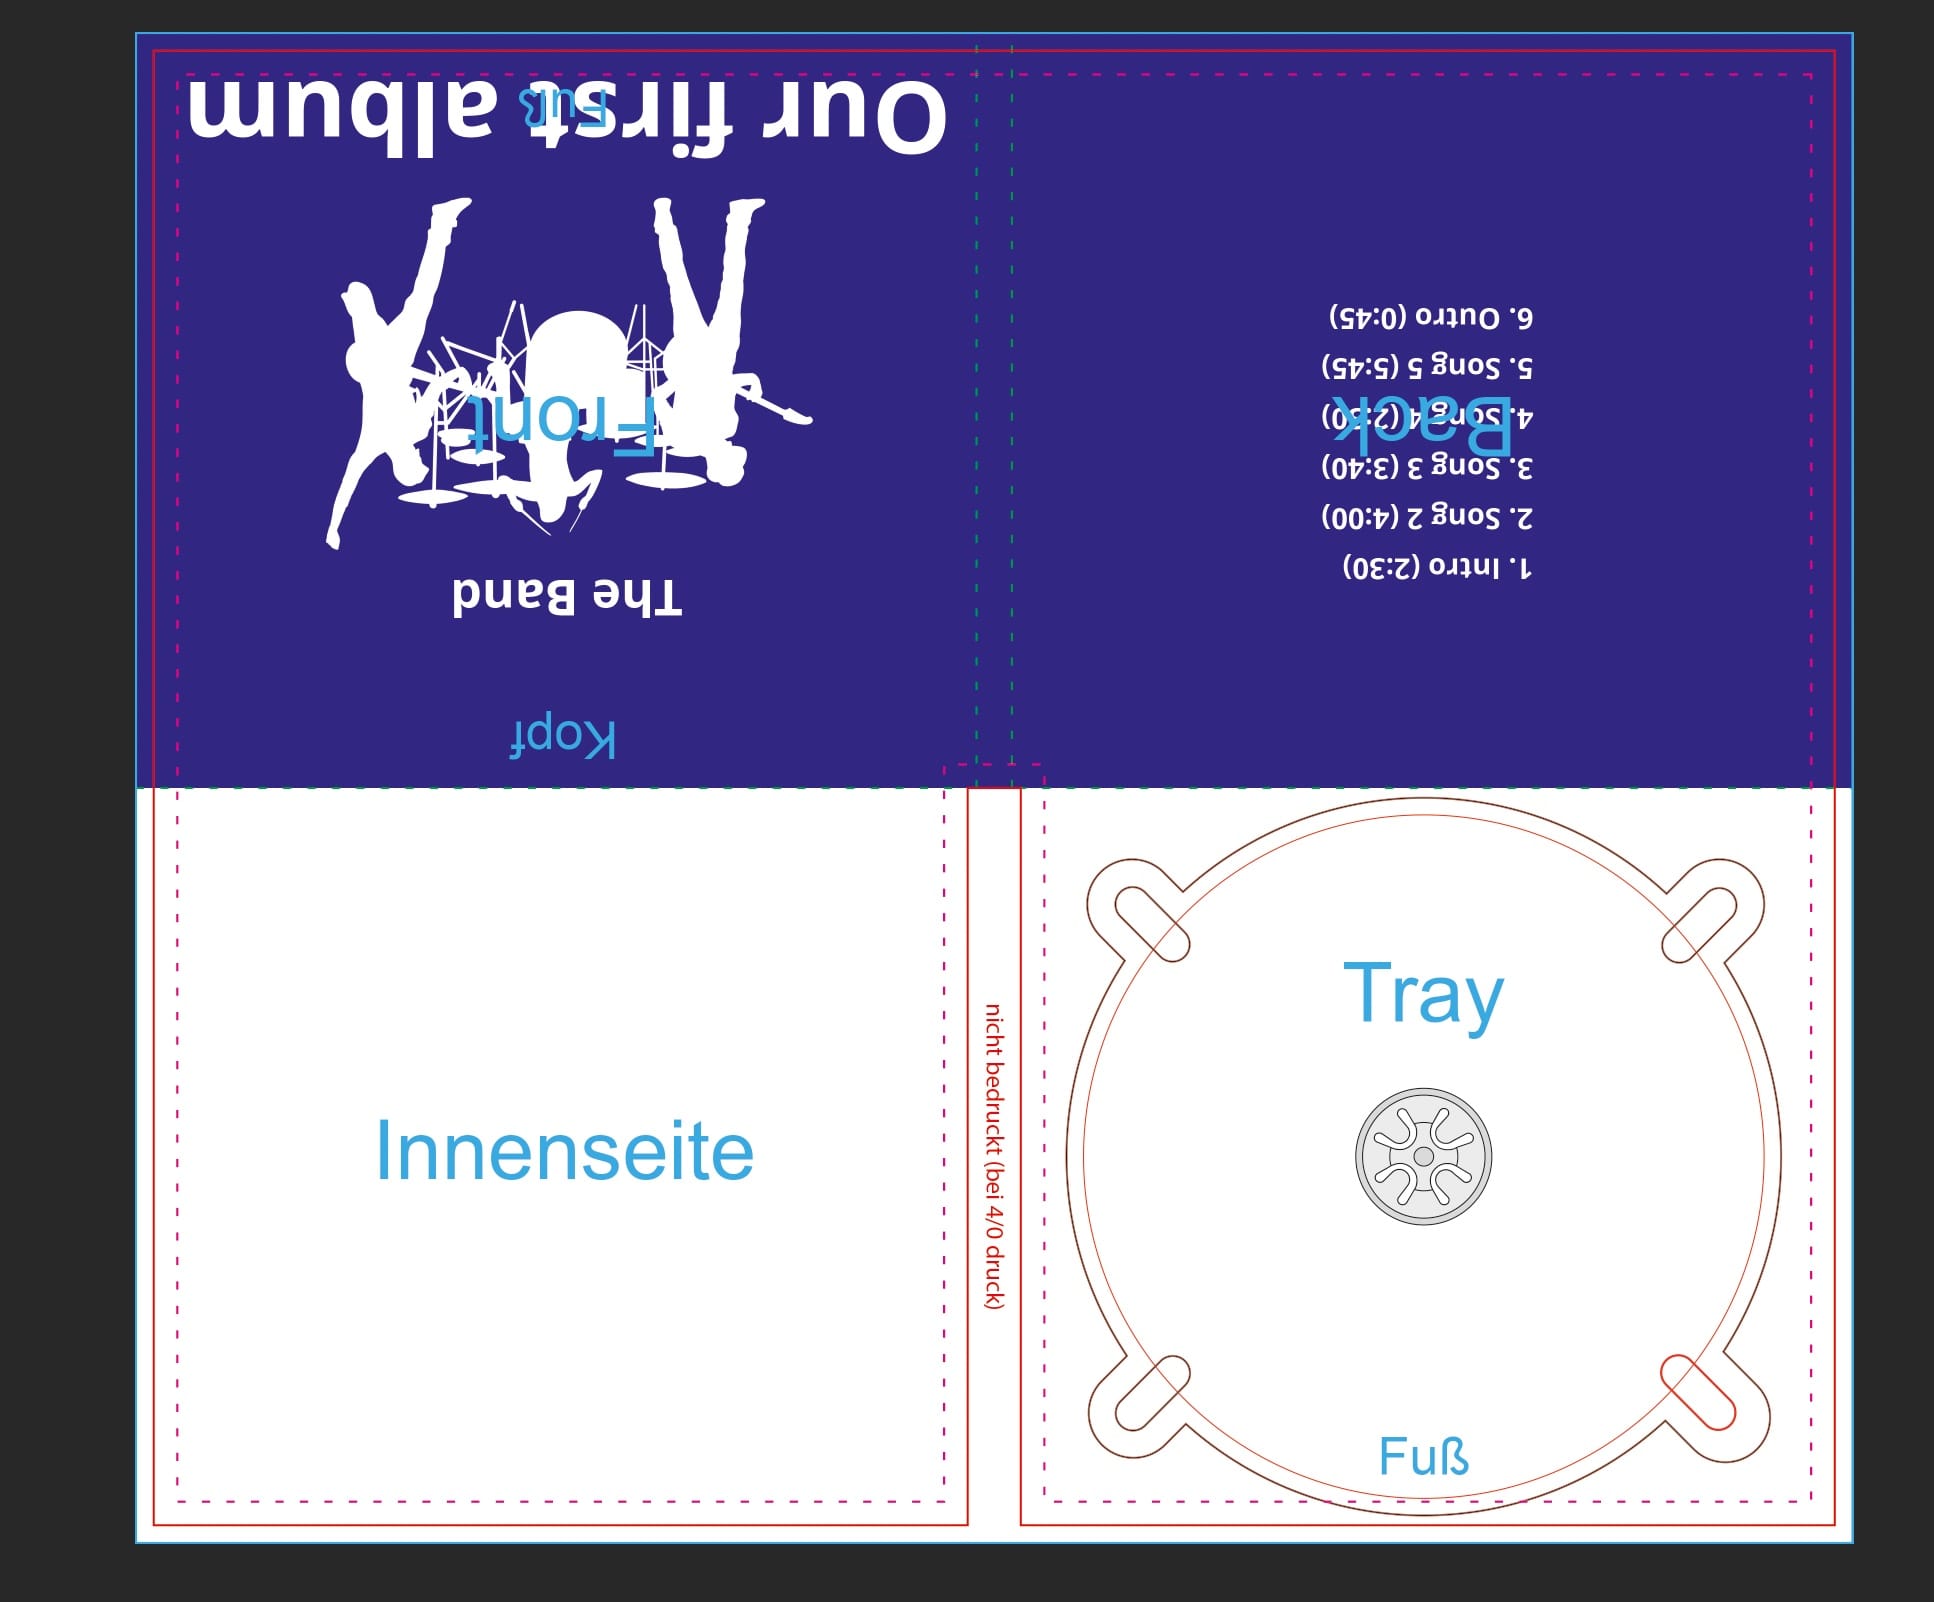 To rotate the workspace, click on "Image" -> "Image Rotation" -> "180°
Now, let's create a background layer here as well.
When selecting the color, feel free to use the color picker:
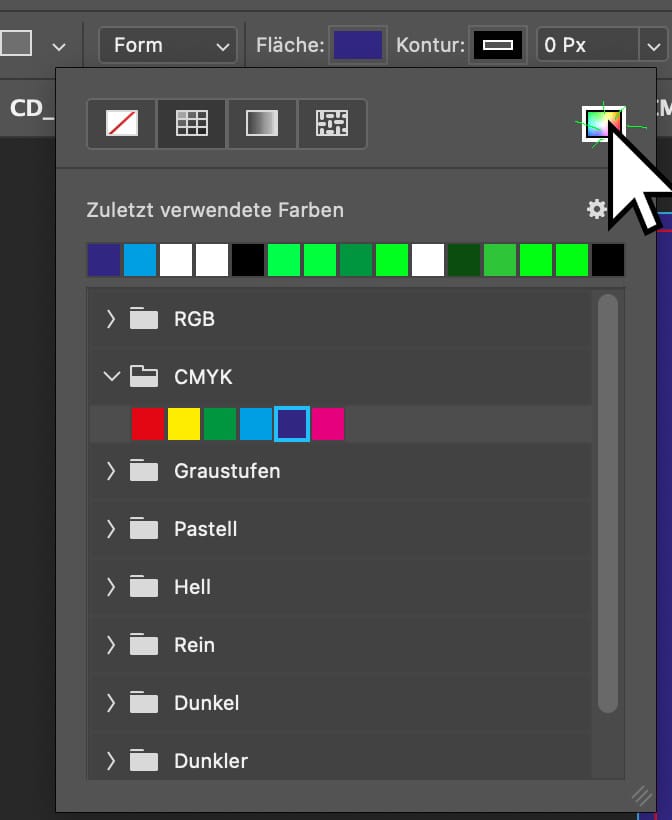
In this example, we'll choose a lighter shade of our previous background color.
Now, drag the Color Fill...
...and get a lighter color fill...
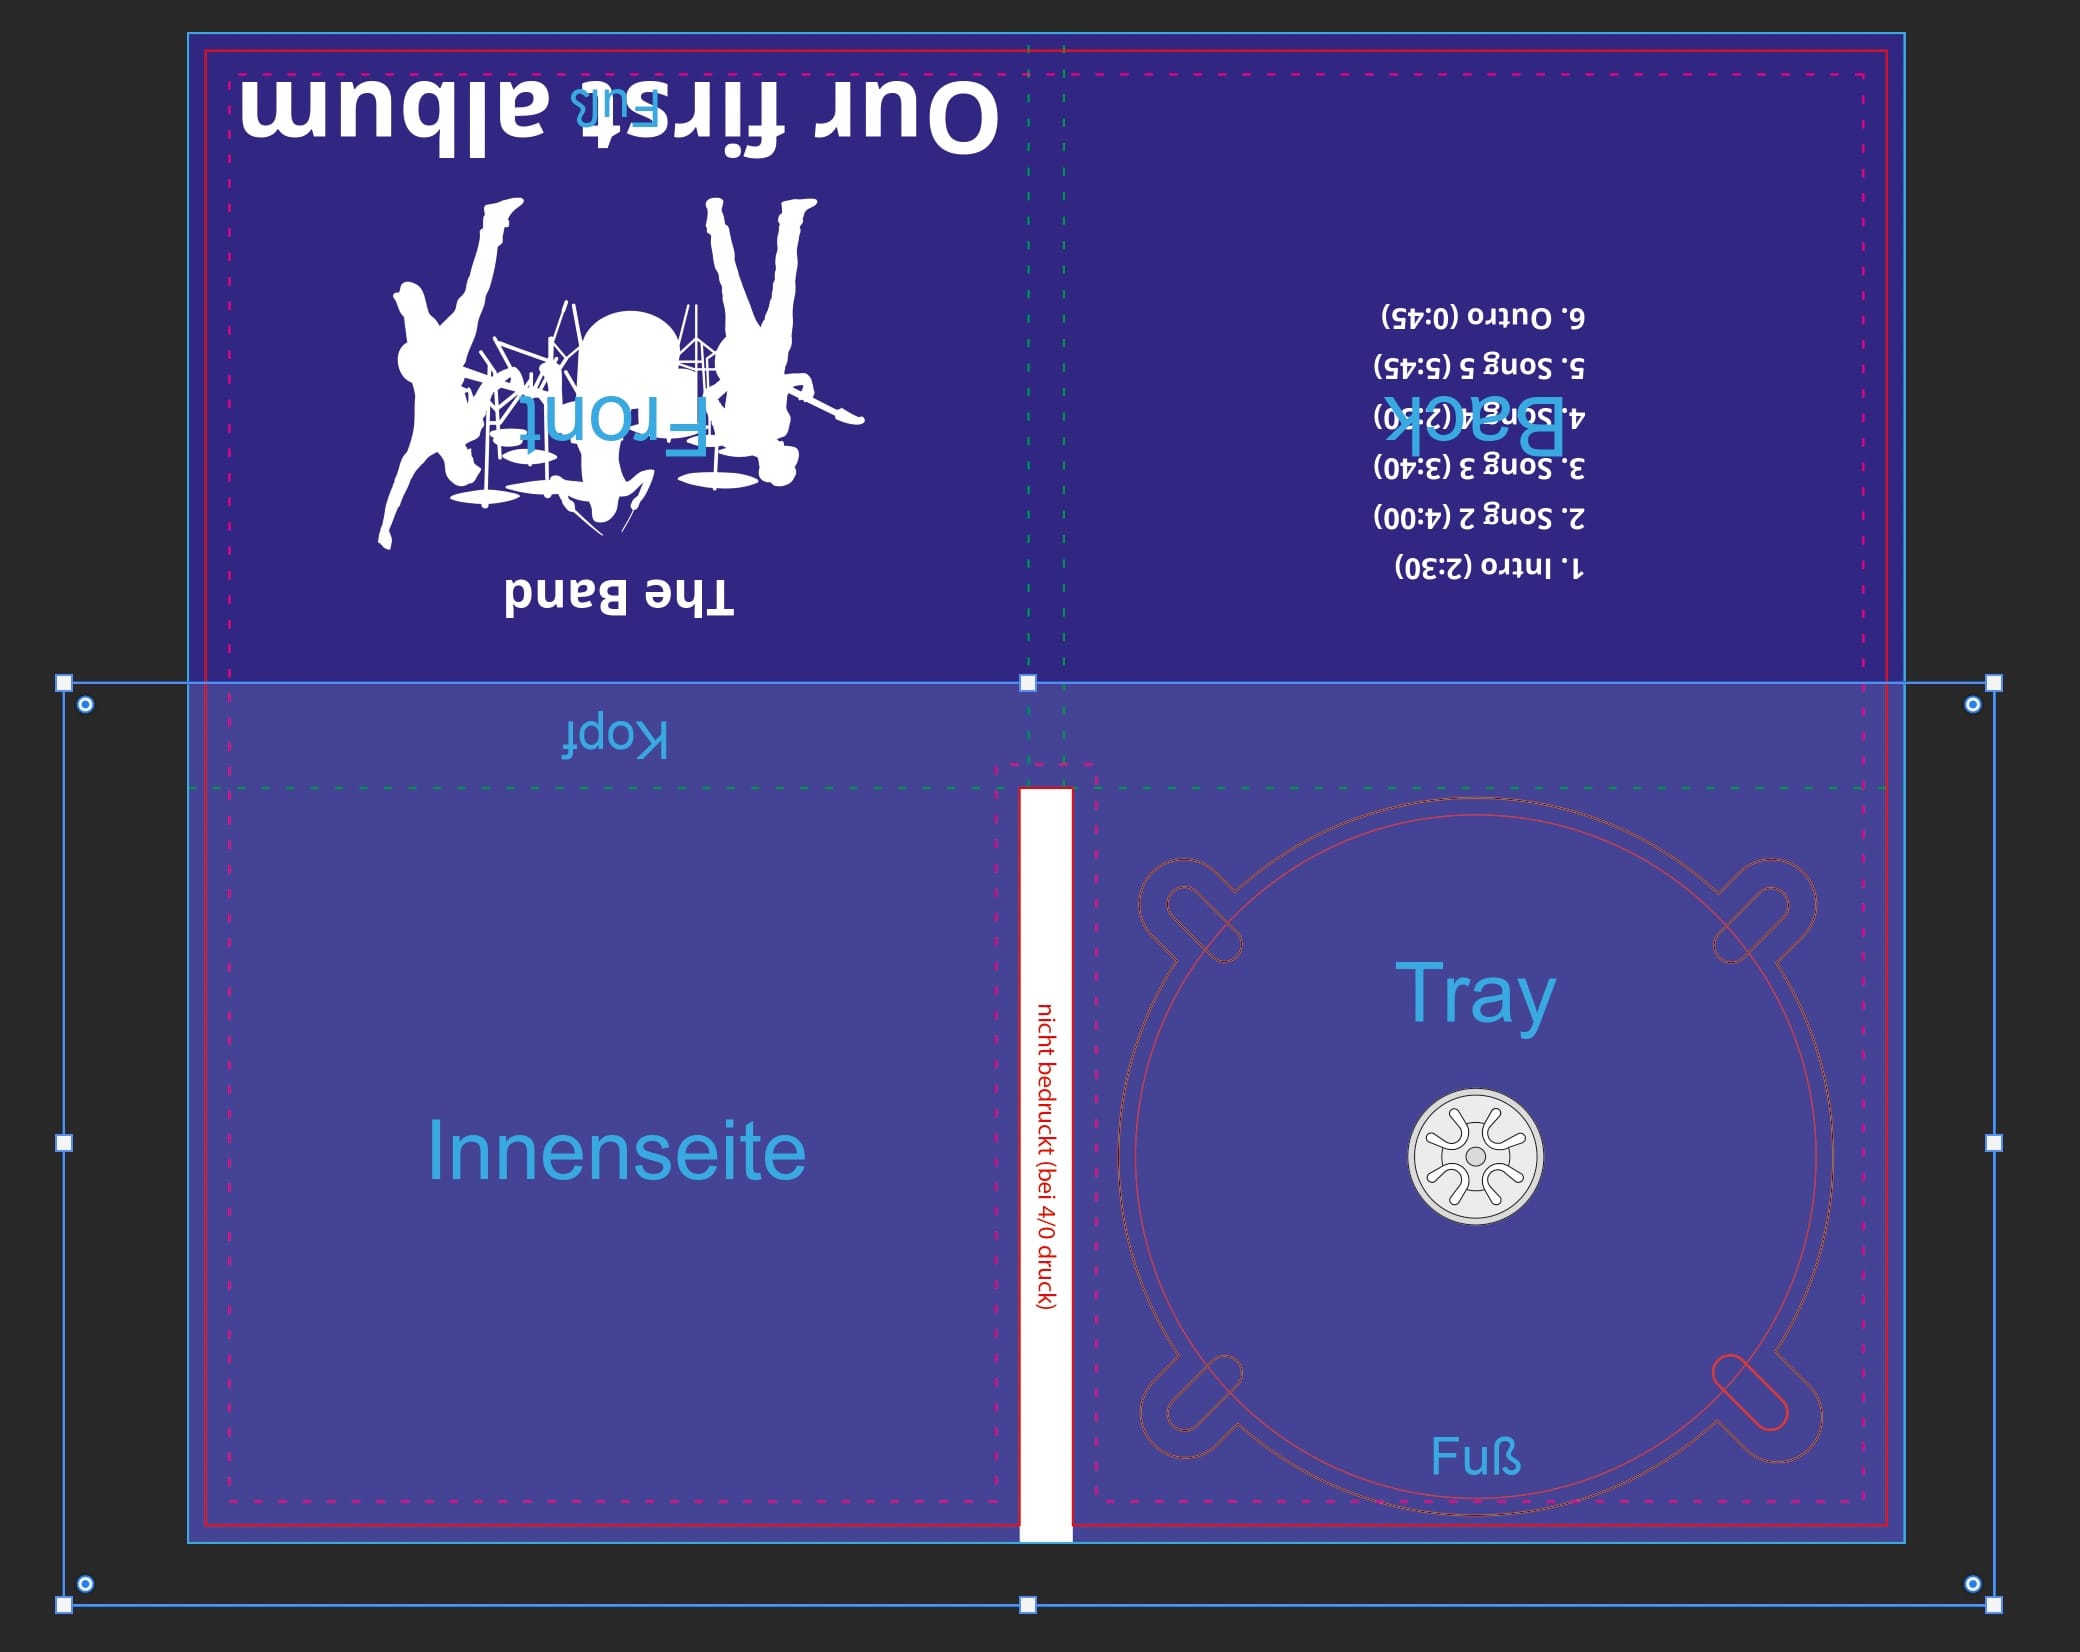
...align it again in the middle vertically...
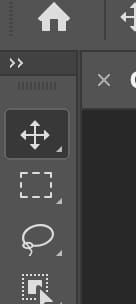
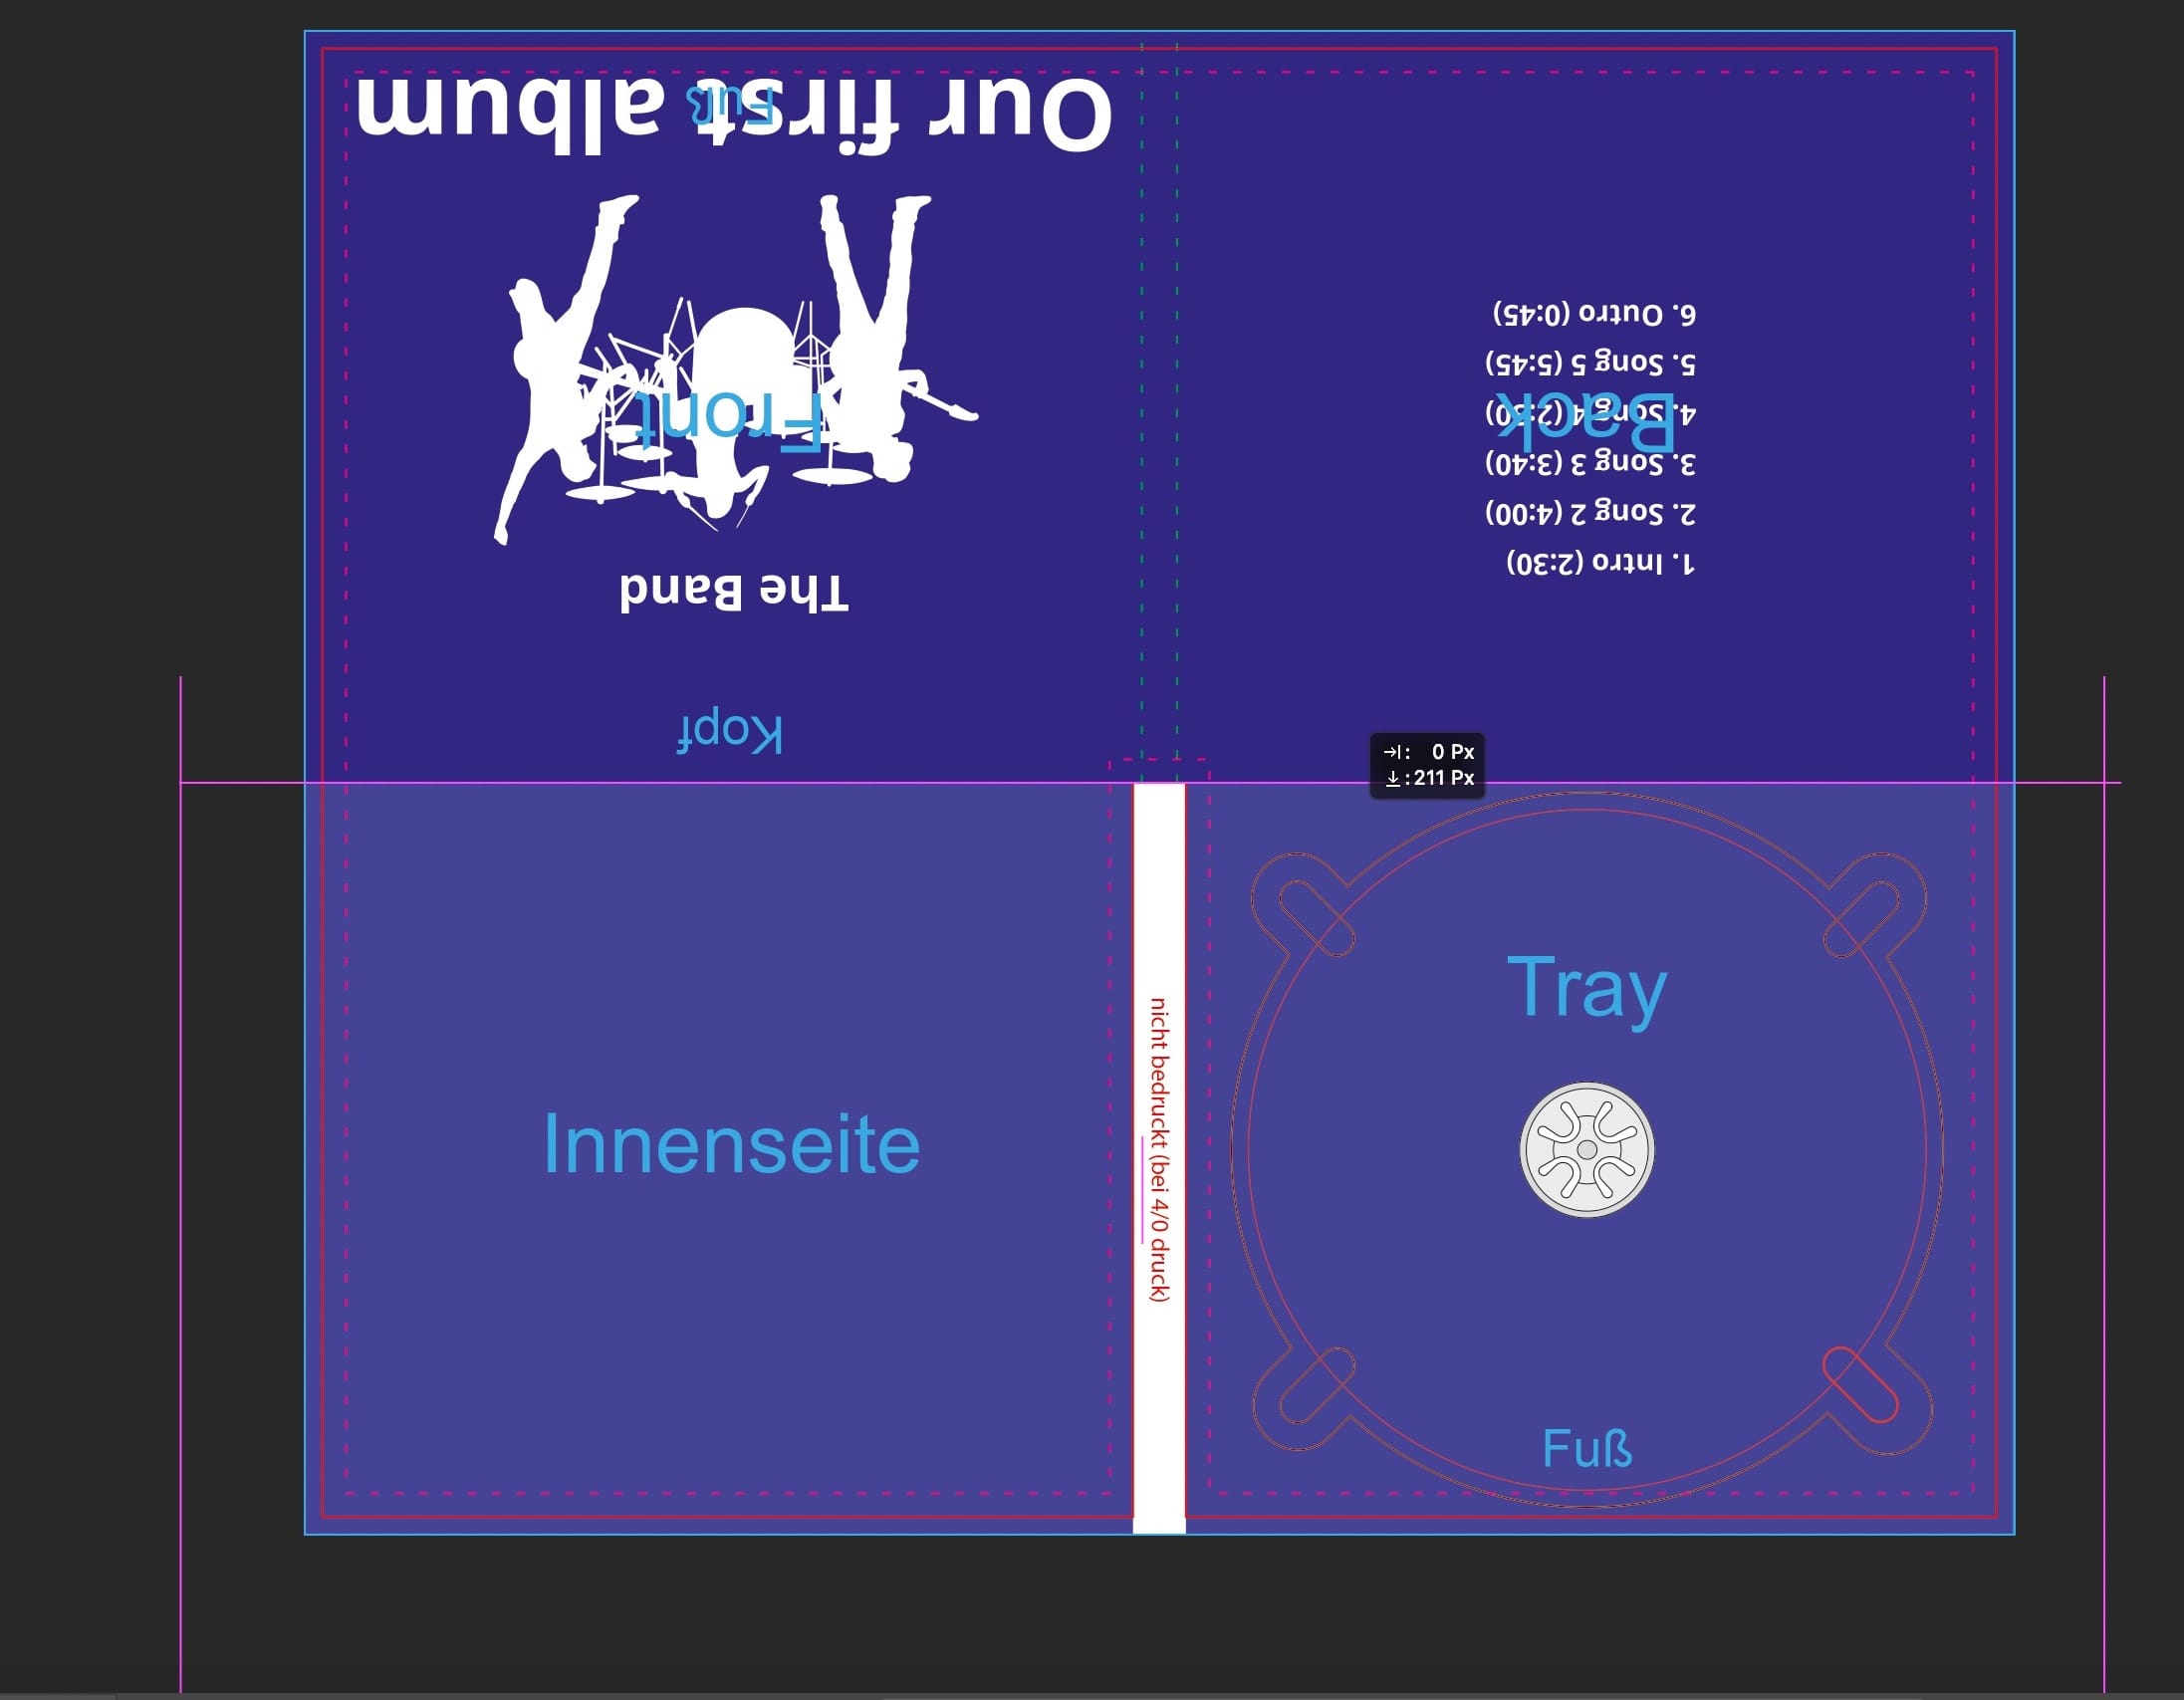
...the automatically appearing Guidelines should make it easy for you to align the color fill correctly...
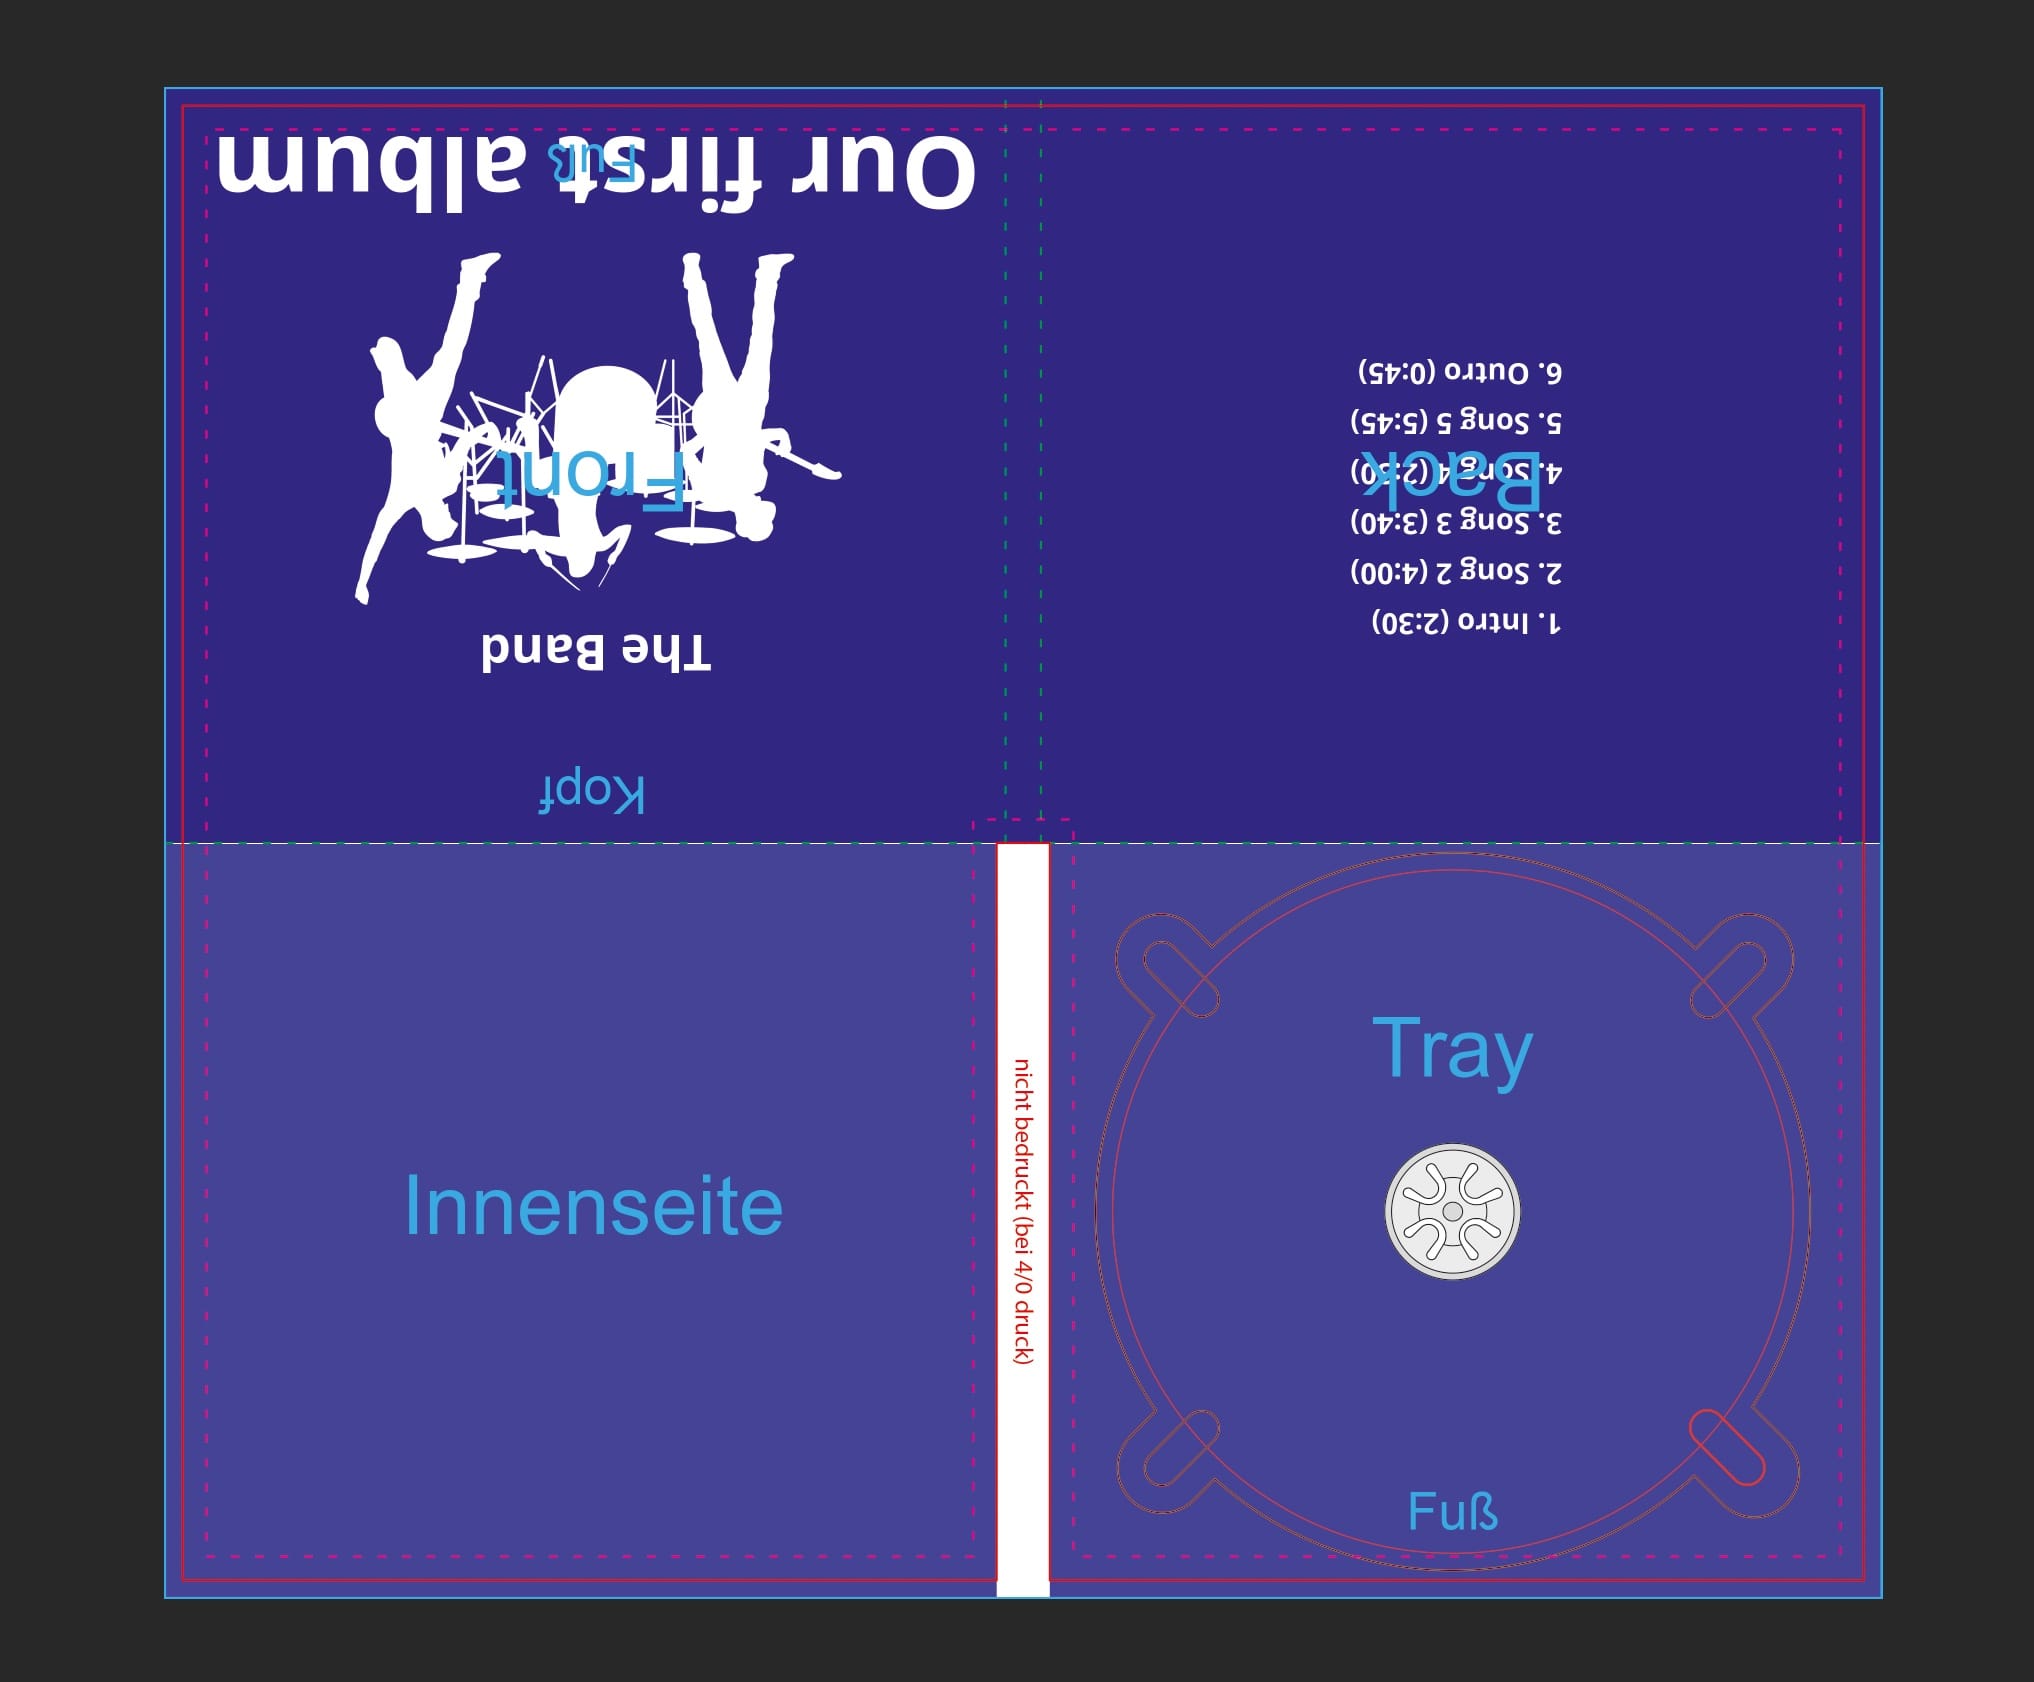
...to achieve this result:
Important: Also, lock this Background Layer to avoid accidentally selecting and editing/moving it.
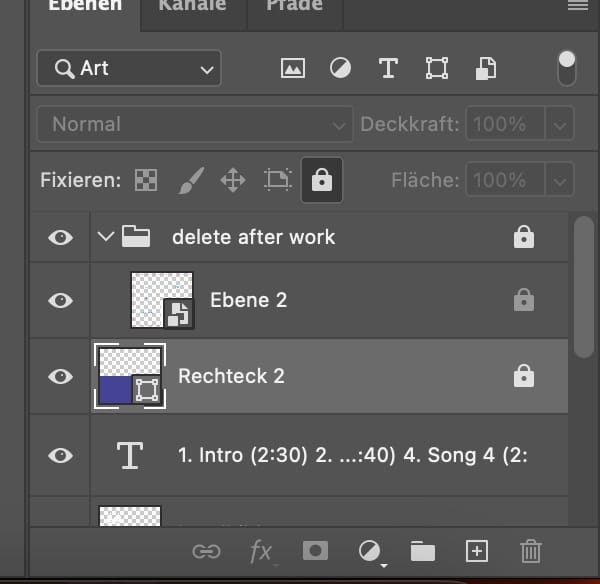
Now, as in the previous steps, add texts and images.
With that, we would have completed the design.
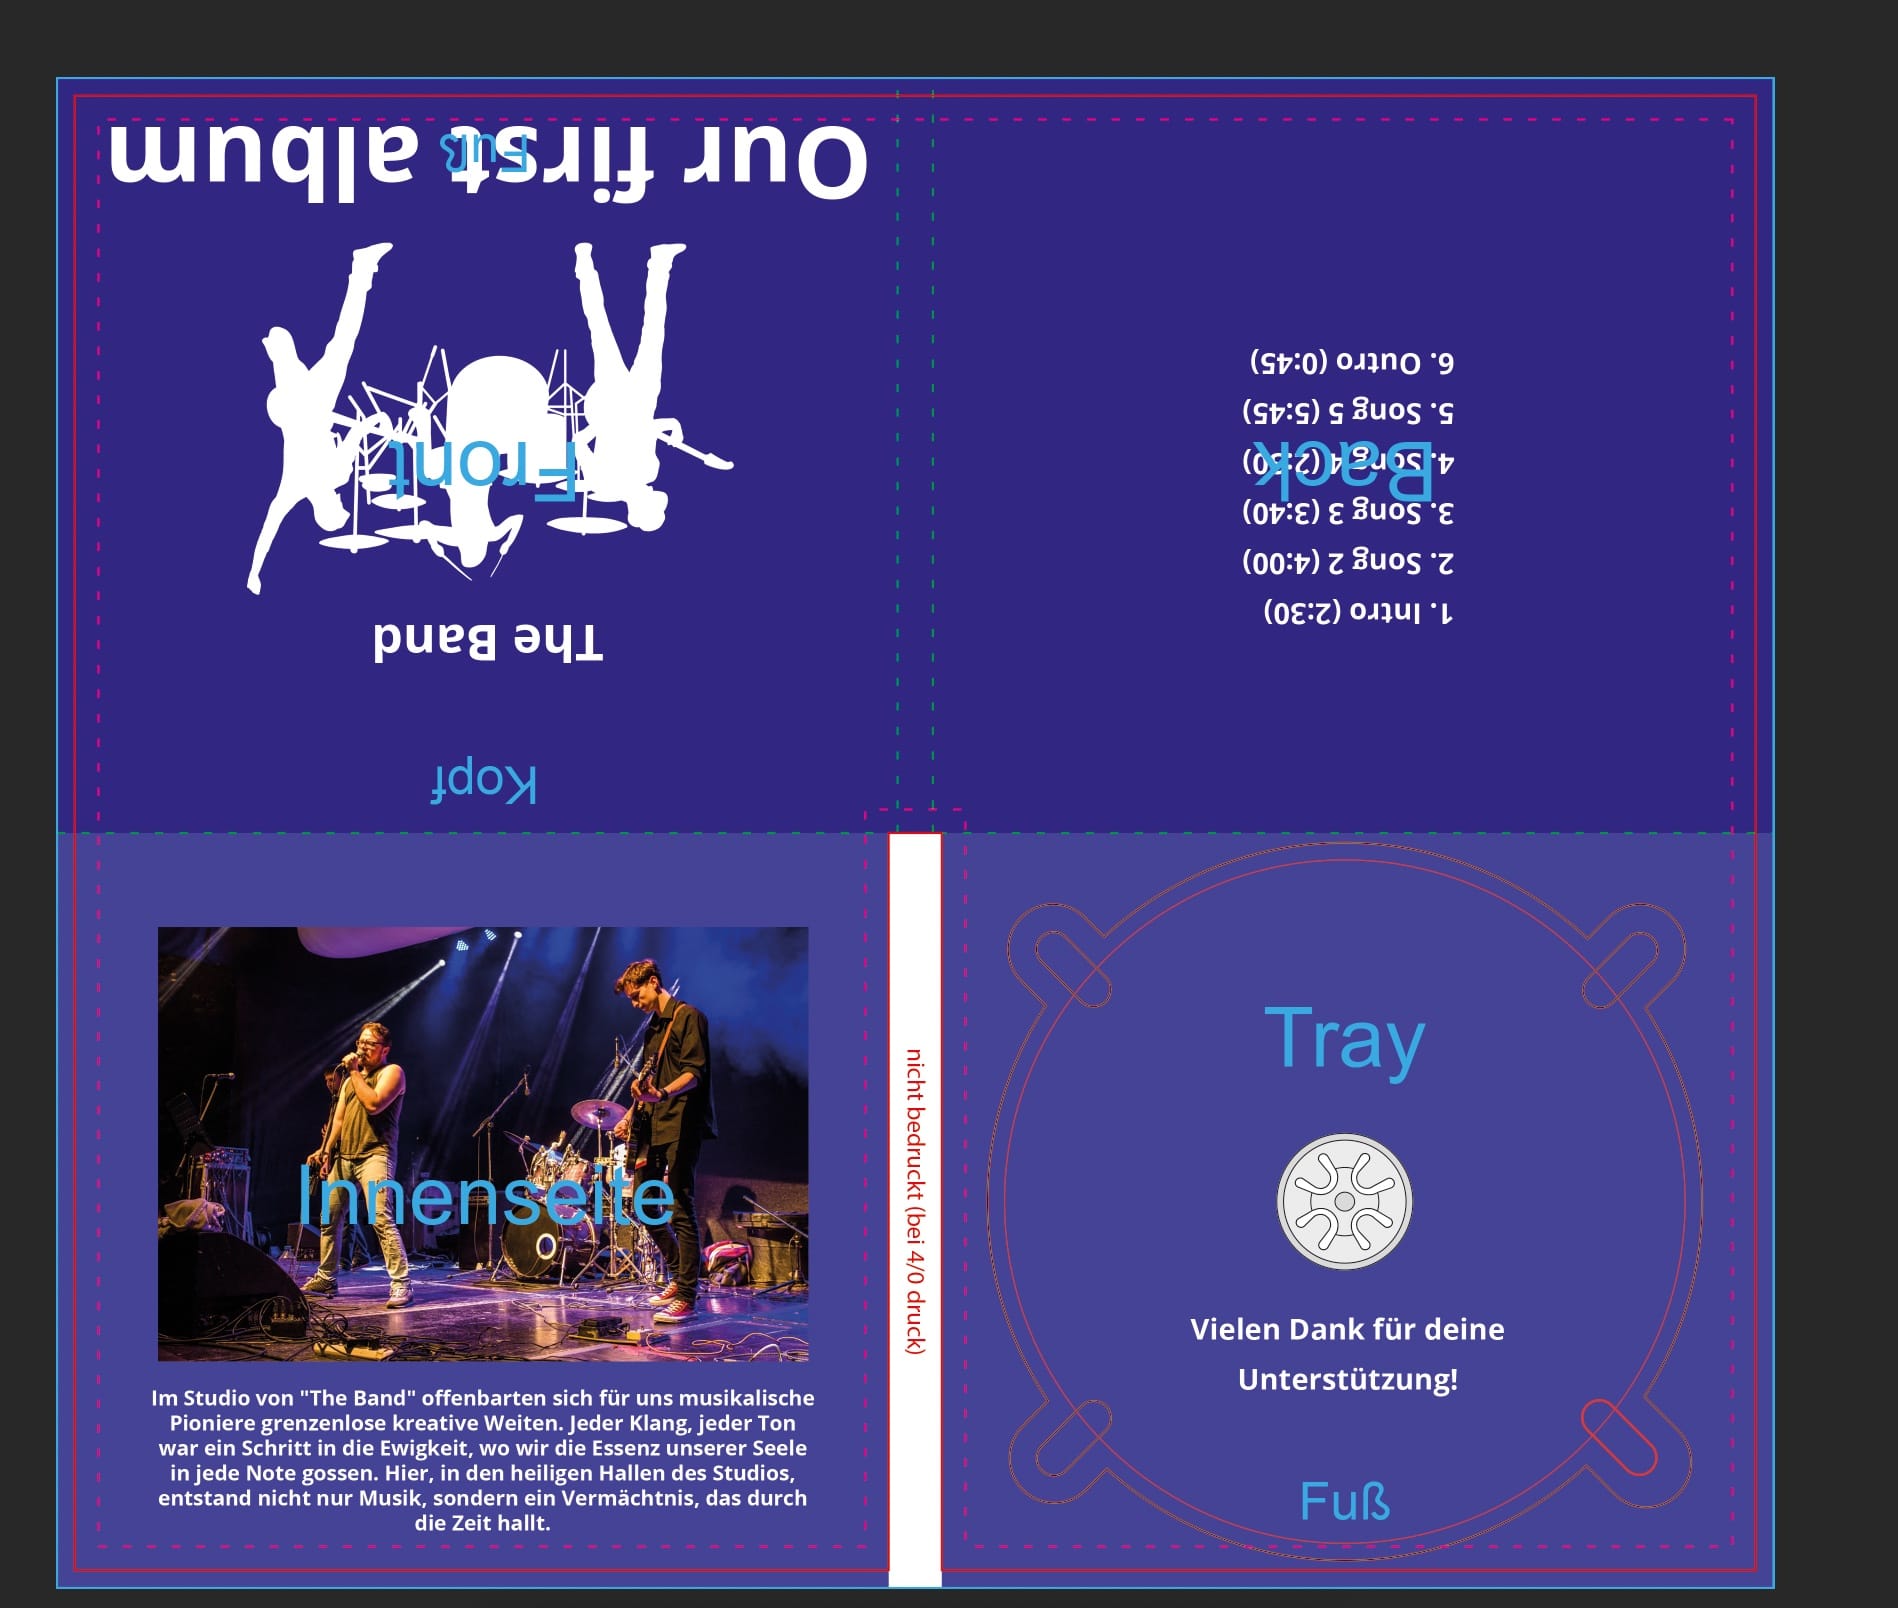
6. Export Print File (PDF-X/3)
Let's now move on to the PDF Export, where we export our design as a print-ready file.
6.1. Remove Guide Layer
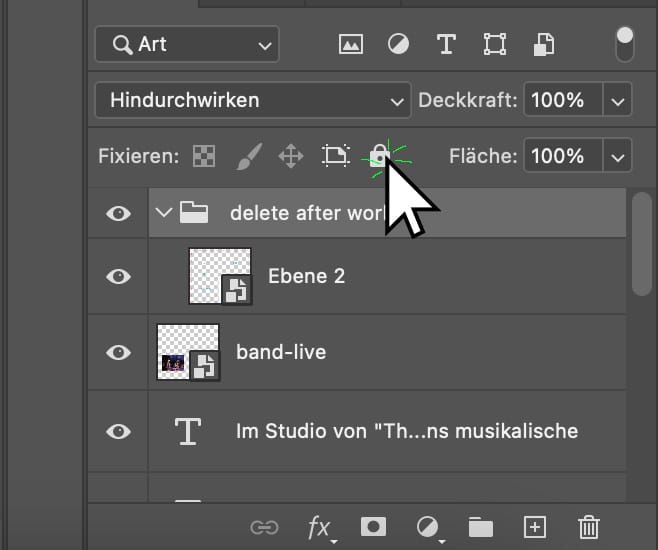
In the Layers overview, we need to unlock and remove the guide layer or layer group, such as "delete after work", by selecting the layer/layer group and clicking on the "Lock" icon:
Next, we can remove the guide layer/group by clicking on the trash can icon at the bottom right:
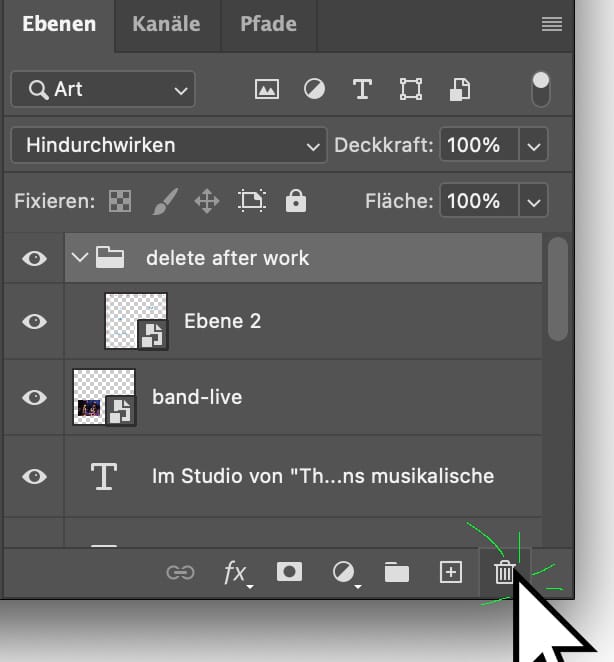
A Warning Message may appear, which we confirm by deleting with "Delete Group and Contents".

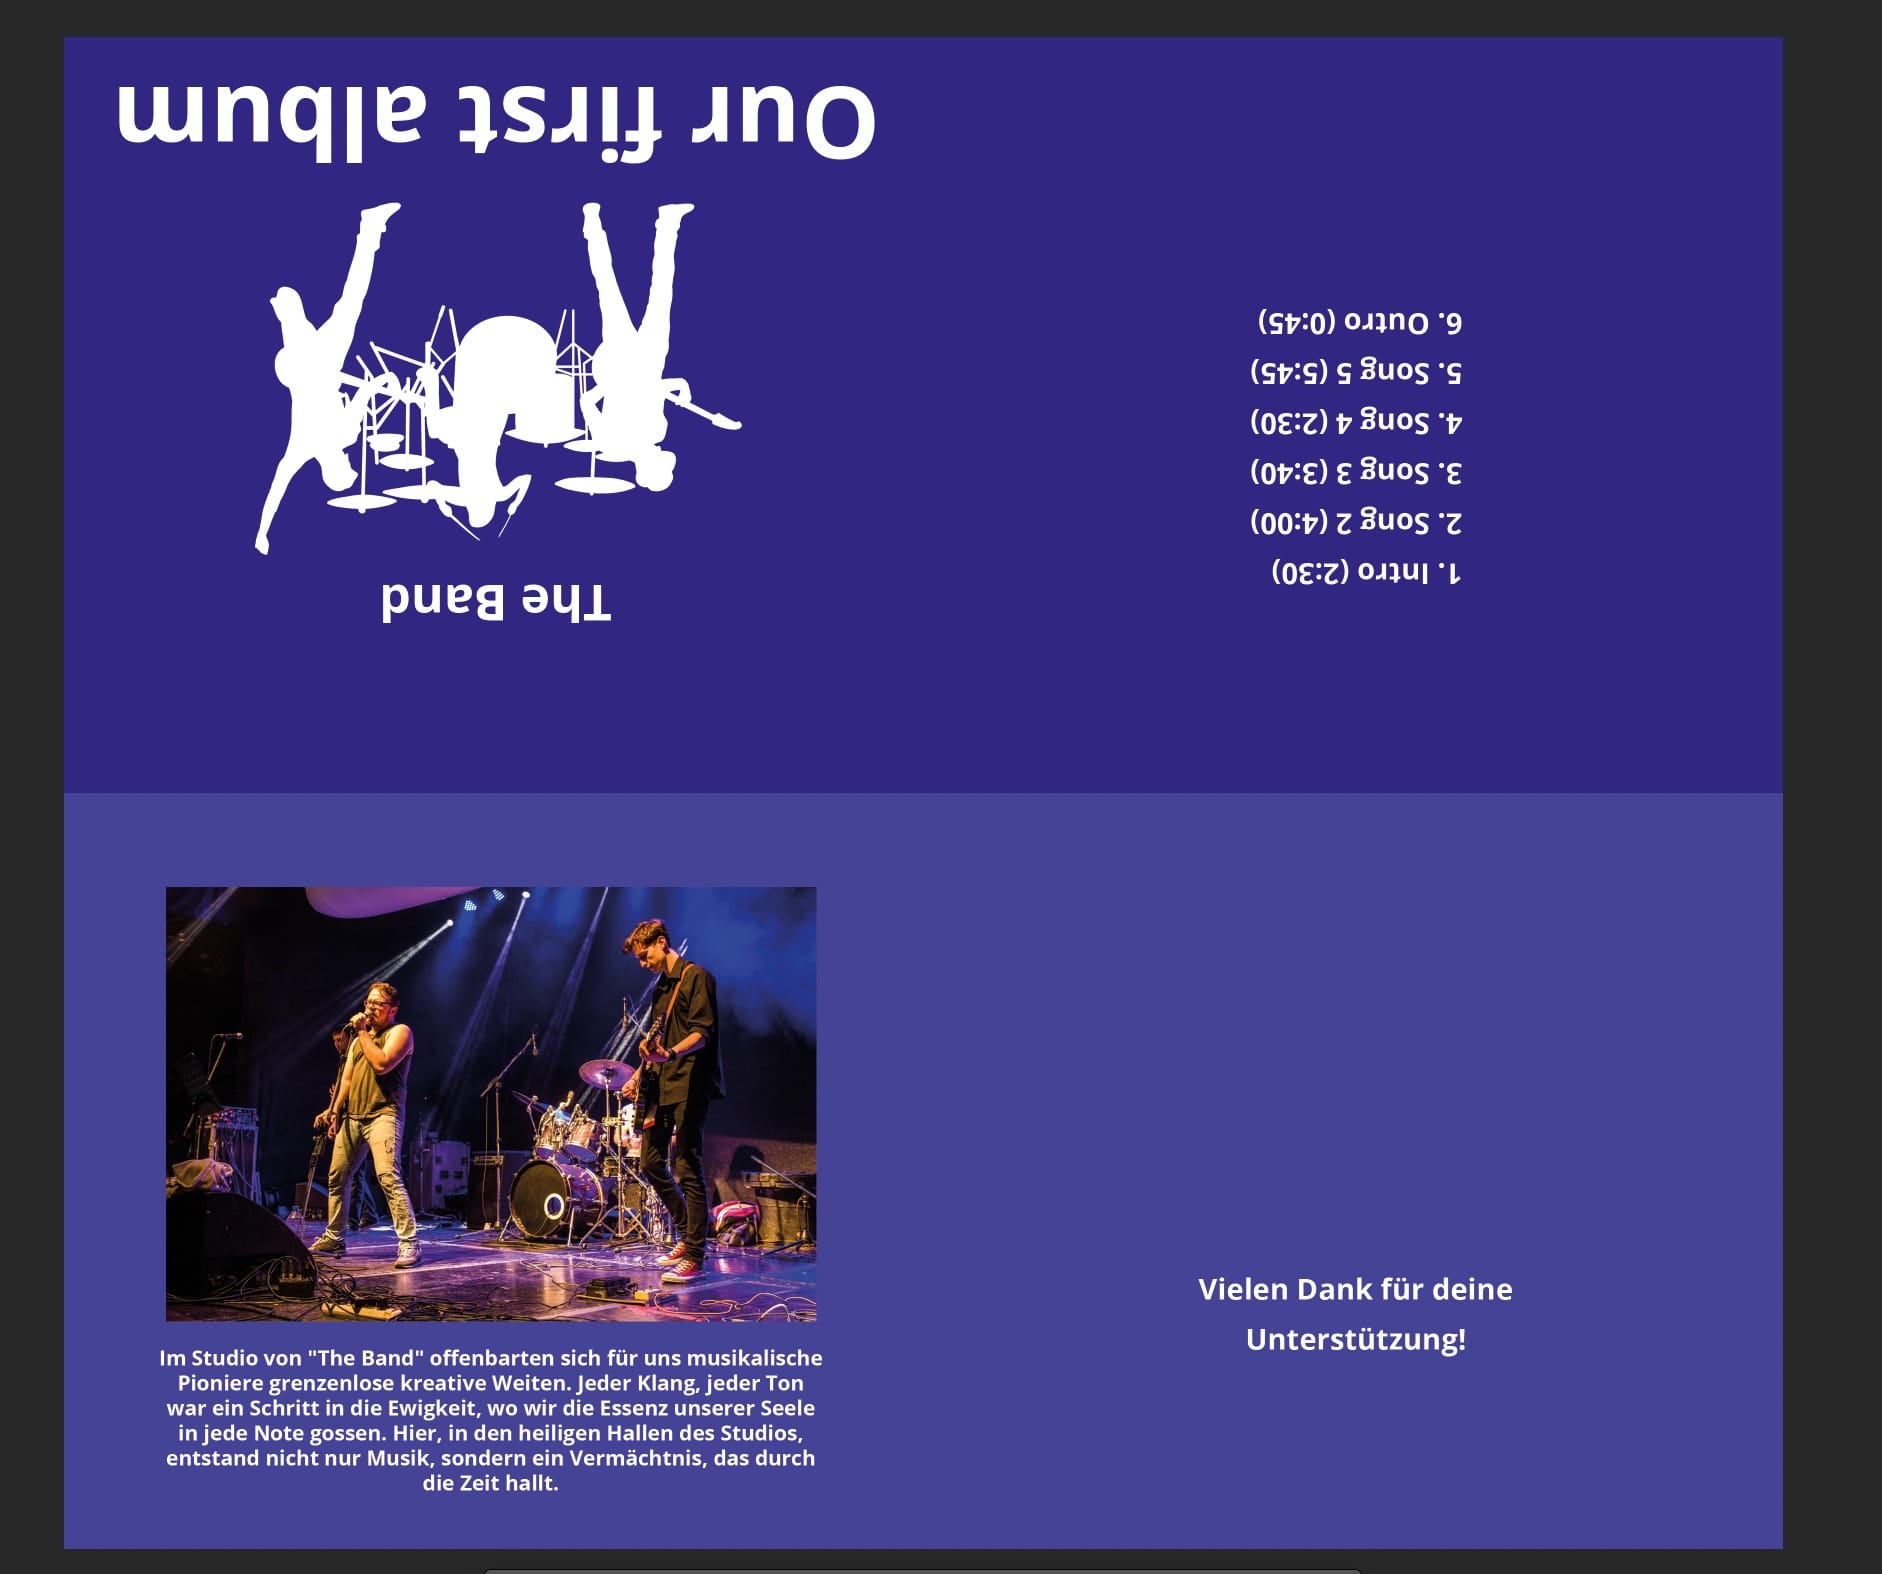
The workspace should now look roughly like this. The template layers have been completely removed. If we didn't do this, we would have visible guide lines and markings in the print file.
6.2. PDF Export
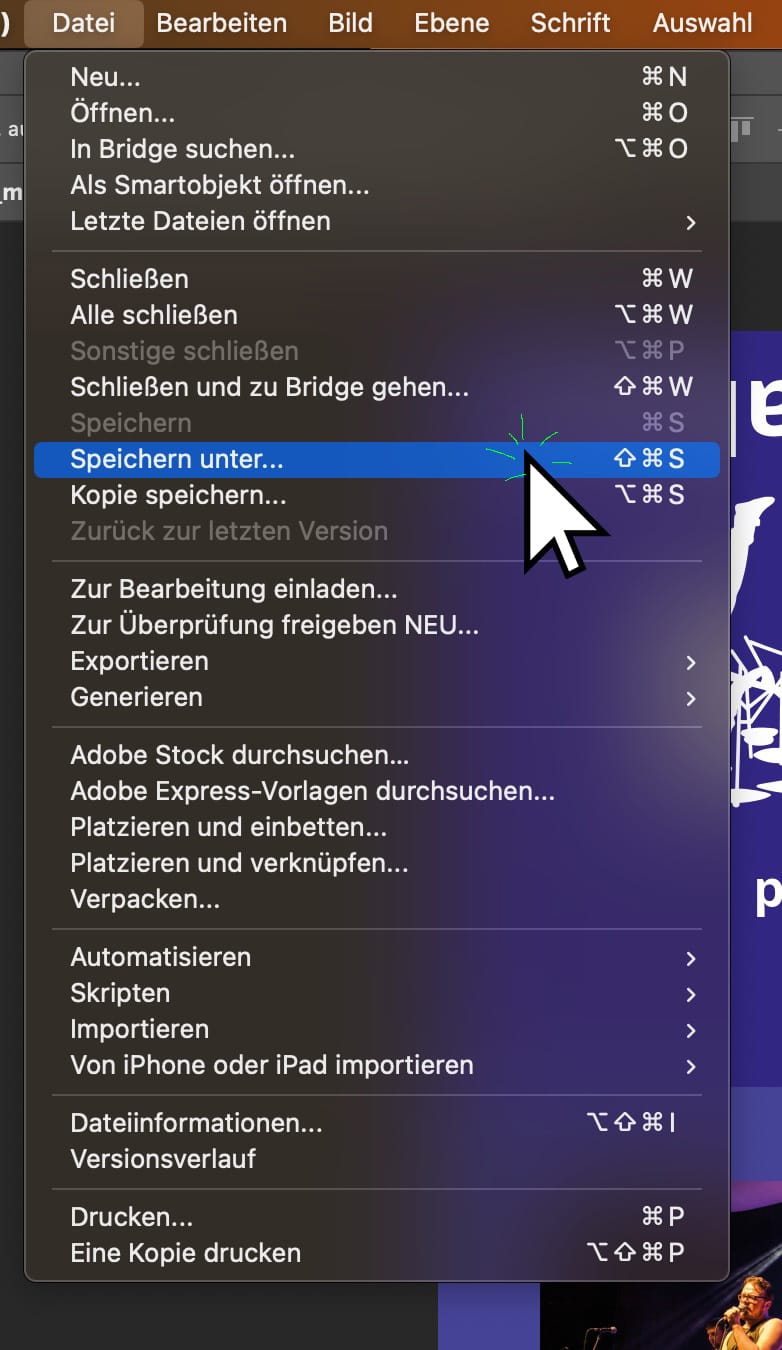
In the Menu, click on "File" -> "Save As..."
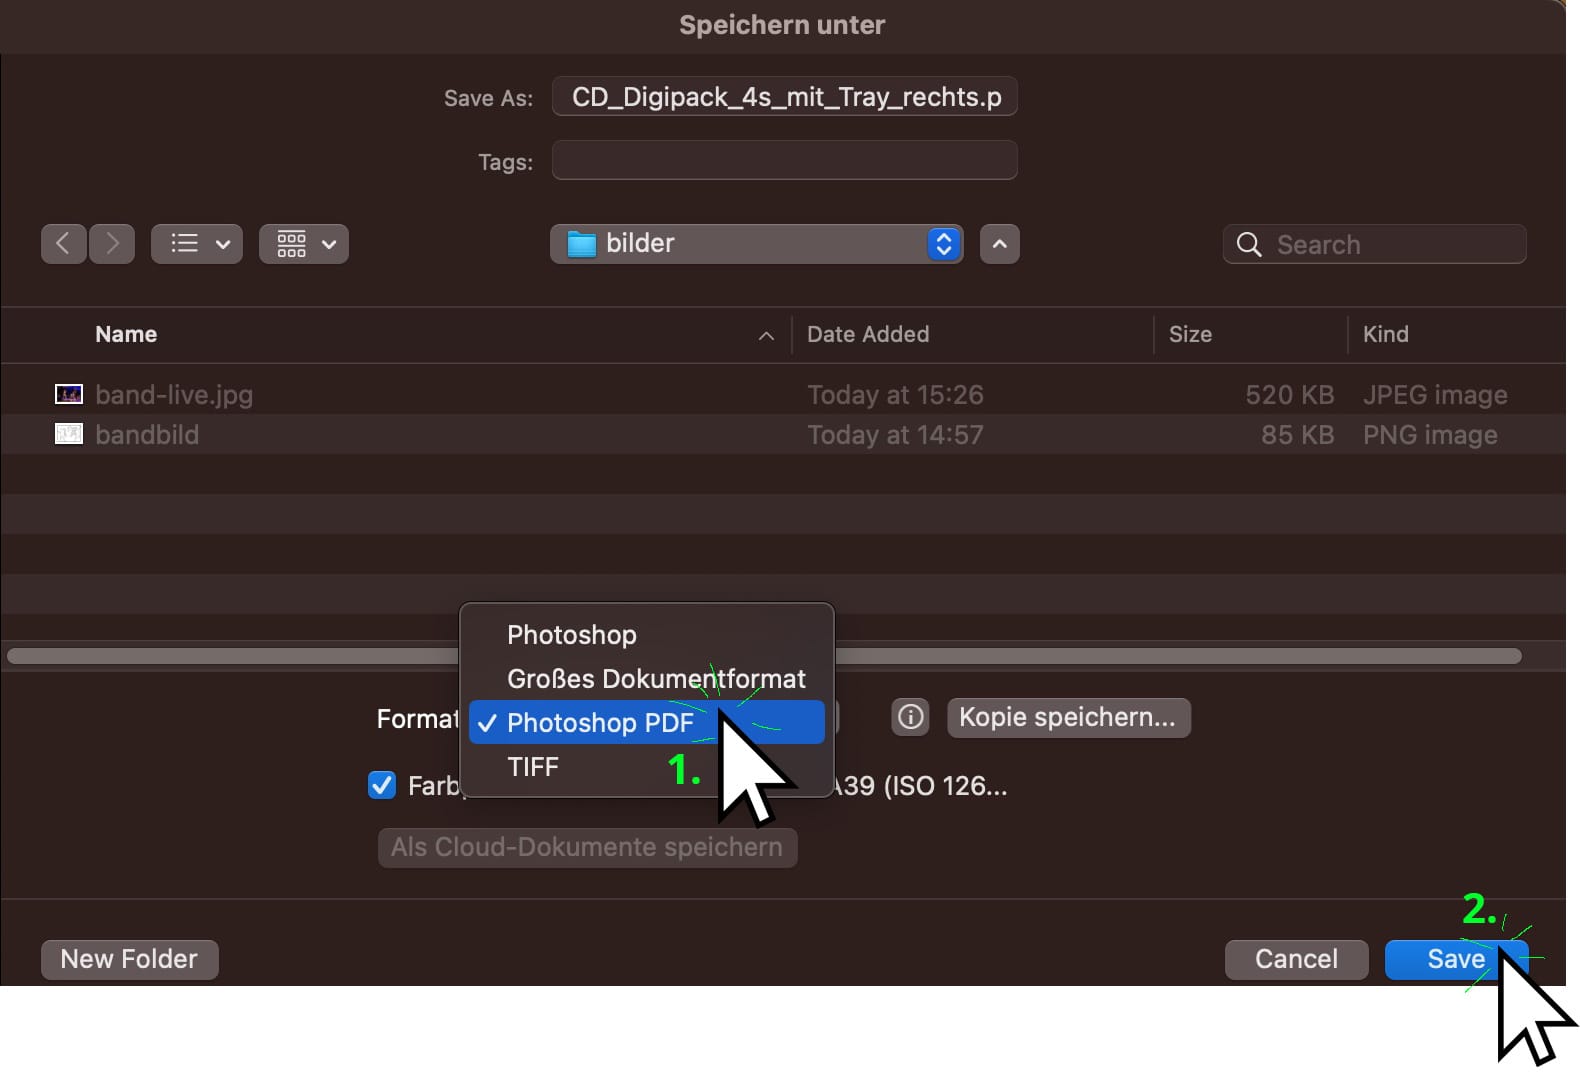
And choose (1.) Photoshop PDF in the Format selection and press (2.) Save at the bottom right.
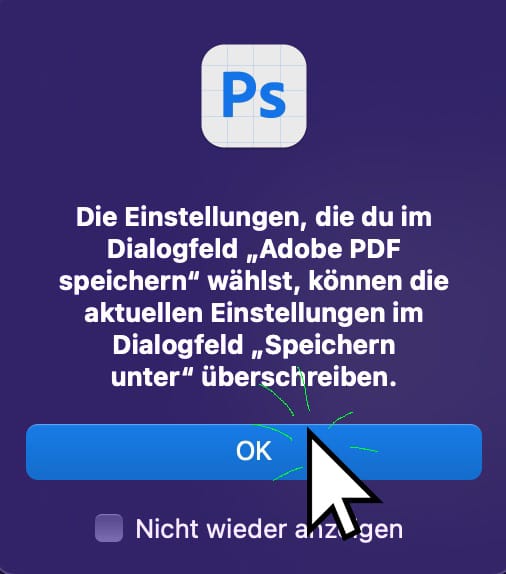
If a warning message appears, we can answer it with a click on "OK" and proceed.
Now, an "Adobe PDF Save" window opens. We now set the PDF version by clicking on "Adobe PDF Preset".
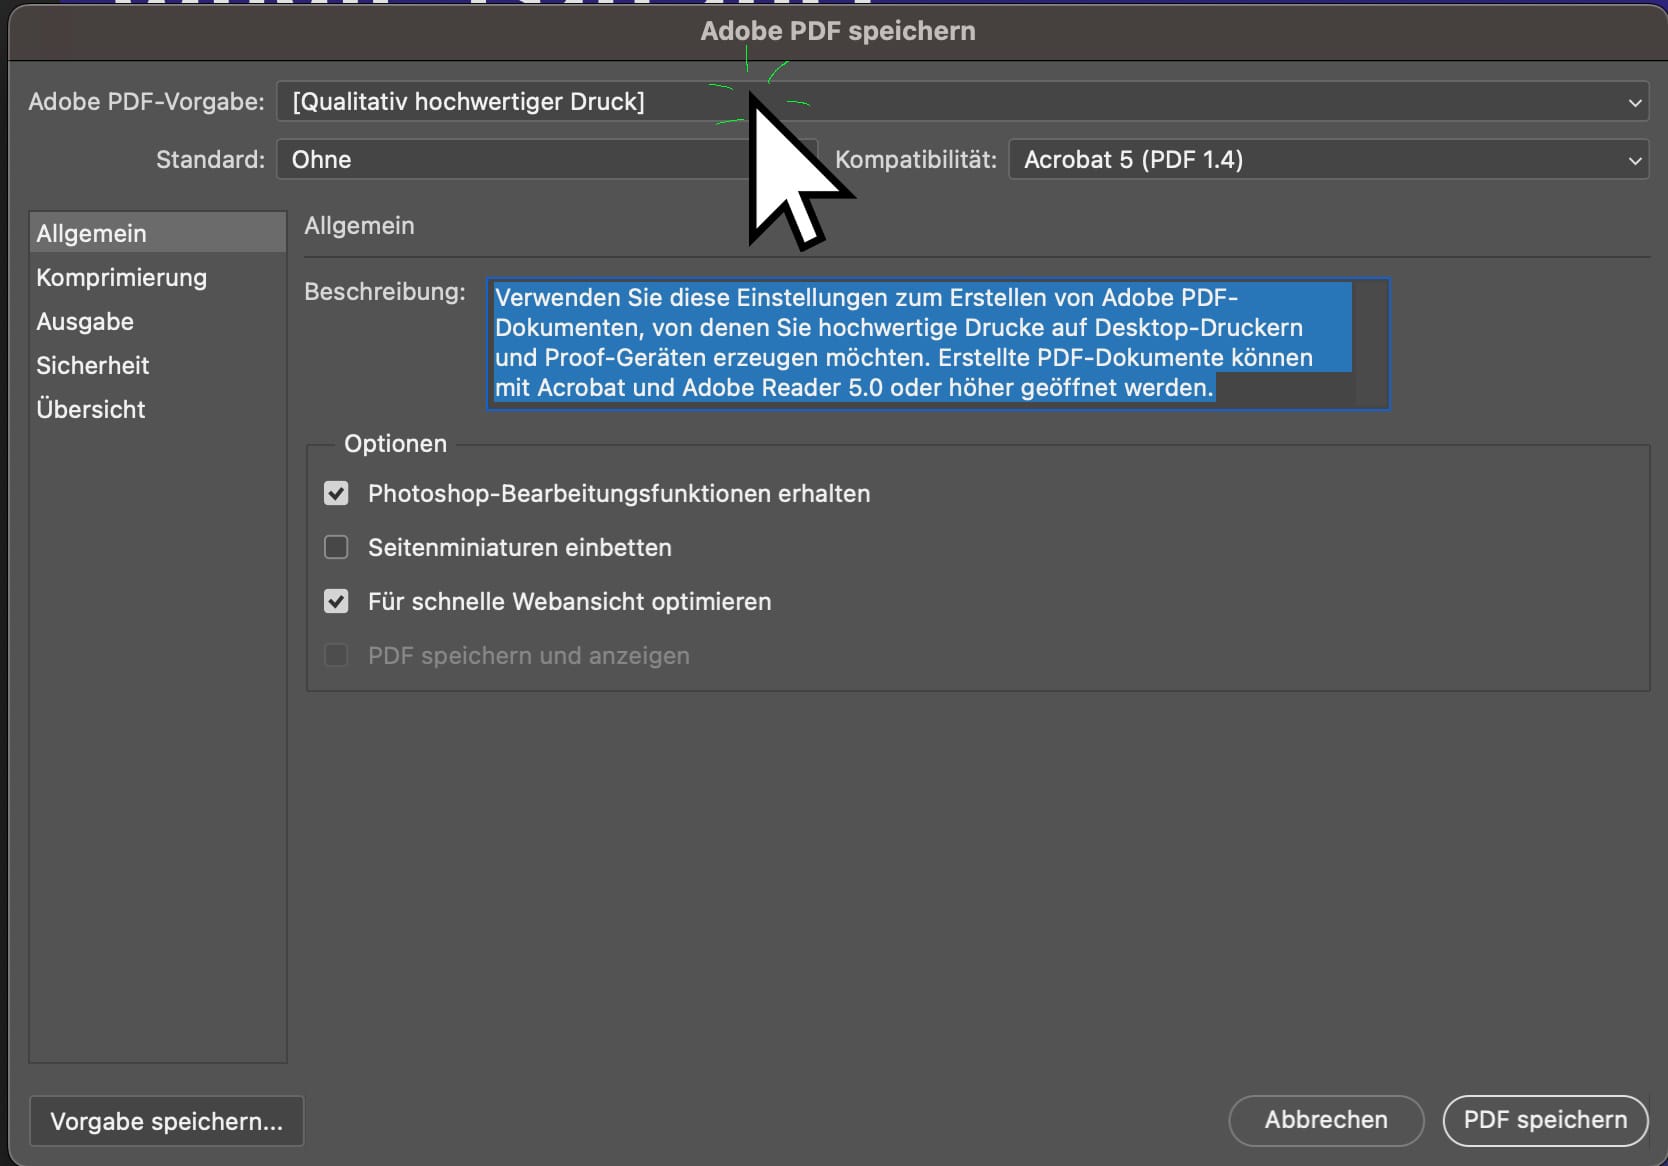
Now, choose (PDF/X-3 2002) from the selection:

Click on "Save PDF" at the bottom right.
You can now set a file name and location or leave the default value suggested by Adobe Photoshop.

The saving process may vary in time depending on the complexity of the design, size of the images, and the power of your computer. You can check the progress at the bottom right in Adobe Photoshop:

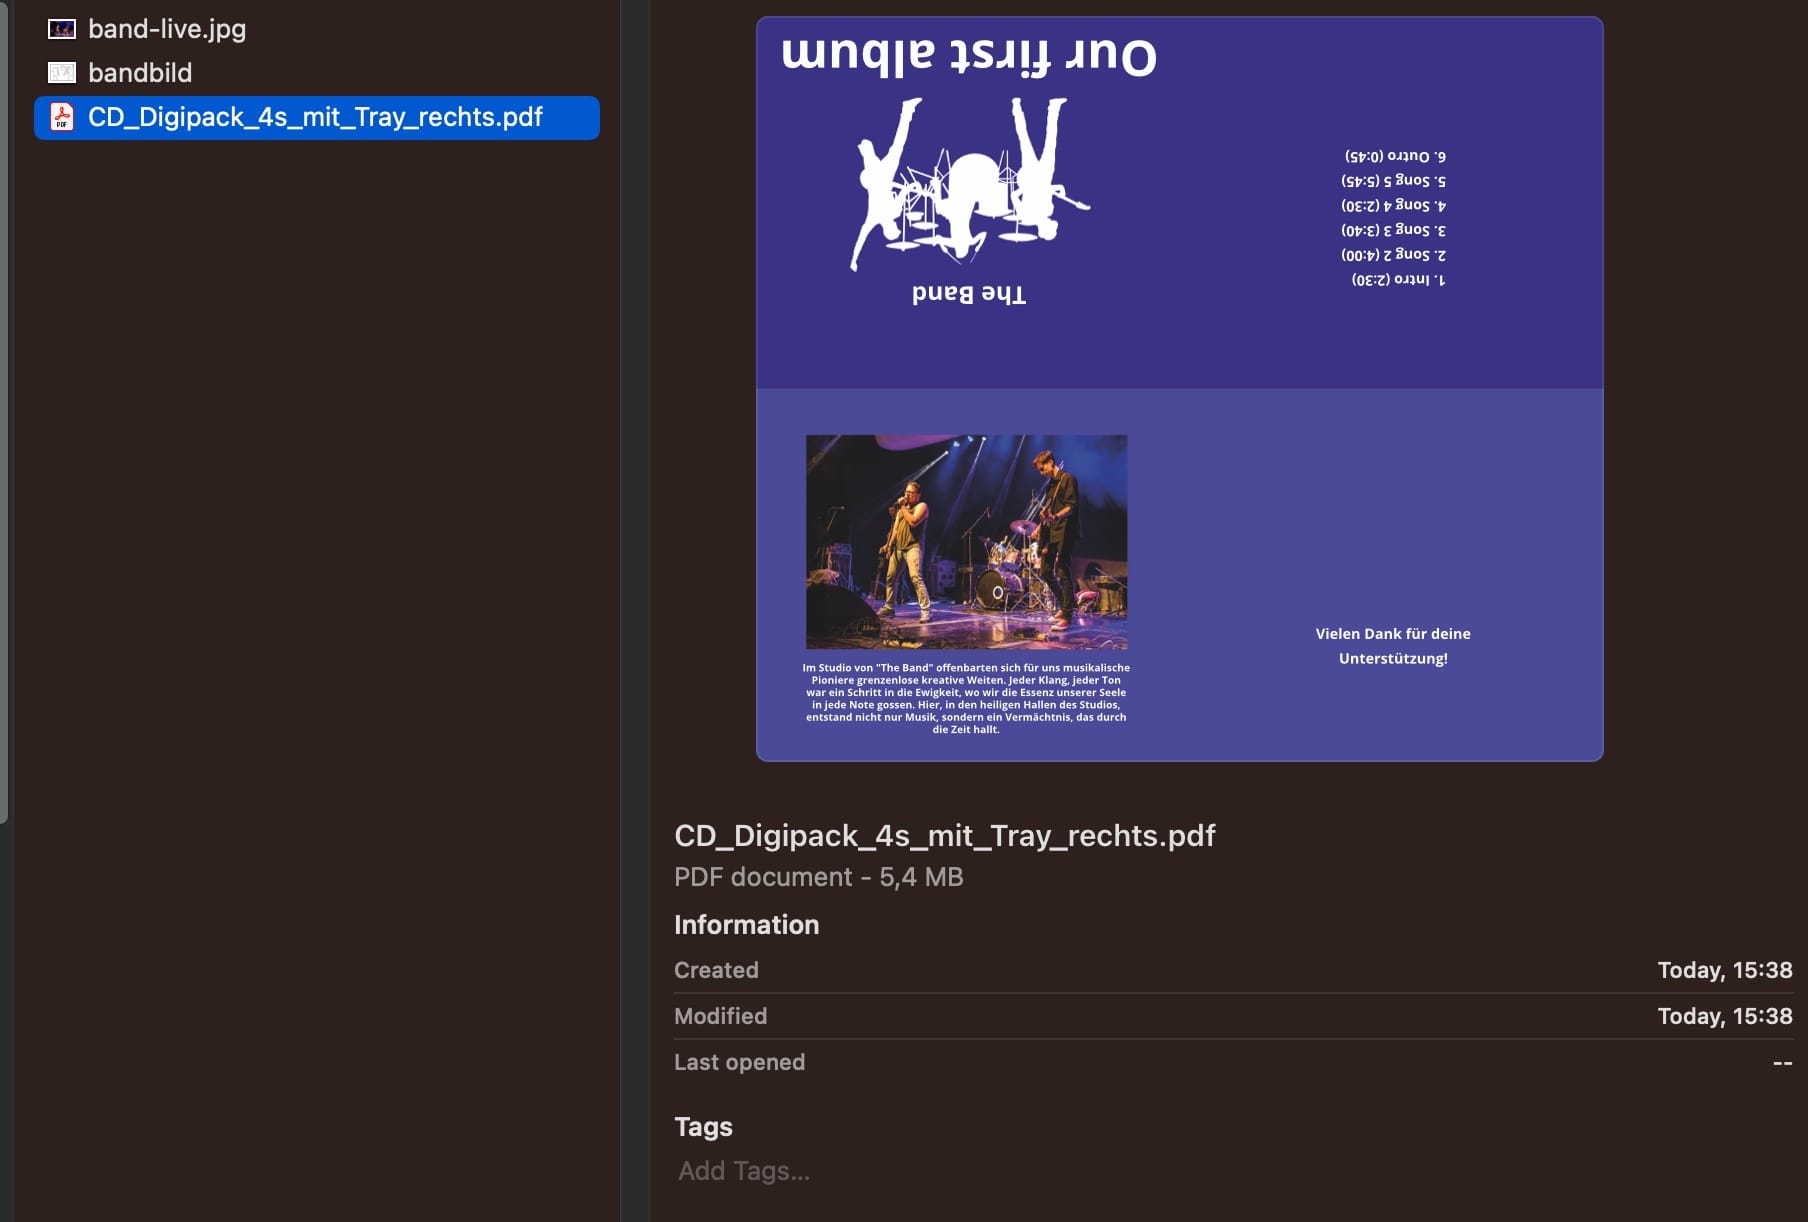
The print file is now saved and ready to be uploaded for data verification.
Similar articles
CD Digipack 4-sided print file design in Adobe InDesign
Learn how to implement your own design for the 4-panel CD Digipack in Adobe InDesign.
CD Digipack 4-sided print file design in Adobe Illustrator
Learn how to create your own design for the 4-panel CD digipack in Adobe Illustrator.
CD-Digipack 4-seitig Druckdatei in Affinity Designer gestalten
Lerne wie du deine eigene Gestaltung für das CD-Digipack 4-seitig in Affinity Designer umsetzt.
